

Introduction: Obstacle Avoiding Robot


In this tutorial I will work with you in a step by step process explaining through visuals and written instructions on how to create an Obstacle Avoiding Robot Car. This is a simple start up project with the arduino microcontroller and the arduino motor shield.
Bill of materials:
Arduino
Arduino motor shield
Custom built/bought (ebay) car with motors on each wheel
batteries
bread board
ping sensor (ultrasonic distance sensor)
wires
servo motor
Step 1: Step 1
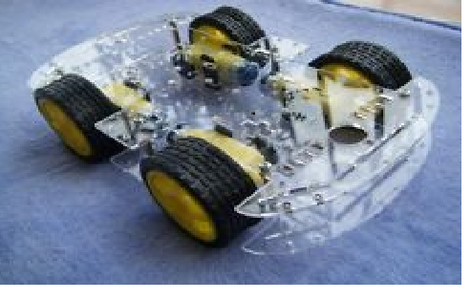
For the first step I bought a simple 4 motorized car and assembled it. Before placing the top plastic platform i wired the right hand side motors to a single wire and the same process was done to the left hand side. After connecting the wires, the battery compartments were placed for this example i used a 9V battery to power the arduino and 4 AA batteries to power the motors (however if you want more power input to the motors i suggest adding more AA batteries). Finally the top platform is placed to cover the wiring and batteries.
Step 2: Step 2
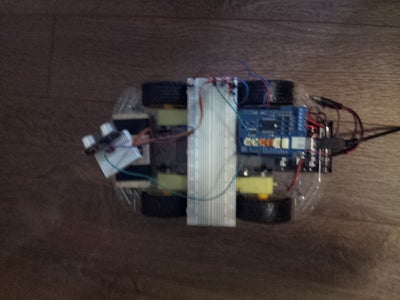


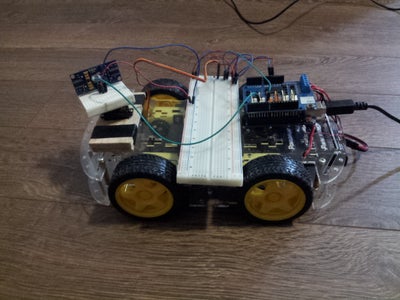
For this second step the Arduino, motor shield and distance sensor are all connected and placed on the top platform. The image below is a top view of the final wiring stage. Make sure to connect the external power and the motor wires to the appropriate slot on the motor shield.
Step 3: Step 3
Add the code supplied and watch the robot avoid obstacles!
Message me for the code through instructables and i will email the file. (I cannot figure out how to add text files or copy paste the code to the instructable)
(If car moves too fast or slow change speed values to adjust with the power supplied to the motor shield)
Attachments


Participated in the
Microcontroller Contest


