

Introduction: On With the Show in the Door Puppet Theator


So I happen to be blessed with a very creative 7 year old nephew whos favorite thing to do is play pretend. He loves to play dress up and could spend hours entertaining him self with his imagination. So this year for Christmas we decided to give him another venue for pretend. My brother and parents bought and array of Puppets and my job was to come up with a place to perform. I looked on the web for ideas and instructions and although I found pictures similar to what I wanted to make no one said how they did it so i decided a nice little instructables would help all little future puppeteers in their endeavors.
It uses an extension Rod and fits i a standard door frame.
You will see pictures pulled from two projects the First is the one I made for my nephew and the second is one I made for my cousin Bear after she fell in love with little J's. The instructions will talk more about how I did the second one as I made more mistakes with the first one trying to figure out the best way to make it.
Step 1: Step 1: Deciding How Much Fabric You Will Need to Buy

1. First measure the door it will most likely be used in (an interior doorway is best)
My door was 80.5” x 32”
You will need to add a pocket at both ends of the length so add 4.5 inches (85)
You will add thick hems with rod pockets to the width so add 3 inches. (35)
Now determine how many yards of fabric you need by dividing the inches by 36 round to nearest 1/4 yard. (2.5 yards)
2. For the Opening: Decide how big you want the hole to be. Its rather arbitrary I’m sure but consider how big your puppets are and how much space you might need on the edges before the fabric is too flimsy.
Our puppets range from 12’-18” So I decided on 24 because its twice the size of the majority of our puppets, and it leaves a good 4 inches on the edges.
So take your window size and add 4 inches to the height (28)and the width will be the width of the door plus .5” for hems(32.5)
I Made mine out of coordinating fabric but it could match if you want.
3. What about decoration?
I made a simple ruffle on one and some curtains.
The second has a Top curtain with some tulle, opening curtains and a bottom swag decoration
Their are two curtains 4 inches taller than the hole and wide enough to cover the hole when closed. So I just used the 28” and 1/2 the width of the fabric .
The ruffle was 6 inches wide by 45”
and the panel is 10 x 32.5
making for a total of 40 inches
Add this to your hole fabric and then divide by 36 ((40+28)/36)=1.83 I rounded to an even 2 yrds
So there you go to make one Identical to mine you will need 2.5 yards of a main color and 2 yrds of a coordinating fabric.
I also bought 2 yards tulle.
4. For my second one I realized that my second color showed through the white of my main fabric so I used a piece of lighter fabric I had lying around.
Step 2: Step 2: Things You Will Need to Buy, Borrow, or Steal?


1. Fabric (4.5 yards total 2.5 of one color and 2 of another)
2. Sewing Machine (I do believe it would be quite tedious to do it by hand)
3. Coordinating thread
4. 3 -1/2 inch dowel rods at least 32 inches wide
5. Hack saw(or someone nice enough to cut your rods to length
6. Extension Rod 1” wide and along enough to fit in your doorway mine Extends from 18 to 38”
7. 32” piece of 1/4” wide ribbion
8. a saucer
9. washable fabric marker or pencil
10 straight Pins
11. safety Pin or hair clip
Lets talk about fabric for a bit. I would suggest something a little thicker that cotton, like flannel or even duck Fabric. However these do have the downside of being more expensive. For a cheaper alternative keep in mind that the flat sheet of a twin set is 66”x 96”, So you could just march yourself down to the Good Will and buy yourself a couple of those usually for less than 5 bucks
I made the Red one out of flannel i got on sale
The pink one is made of plain cotton and is thin but it turned out pretty my concern with the cotton is wrinkling but we will see how it works out.
Remember your 40% Hobby Lobby Coupon is good at both Hobby Lobby and Joanns
So you could buy one color here and one there to save 40% twice
Step 3: Step 3: Cut Out Your Pieces


Measure Carefully so as to only have to cut once. (if your using a different size door please make sure to substitute my data with your earlier calculated measurements )
Cut the following Pieces (54” version)
Out of your Main Color
1. main rectangle 85” X 35”
Out of your Second Color
3. Window fabric 28” X 32.5”
4. Two Curtains 28 X 22.5
5. One Ruffle 6” X 45”
6. One color panel 10” x 32 .5
Step 4: Step 4: Fold, Press, Hem

On all Pieces except the 10” x 32 .5 color panel
1. fold and Press a 1/4” hem on all of the Long end Sides
2. Sew down the pressed hem
On all Pieces
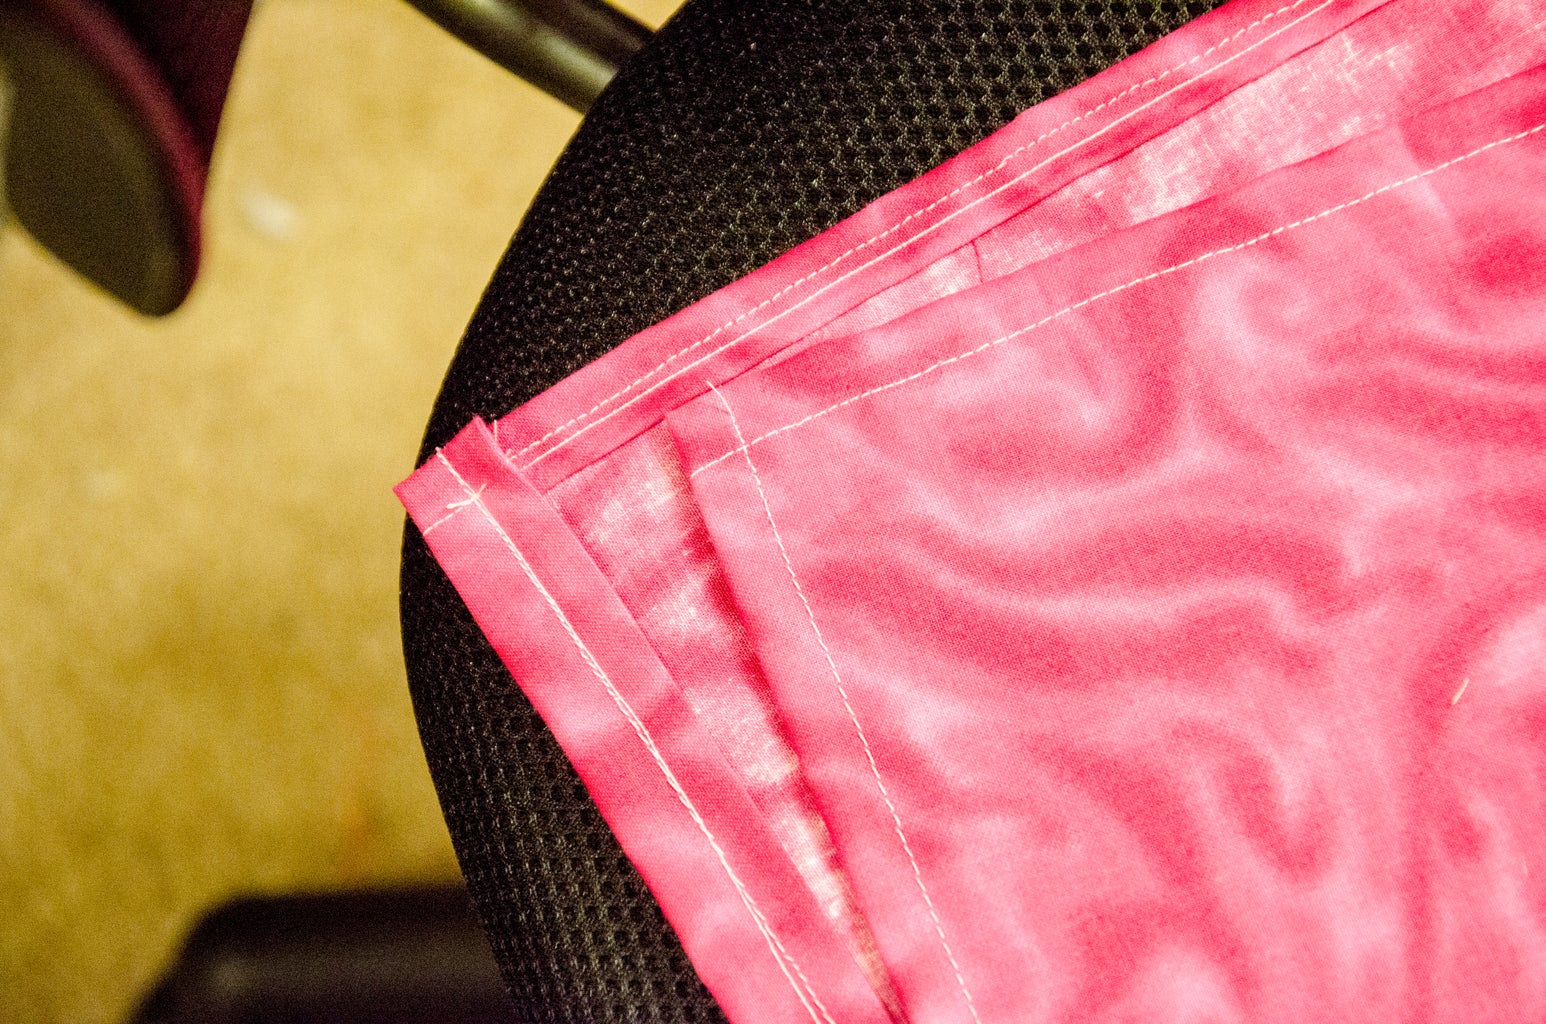
3. Fold Press and Sew down a 1/4” hem on all of the short sides.
Step 5: Step 5: Draw Your Window Square


1. Lay our your Window fabric piece right side down
2. With a pen or marker draw a 24 x 24 inch square in the middle of the wrong side of the Fabric
An Easy way to accomplish this is to calculate how far from each edge of the fabric the edge of the hole should be.
Now that we have hemmed the edges 1/4 inch the fabric is 32 X 27.5 if you subtract 24 from each side you are left with 8 and 3.5 Dividing these numbers in half will tell us that the edge of the window will be 4 “ from the edge of the fabric on the long side and
1.75” on the short side.
using a ruler draw lines at these measurements and the center will be you 24X24
window
Step 6: Step 6: Round Out Your Corners


Making Square Corners are hard to make even and pointy so for finesse lets round them out a bit.
1. Take your plate and line the edges with the point and 2 sides of a corner then trace around
that section of the plate to make the corner round.
2. Repeat for all four Corners
Step 7: Step 7: Pin It Together


1. Figure Out where you want your hole to be.
It is Semi Arbitrary but I stat on my knees and Measured up to my eye level. I made this measurement where the bottom edge of the window hole would be. It was at 35 but i added an inch to make it 36. My thinking was that this would be a good height for a parent to play along with their child without stooping. If the Child plays on his own or is too small to reach the window the whole theater can be moved down and the extra length at the bottom rolled up. A higher eye line also allows the toy to grow with the child. Try fitting an eight year old behind a space you made for a two year old. Not so awesome.
So the bottom edge of my Window hole is at 36”
2. Measure up 36” from the bottom of your Main Rectangle place pins to mark your Measurement
3. Now you need to figure out how to center your window Fabric Horizontally
to figure it out.: (Width of Main Fabric - Width of window Fabric)/2
So I used (84.5-32)/2= 1.25
4. With RIGHT sides together place the Window fabric where the bottom of the 24’ square is at your marked point
A little trick is to temporary fold the window fabric along the bottom hole line to help you match the markings.
5. Center the fabric so that you can see 1.25 inches of the main rectangle on each side.
6. Make sure every thing is flat and straight then securely pin your window fabric to your main rectangle on all edges.
Step 8: Step 8: Sew the Hole

STOP
Before you take another step make sure that your right sides are facing together
1. Using a narrow Straight stitch, sew directly on the line that you drew out earlier.
Make sure that you are following the curves and not the corners
Go slowly on the corners to make sure they are smooth.
When you come back to the beginning make sure to overlap by at least 1/4 inch
Step 9: Step 9: Cut Out the Hole

1. Cut out the hole leaving 1/4 inch of fabric from the seam
Step 10: Step 10: Clip the Edges


1. On your rounded corners go and clip in towards the seam, but not through on all of the rounded parts. This will help your curves be smooth
Step 11: Step 11: Flip It Out


1. Take your four corners of the window fabric and push them through the hole twards the wrong side of the main Fabric
2. Iron it down flat on your seam.
Step 12: Step 12: Sew It Down

1. Take a moment to look at what you have;
On the Right side of your Main rectangle you should only see the Main Fabric and the window cut out with the finished edge of the hole showing a slight bit of both fabrics
On the Wrong Side of you Main Rectangle you should see the Right side of the Window Fabric with the finished edge of the hole showing a slight bit of both fabrics . Under that is the WRONG side of your Main Rectangle.
2. Now that were on the same page sew a 1/4 inch seam all the way around the window. This is mostly decorative as its already sewn together So you can skip if you want. But I think it makes it look nice.
Step 13: Step 13: Fold It Over and Pin It Down


1. On the long Edges Fold over and Press 1 1/2”
2. Tuck the edges of the window fabric under the edge
3. Pin DONT SEW the edges down
4. Pin down the top and bottom of the window edges as well
Step 14: Step 14: Laying Out the Pockets

1.Using your pencil and ruler draw a line from the edge of the fabric that meets the top of the window hole fabric.
2. Draw a line from the edge of the fabric that meets the top stitching of the window hole.
3. Repeat these steps on all four edges.
Step 15: Step 15: Sew the Window Pockets
1. Before you sew make sure that the short edges of the Window fabric are tucked under the long edges of the main fabric
2. On the Top and bottom edges of the Window fabric Sew on the line you drew and across the window fabric all the way to the other edge.
3. On all four corners sew on the second set of lines you drew.
Step 16: Step 16 Fold and Sew the Top and Bottom Pockets
1. On the Top fold over 2 inches, Press Pin and Seam
2. On the lower Edge Fold over 1 1/2 Inces. Press Pin and Seam
Step 17: Step 17: Sew the Long Edges

1. Place Pins On the Seam lines for all four pockets so you will remember where they are.
2. Now sew down the long edges keeping your presser foot on the edge of the fabric . Make sure to Skip the pocket holes by back stitching before the pin. Picking up and moving Past the pocket hole and Starting again.
Step 18: Step 18: Prepare Your Rods


1. using your hacksaw cut your dowls to be 32 inches long
2. Screw your Extension rod out to fit snugly in the doorway.
Step 19: Step 19: Inserting Rods


1. Now your going to enter your three dowels into the lower three pockets and the Extension rod in the top
2. The window pockets are designed to have an little pocket that keeps the rod from coming out so place the rod in the small pocket then flip it 90 degrees to slide under the pocket edge. then Push the rod all the way under and pull the pocket over
3. The top and bottoms just slide in but then you pull the edge over the rod to cover it.
Step 20: Step 20: Put It Up

1. Now just Stick it in your door way. and pull it down so the bottom touches the floor.
Tada Your done.
But its Kinda Plain and could use a little flare So lets get to decorating.
You can Decorate your however you want so the following is just how I managed to make the 2nd one pretty.
The first one just had a simple curtains and a Gathered ruffle on top
Step 21: Step 21: Make the Curtains


At this point take out the rods so you can sew on it some more
1. Take your curtains these are the 28" X 22.5" peices
2. Fold over, Press and Sew the Long Edges 1/4"
3. Fold over Press and sew the bottom short edge 1/4"
4. Fold over and Press the Top edge 1"
Step 22: Step 22: Put Up the Curtains


1. Take your 32" 1/4" ribbon and seal the edges with a lighter
2. Using a safety Pin or a hair clip thread the ribbon through the 1" opening in the curtains.
3. Divide the curtains so ther is one on the left and the right.
4. Pin above the top window rod pocket.
5. sew the ribbon down on the edges and the center
Step 23: Step 23: Make the Scallop Curtain. (Folding and Drawing)


1. Fold the 10” x 32 .5 color panel in half width wise (think hot dog)
2. fold it again length wise
3. using your plate draw scallops on the fabric Make sure that the Folded edge is your top.
Step 24: Step 24: Make the Scallop Curtain. (cuting and Sewing)


1. Cut out the scallop and Sew keeping the edge of the foot along the edge of the fabric
2. When you get to a point make sure the needle is down and turn the fabric so that you have a sharp point
3. Clip the edges like you did the hole corners
4. Flip inside out and Iron Flat
This would be fine just the way it is but I cut some strips of tulle gathered it and sewed it under the scallop so that it sticks out
5. Sew the Curtain on top of the window above where you sewed on the curtain ribbon
Step 25: Step 25: the Lower Swag.


1. Sew the strip down on both edges
2. starting 1/2" from center Sew down top edge all the way to the edge of the window on both edges
3. Use tulle or maybe even ribbon to swag the fabric by string it through the hole in the center and tying a bow.
4. Tye Bows on each edge of the window as well.
I also attached tulle to mine to make it super girly
Step 26: Step 26: Hang in Doorway Add Kids


So that's it. I'm sure you can think of a hundred ways to modify to be just perfect for your kid.
But once you have it made just hang it in the doorway add puppets and kids and wait for the fun to ensue.
I added the last picture to show how easy it is for kids to get past the theater when its up. It dose have a rigid form but it dose move at the will of kids and wont trap them.

Participated in the
Holiday Gifts Contest


