

Introduction: PC Remote Control Using Arduino Pro Micro


Hi I'm new to arduino and in the process of learning, like many I learn through tutorials, videos , 'ibles and by own experience.
Recently I wanted to use arduino Uno and IR remote to control VLC player. Unfortunately this didn't work well for me as Uno does not have built-in USB communication. For this reason it involves more steps to get the job done, like have to upload appropriate .hex file to the microcontroller to make it function as a HID (Human Interface Device). I went through different steps to make it possible (while reading many sources online) but I failed at it. I will attempt it again to understand further.
But for now...
I bought a Pro Micro and it is Arduino Leonardo compatible, since it has Atmega32U4, it can be used as HID mouse or keyboard. In order to control VLC I used this as a HID keyboard.
I went with Pro Micro instead of Arduino Leonardo is because of the size.
P.S: I followed these tutorials and more (sorry didn't make note of all of it),
http://tronixstuff.com/2011/03/30/tutorial-arduino...
https://www.instructables.com/id/USB-IR-Remote-Cont...
majority of the steps are similar however the coding is changed slightly to suite my remote and the functions I required. Lets get started
Step 1: Hardwares

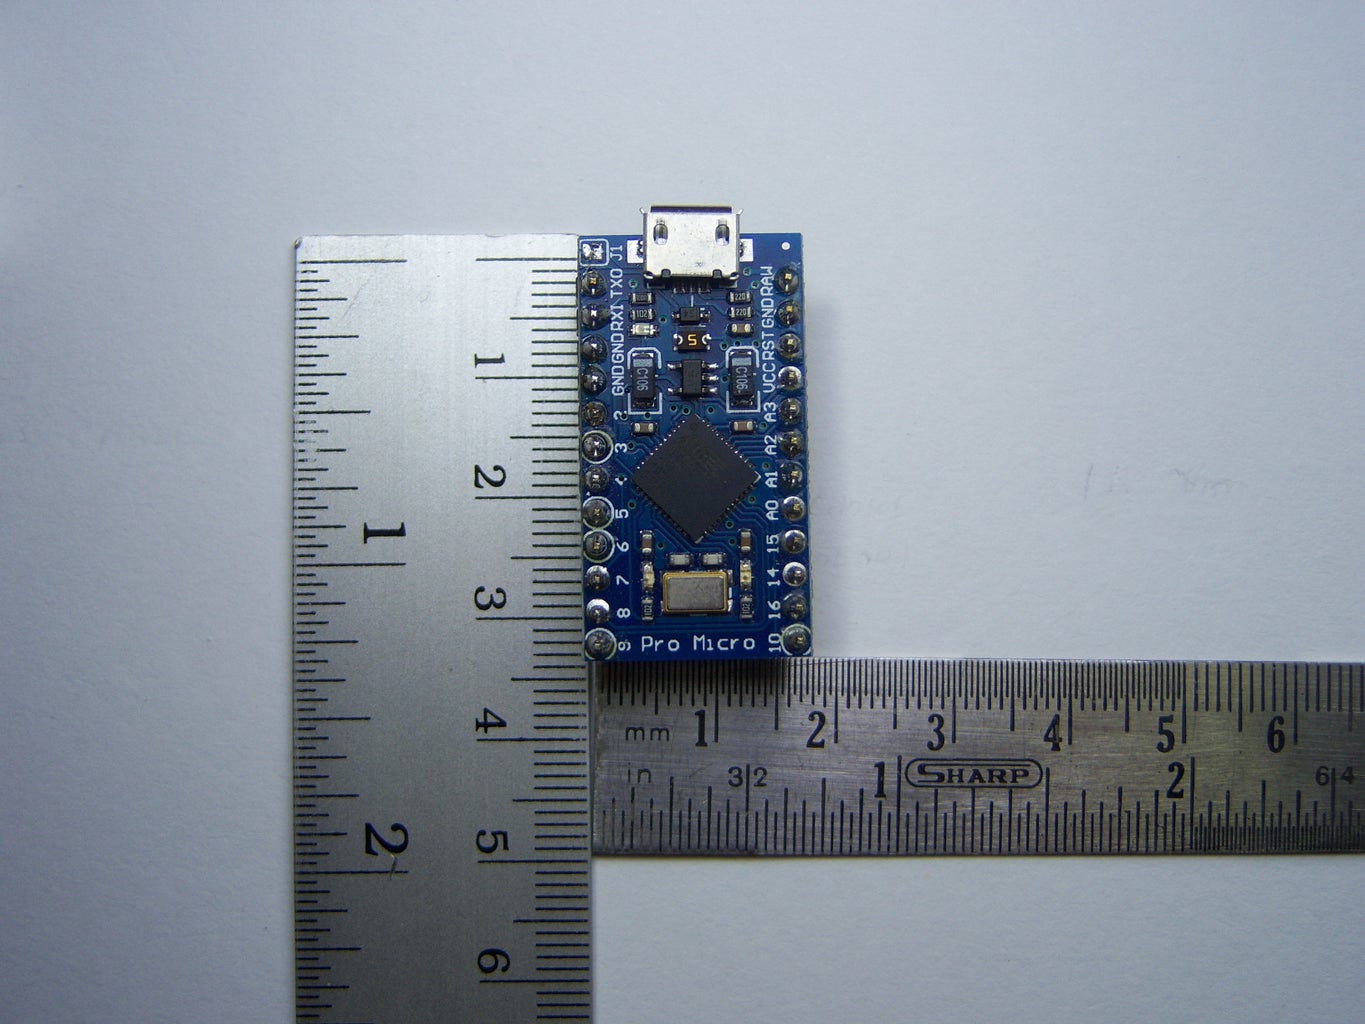
1 x Pro Micro ATmega32U4 - US$7.80 - http://www.ebay.com/itm/Leonardo-Pro-Micro-ATmega...
Note: You can use Leonardo as well. I chose Pro Micro due to the small form factor.
1 x Micro USB Cable - parts bin.
1 x Small Breadboard - US$1.37 - http://www.ebay.com/itm/Mini-White-Solderless-Pro...
1 x Infra-red receiver 1838T - parts bin
1 x 5mm Led (Not essential, just to indicate when the signal is received. your choice of color) - parts bin
1 x 1k ohm - parts bin
1 x An IR remote - parts bin
Note: I have tested 3 different remotes they all worked so it doesn't matter as long as it is an IR remote.I chose this again for the small form
(Kindly correct me if I'm wrong)
4 x Jumper wires - parts bin
Note: parts bin refers to items I already had.
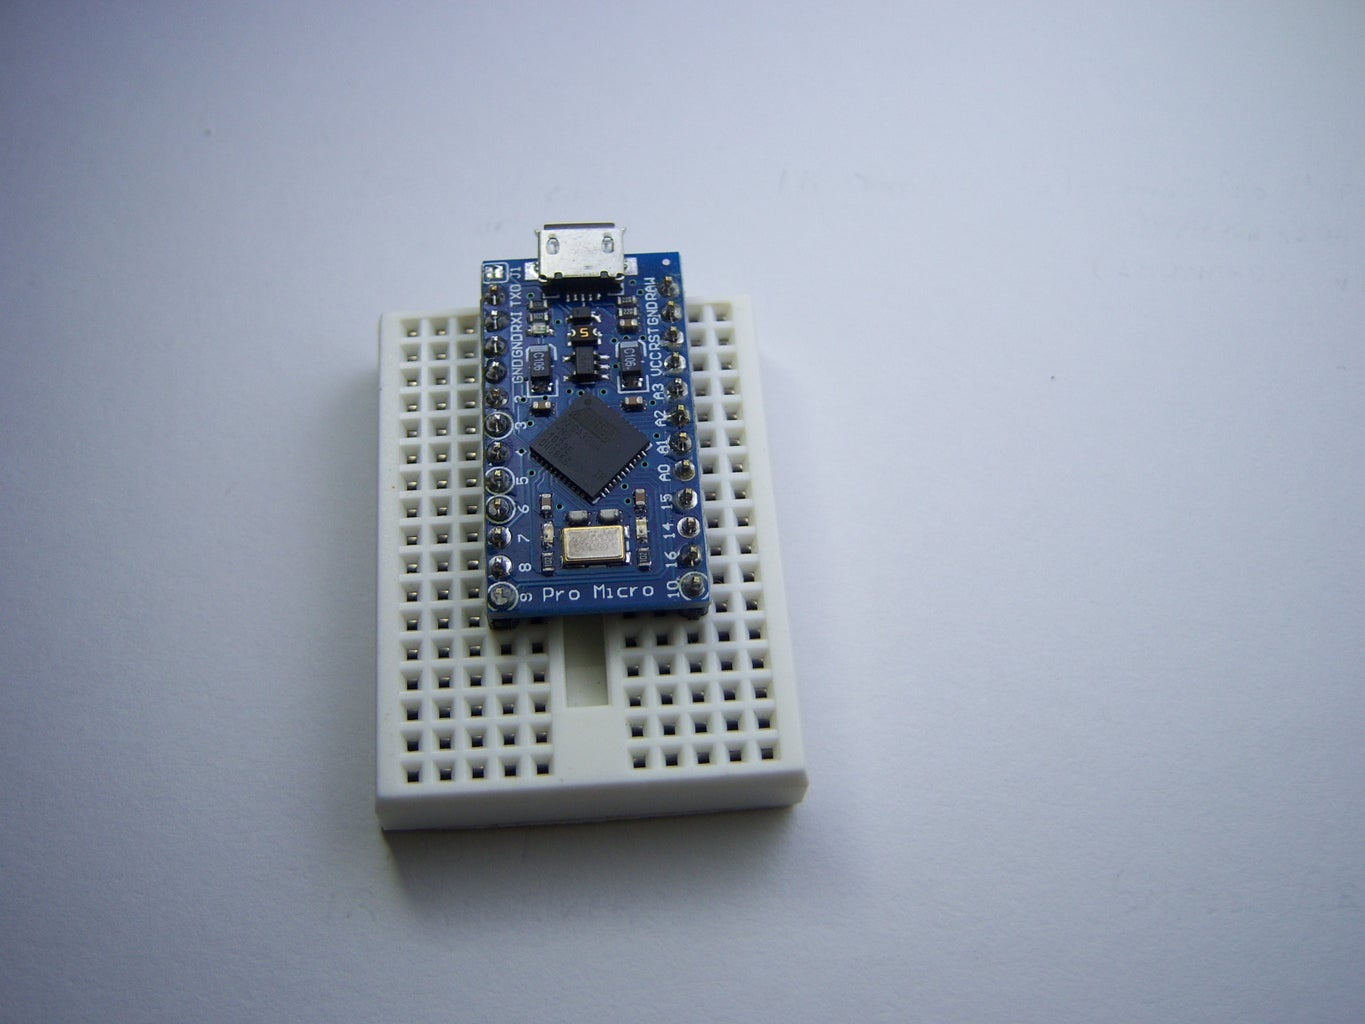
Step 2: Set Up Pro Micro
This was my first experience with Pro Micro and it was not smooth.
At first the computer did not recognize Pro Micro as a HID device and also it was not showing up in the Adruino IDE.
After some Google searches and disabling the digital signature thing from checking in windows 8, finally I was able to install the Pro Micro's driver and then it showed up.
But it didn't end there and tried to upload the code and it started to show errors in the Arduino IDE (sorry didn't take any snapshots).
Later used my Uno R3 as AVR ISP and burned the bootloader for the Pro Micro and Vola it worked fine.
I used this tutorial from sparkfun, my sincere thanks to them for the detailed tutorials.
https://learn.sparkfun.com/tutorials/pro-micro--fi...
Bootloader for Pro Micro and the drivers has been attached and also can be found in sparkfun website.
Attachments

Step 3: Connections

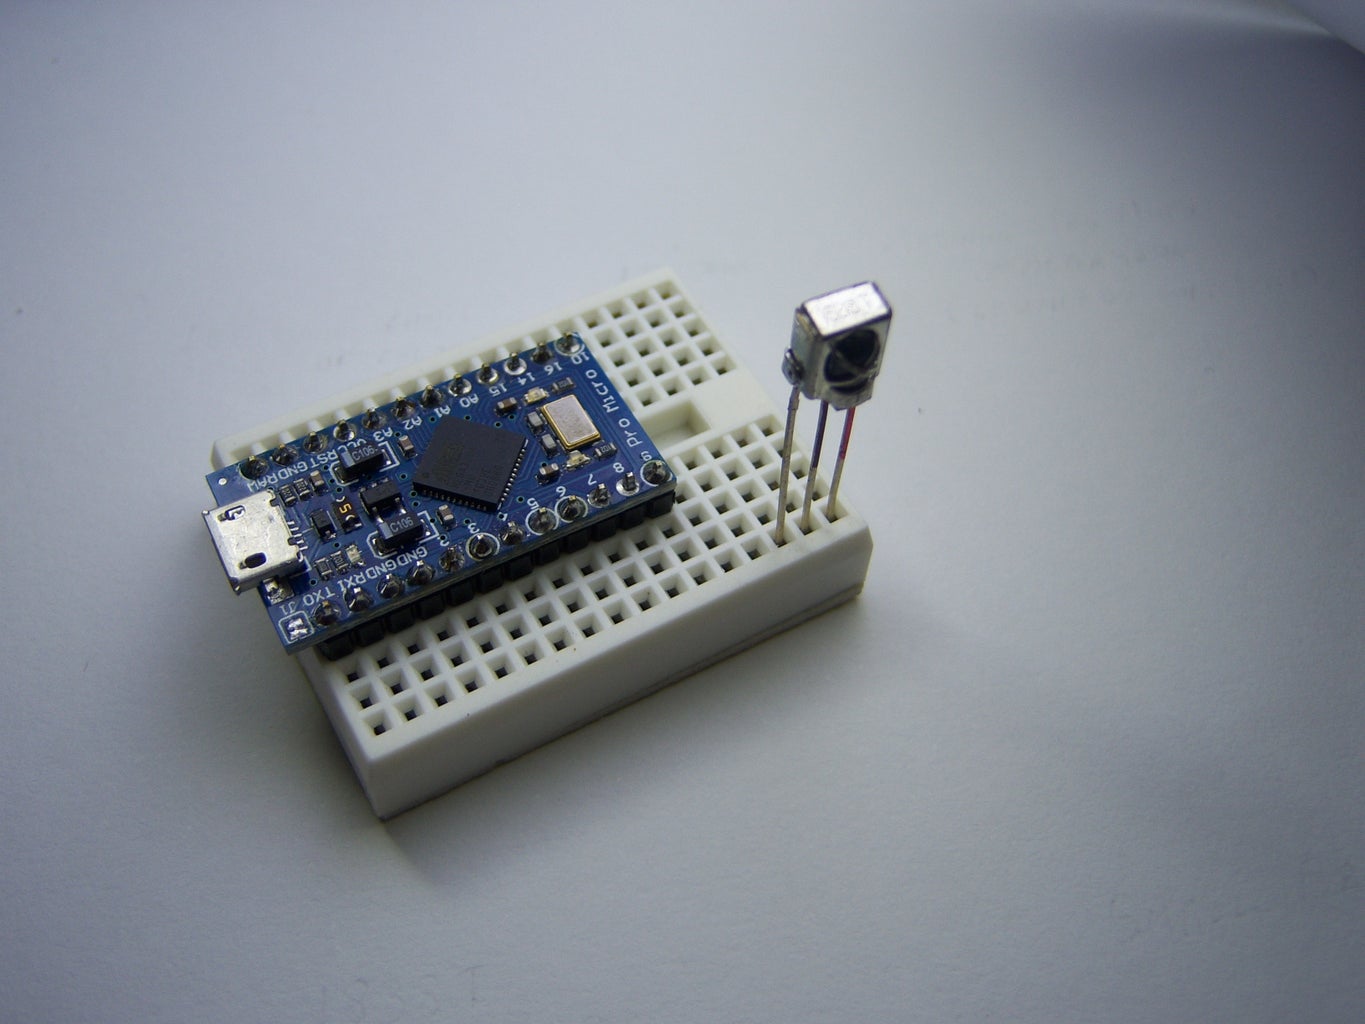
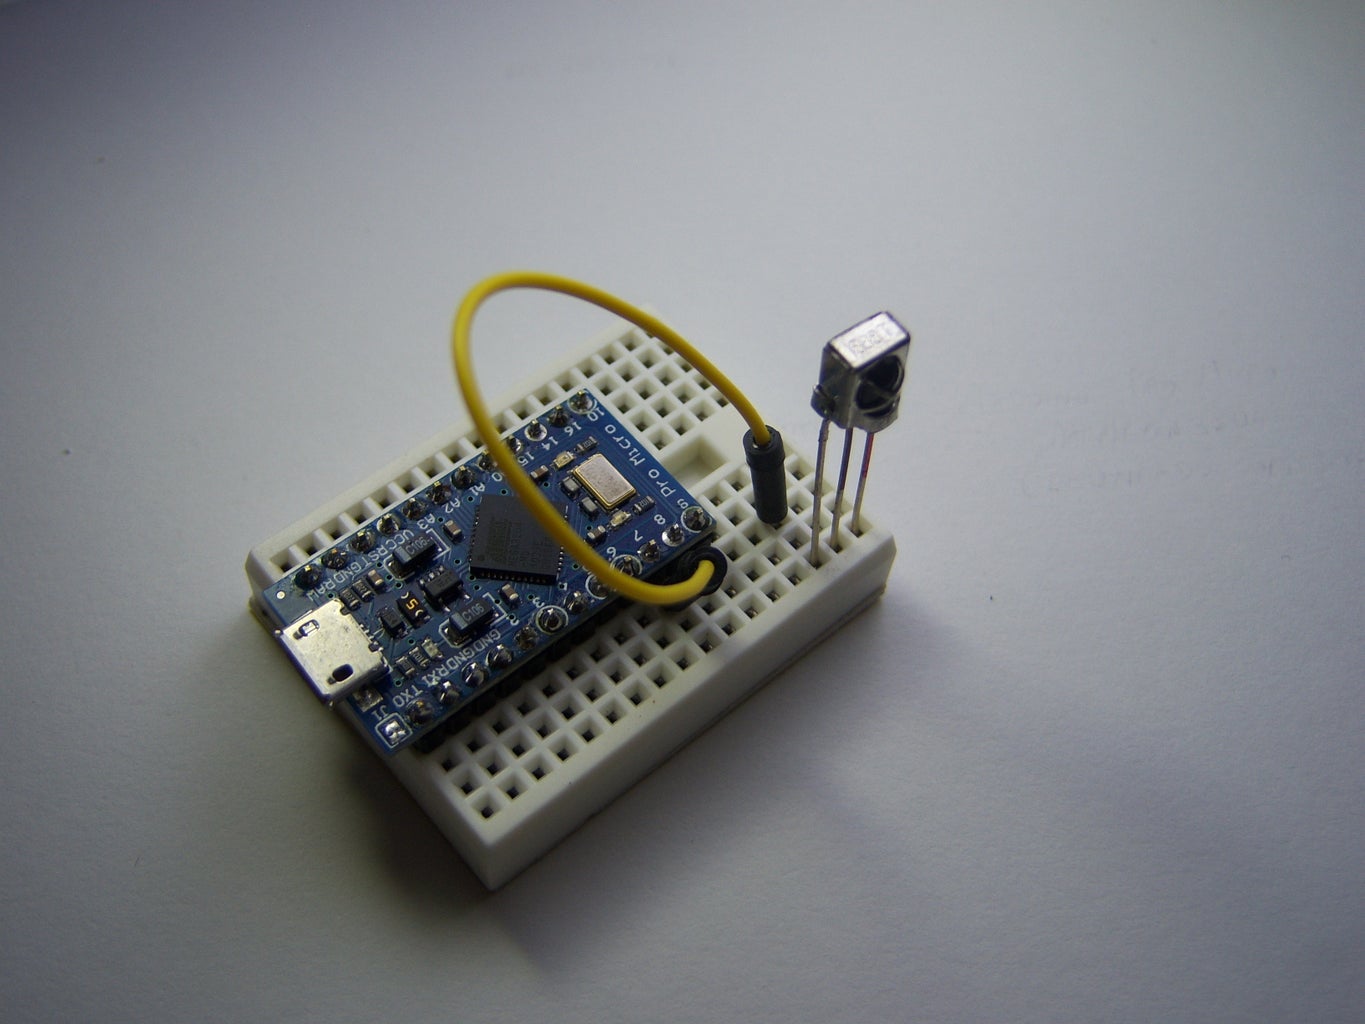

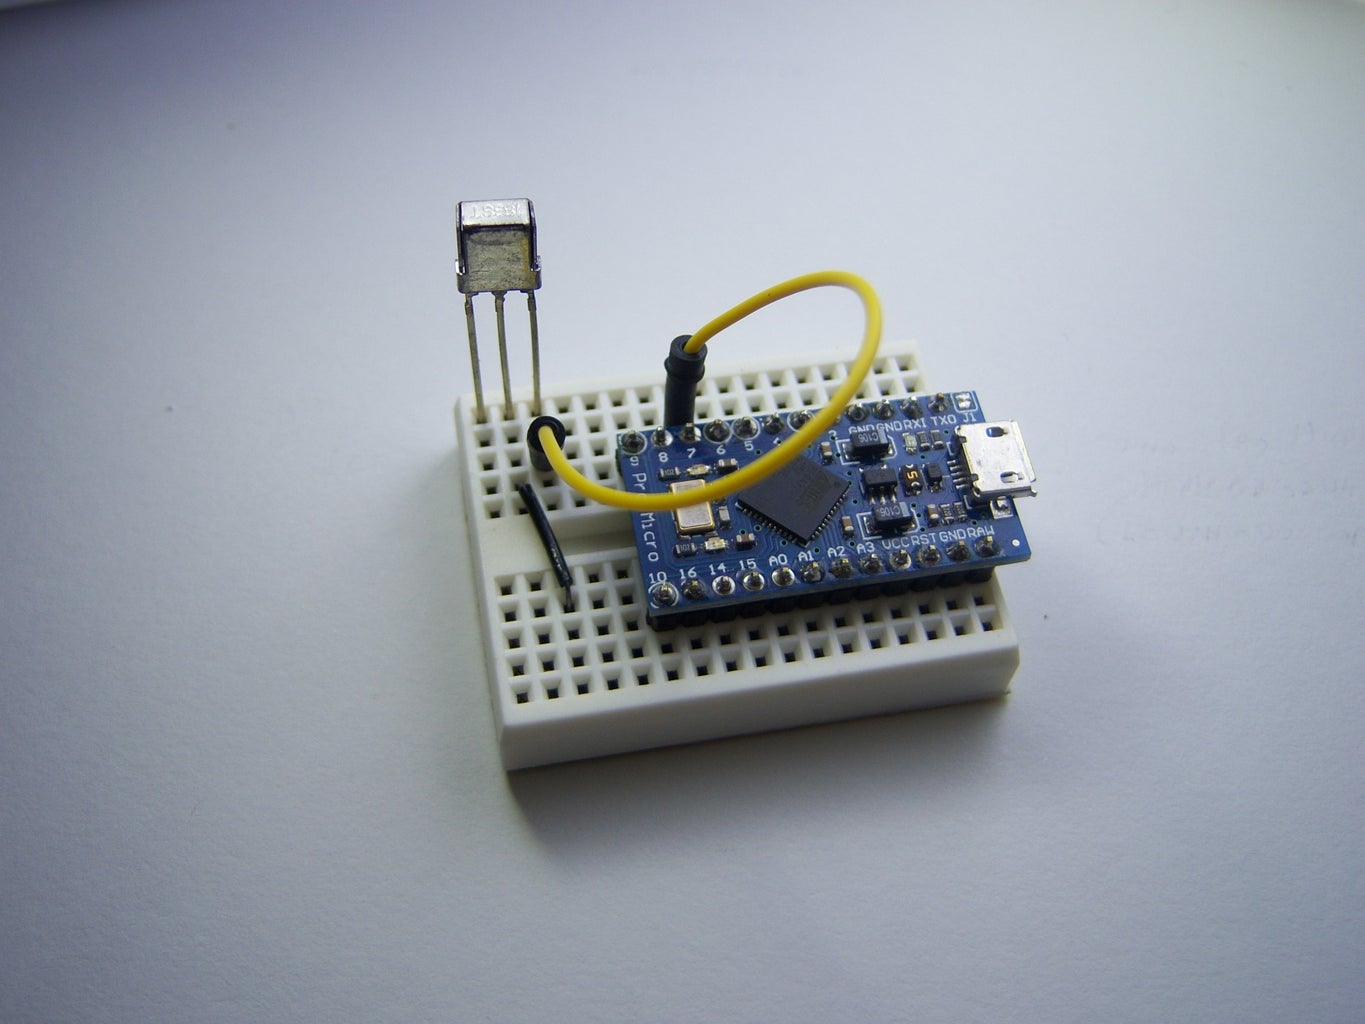
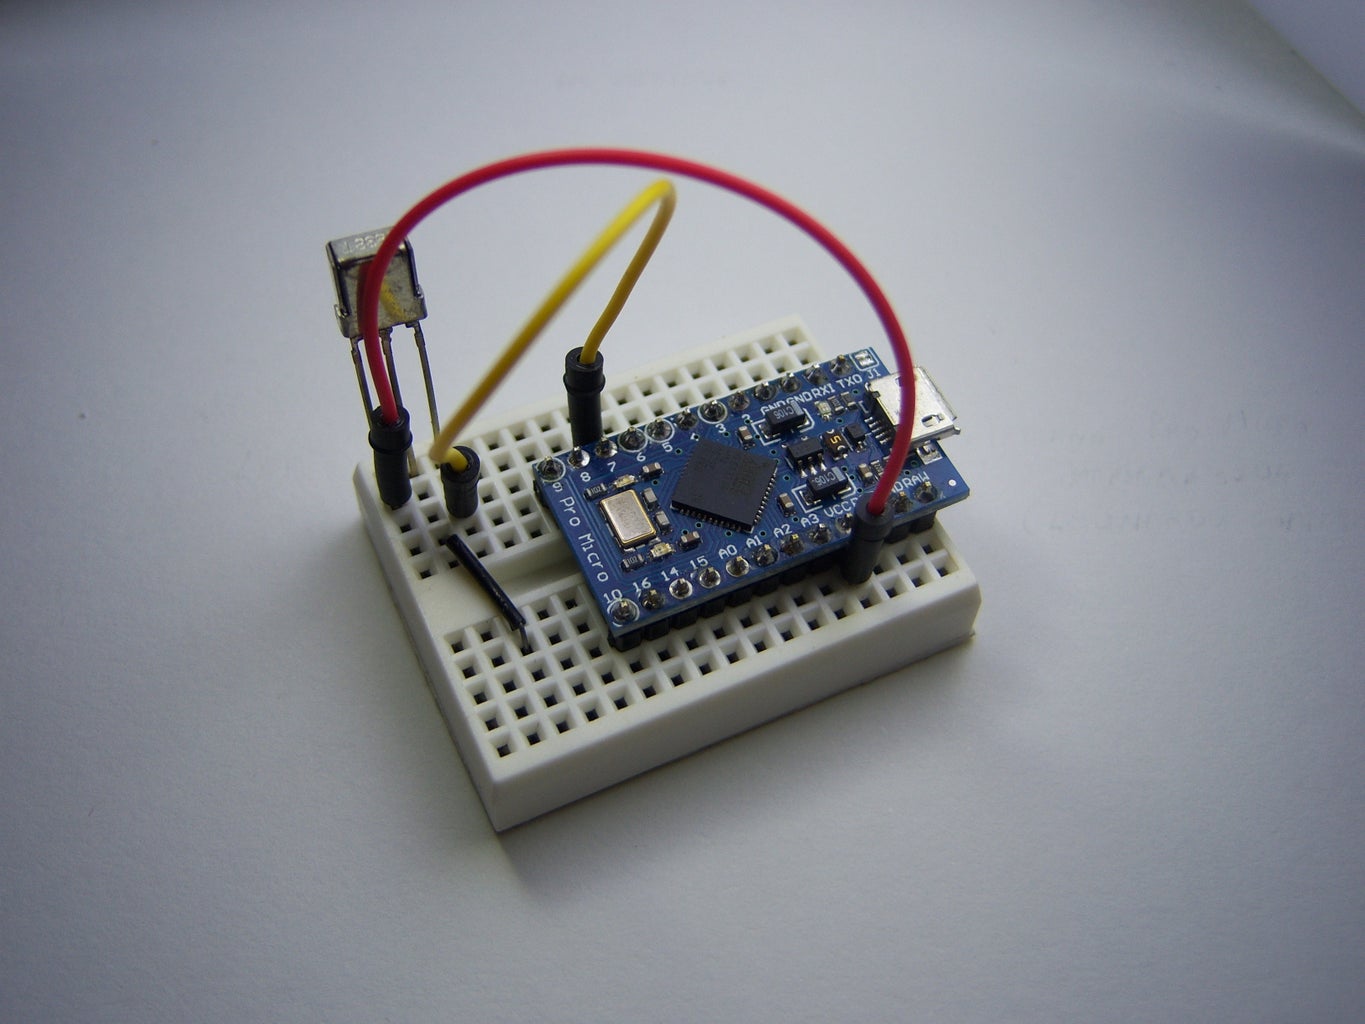
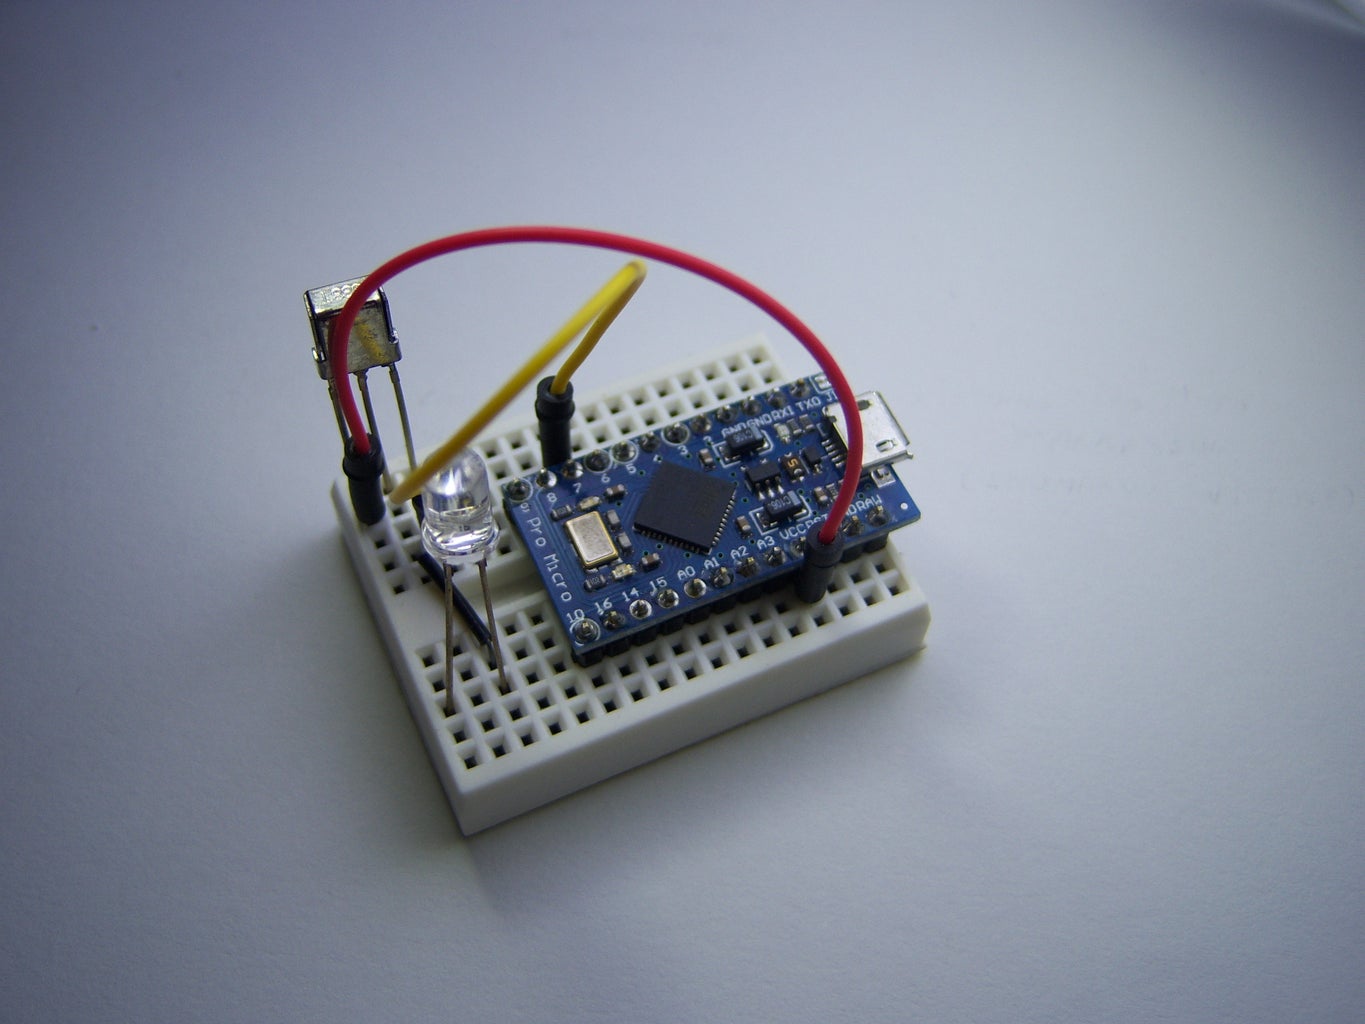

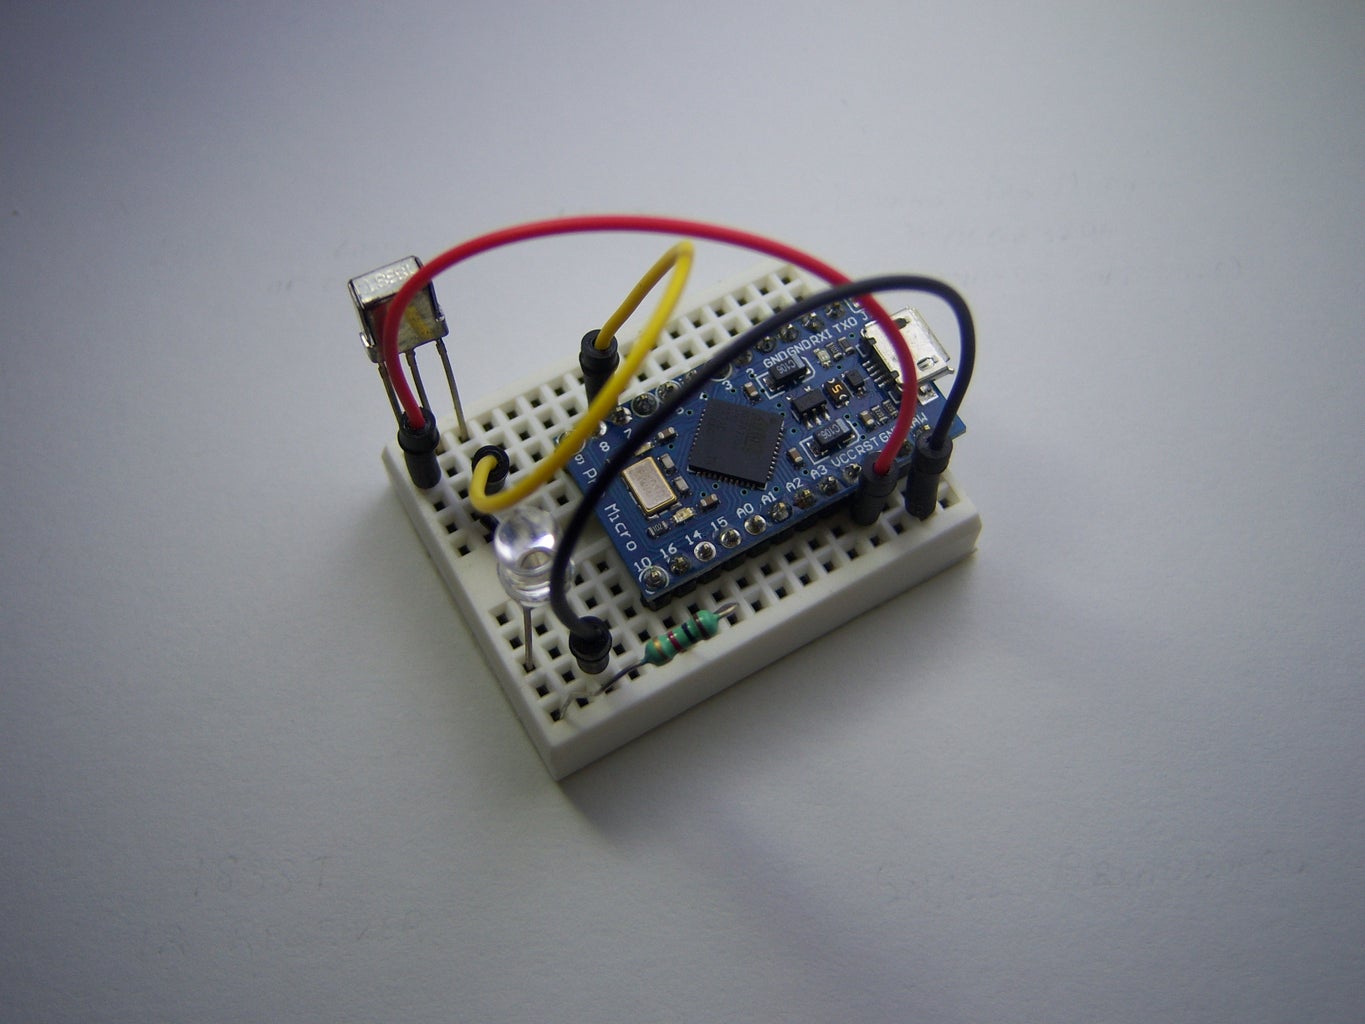
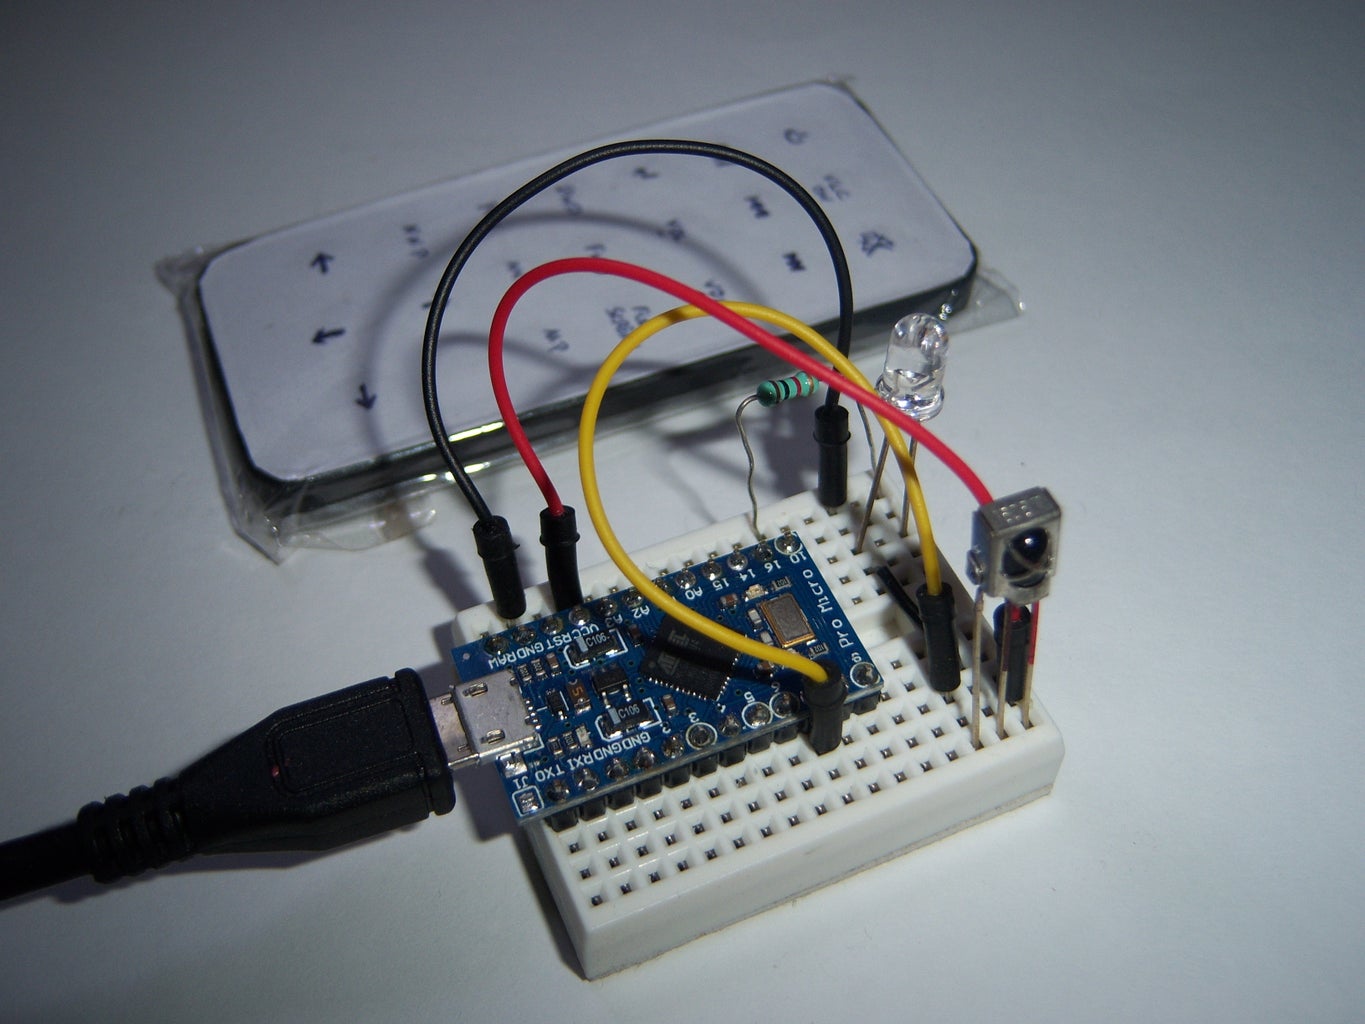
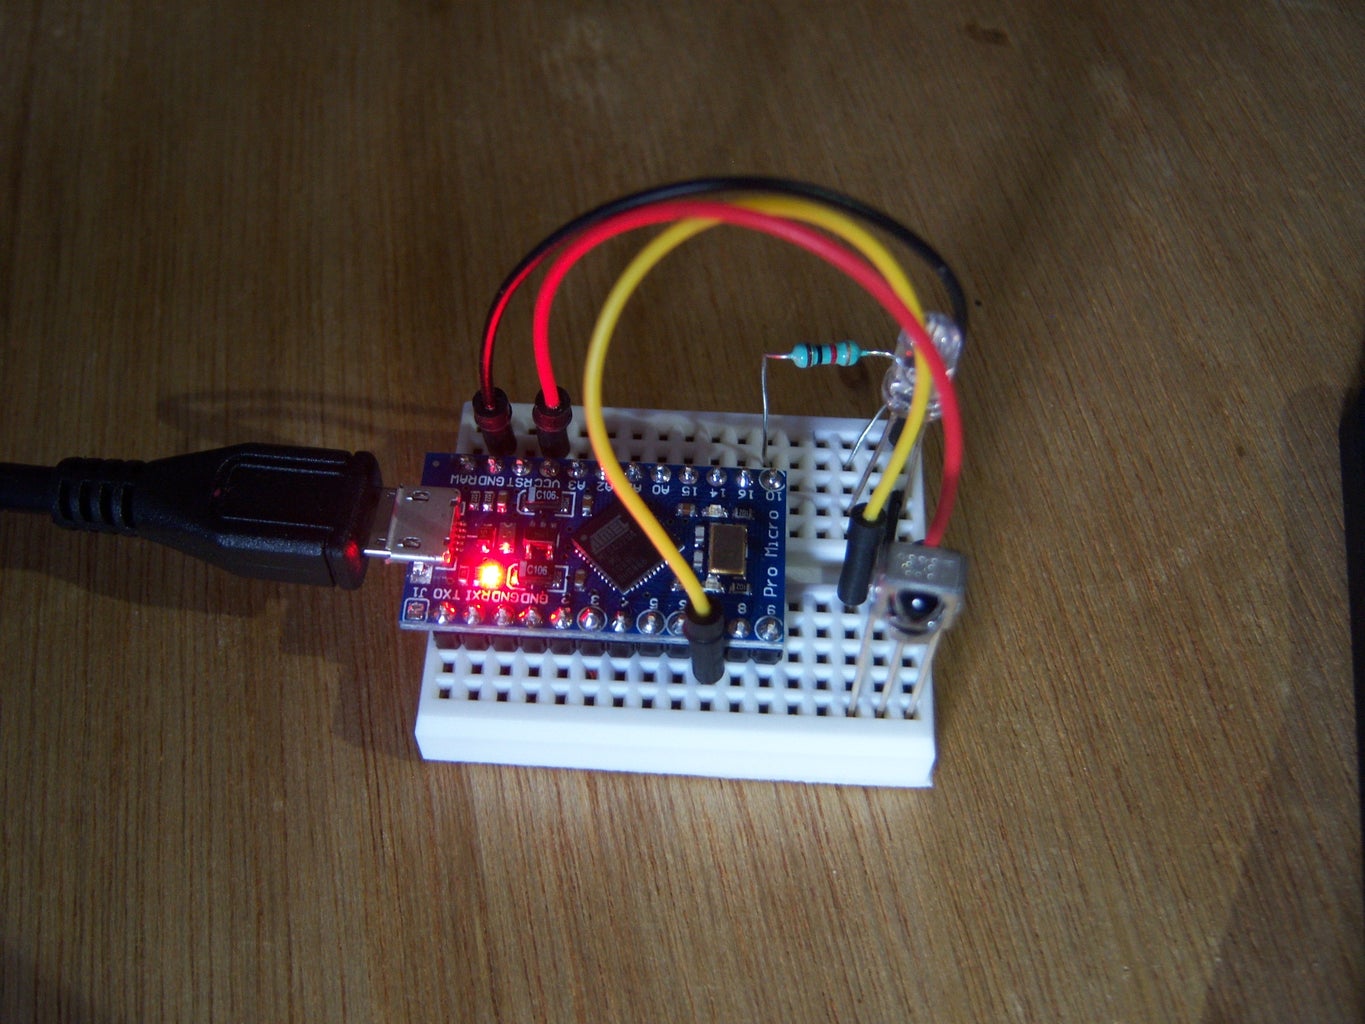
Following the datasheet, the IR receiver is connected to the breadboard and using jumper wires to connect them to appropriate pins in the Pro Micro.
IR Receiver's output pin is connected to Pro Micro's pin 7 and powered by VCC pin (5V provided by the USB connection from the computer) and GND to GND pin.
LED is connected to pin 10 and GND.
Follow the pictures above to get clear. If you want a schematic diagram let me know in the comment & I'll upload as soon as I can.
Step 4: Getting the Code for the IR Remote Buttons
Unzip the Arduino-IRremote-master.zip file attached here and add it to the arduino library.
Upload the IRrecvDemo.ino from examples folder.
This will help to show the decimal code of the particular remote button in the serial monitor.
Note: The code below allows the serial monitor to display the code received from th IR receiver in Decimal hence DEC.
Serial.println(results.value, DEC);
If you want to use hexadecimal code just simply change the DEC to HEX, like
Serial.println(results.value, HEX);
Kindly stick to one of the code either DEC or HEX in all the codes.
It is helpful to write down which code belongs to which button to avoid confusion later. I used spreadsheet to write mine down and while coding you can just copy the appropriate button's code from the spreadsheet.
Attachments
Step 5: Customizing the Code to Execute Funtions in Computer

http://arduino.cc/en/Reference/KeyboardModifiers#.... you can refer to this link on what coding should be used for specific keys in the keyboard.
http://www.asciitable.com/ you can also refer this link to get more codes for the keyboard buttons.
Use the code attached and make changes to the remote button codes.
This is a useful tutorial on how to use HID function
https://www.sparkfun.com/tutorials/337
You can add more functions as per your requirements.
To add more codes there are three places you have to insert the code.
I will show an example below:
Note:
Places with XXX means you can add your own name;
Places with YYY is the DEC/ HEX code from remote; and
Places with ZZZ has to changed according to the keys you need to press.
I'm just showing only what needs to be added to know where to insert them kindly look at the attached file.
1st Place
#define XXX YYY //use comments to make note of what the button does or refer it to the button on remote
#define XXX YYY
2nd Place
#define XXX_FUN Keyboard.press(ZZZ); Keyboard.press(ZZZ); Keyboard.write('ZZZ'); delay(100); Keyboard.releaseAll();
#define XXX_FUN Keyboard.write('ZZZ'); Keyboard.releaseAll();
Note: Keyboard.press --> presses the button such as arrow, ctrl, shift,..
Keyboard.write --> writes the characters a,b,c...
3rd Place
else if (results.value==XXX) {XXX_FUN; }
else if (results.value==XXX) {XXX_FUN; }
Any doubt kindly leave a comment and I'll help as much as I can.
Attachments
Step 6: Customizing the Remote


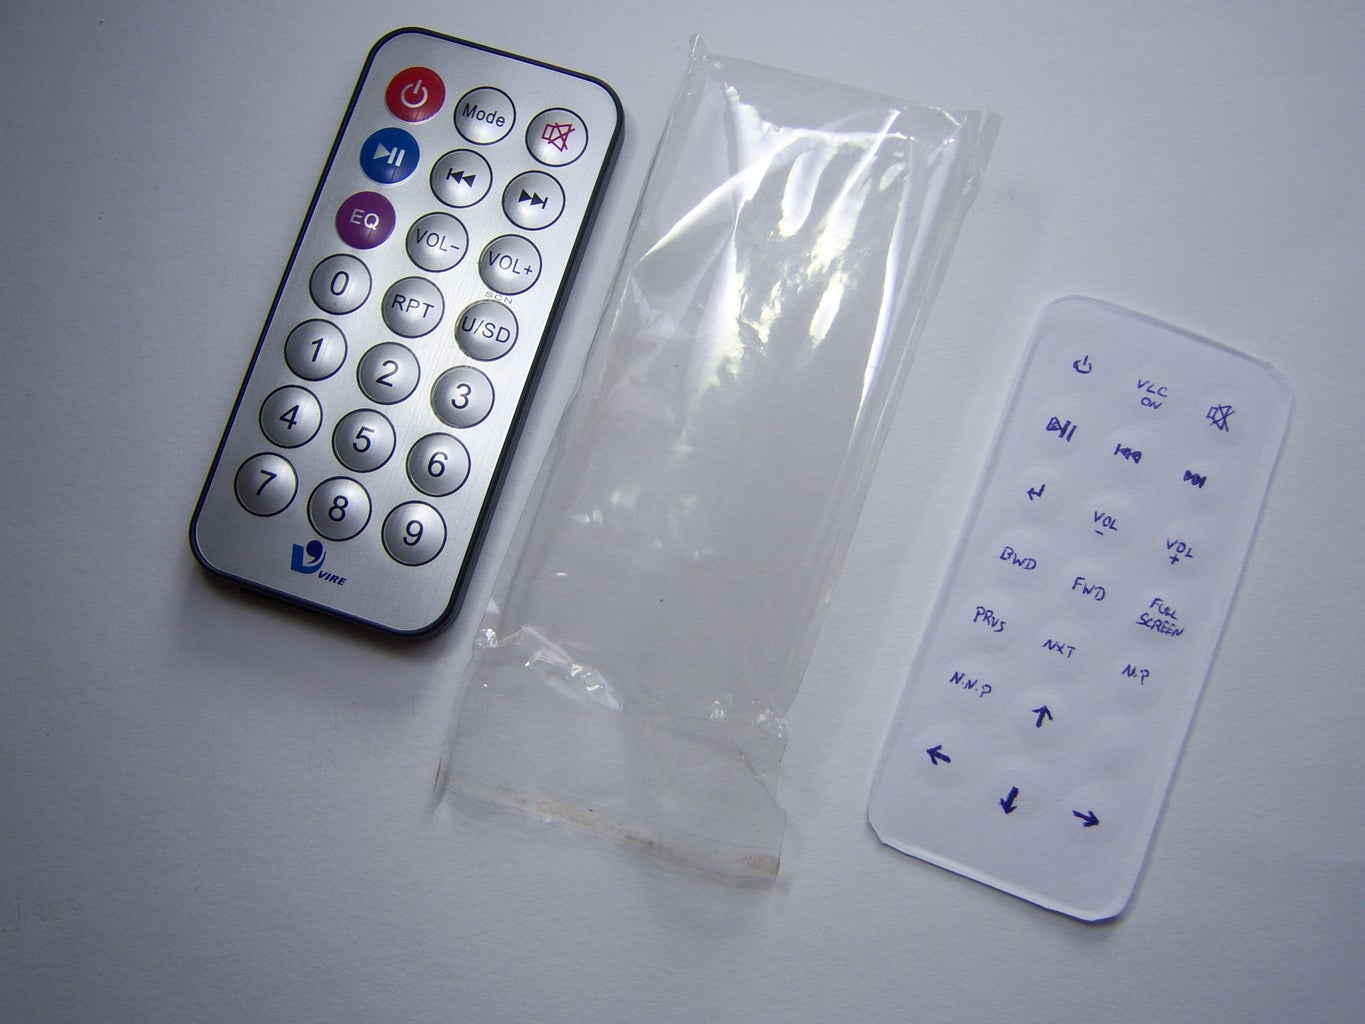

The numbers in the remote didn't suit my need therefore I wanted to make my own names for the buttons.
1) I took a paper and pressed the sides of the remote to make the impression of it and cut along the impression.
2) I placed the paper on the remote and used my thumb nail around the buttons to capture the form.
3) Using a pen wrote the names/ symbols I wanted (according to the function it has been assigned in the code).
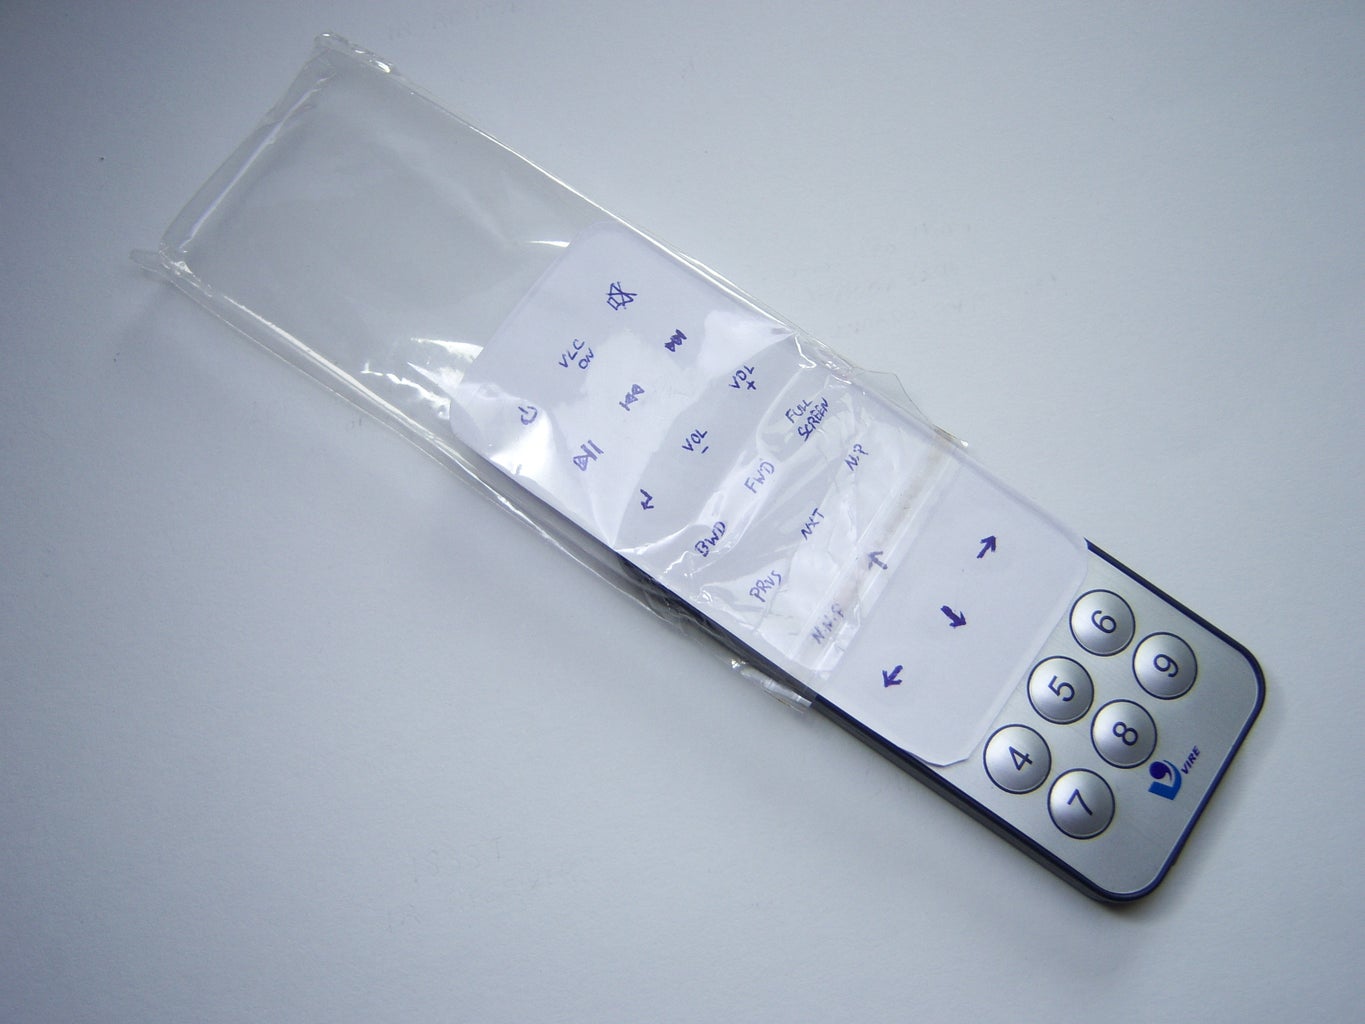
4) Used the plastic cover that came with the remote and inserted the label that I just made and sealed it.
5) A custom labelled remote is ready and can be changed any time I needed.
Step 7: Enjoy
You can the remote's button to press whatever keys you want to be pressed in a keyboard with appropriate code.
You can also add shortcut keys to programs and add that to your code, then you can launch the program by a single button in your remote. Like I have done in mine.(refer to the code in line #49 - IRrecvVIRE_HID.ino)
I have used my remote to control VLC player basically and the arrow keys and enter key so that I can select a movie using remote and also control VLC.
Show me what you have done with it.
And vote for me if you liked it!!!

Participated in the
Sensors Contest

Participated in the
Gadget Hacking and Accessories Contest

Participated in the
Arduino Contest

Participated in the
Full Spectrum Laser Contest


