

Introduction: Paint by Number Zelda Shield


My 11 year old cousin is one of the biggest Zelda fans I know. So when he heard that I was planning on making a Hylian Shield for myself he begged my to make one for him, too. I was really motivated and sat down with my Dremel trying to make the ornaments. Even after a whole day I was not able to get the symmetry I was aiming for. So I set the project aside.
A few weeks before Christmas I stumbled over the pieces and decided to give it another shot. By then I was the proud owner of a 3D printer, which allowed me to simply print all the ornaments for the shield.
Instead of painting the shield myself I decided to let him do it and as you can see in the second picture he did a really good job.
Step 1: Stuff You Need

- Grey primer
- Wood glue
- Door handle
- 7 mm plywood (2 pieces with 60x45 cm each)
- Wood filler
- Screws
- Leather belt (or a bicycle tube)
- Filament
- Strong glue
Tools:
- Jigsaw
- 3D printer
- Ruler
- Marker
- Drill
- Sander
Step 2: Print the Files

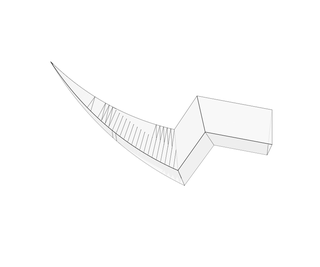
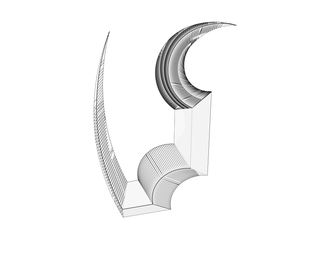
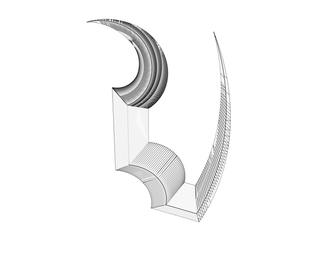
Start by downloading all the files. You will have to print each attached file once, except for file "Circle.stl" which has to be printed three times.
My printer bed is to small to print the whole Triforce in one go, so I decided to separate it into two pieces. After all the pieces are printed use a plastic primer, to ensure that the paint later sticks to them properly.
Attachments


Step 3: Sawing


In order to print the stencil, download the pdf file attached to this step and print it as shown in the first picture. I used wood glue to hold it in place. If your fretsaw is strong enough you can simply clamp the two pieces together and saw along the line on the outside at the same time. After you've finished the line on the outside, unclamp the pieces and saw along the line on the inside of one of the pieces. Your pieces should now look like the ones shown in the third picture.
Now all left to do is to glue them together.
Attachments

Step 4: Attach the Handle


Drill a small hole through the front of the shield. Widen it, so that the screw head is flush with the wood and fill the hole with wood filler, as shown in the pictures. The handle I bought was to short, so I had to extend it by 3D printing two small tubes.
Step 5: Glue the Ornaments in Place


Start by marking the middle of the shield and use a strong two component glue to attach all the ornaments (except for the triangles of the triforce). Prime the whole shield with a grey primer. I used multiple thick layers to get a nice and smooth result.
In order to being able to properly hold the shield you will have to attach either a rubber or leather band. I simply used an old bicycle tube and attached it with wooden rectangles. As you can see in the third picture I accidentally attached it to high and had to use extra screws to properly hold it in place. Make sure that everything fits before you screw it in.
It is easier to attach the triangles after painting the shield, therefore I spray painted them golden, but didn't glue them in place.
Print the Hylian Crest. Use a pencil to paint the back of the paper and trace the lines onto the shied with a ballpoint pen. I used a small marker to prevent the lines from rubbing off. Afterwards I marked the parts with numbers, according to the colour they have to be painted.
Attachments

Participated in the
Holiday Contest

Participated in the
Manly Crafts Contest

Participated in the
Workshop Contest


