

Introduction: Pallet Wood Patio Table


More by the author:


About: I live in the Kansas City area and I love to learn and make stuff. Instructables has become my new best friend!
I wanted to make a patio table because the one I have currently falls over when the umbrella is open with any kind of wind. I thought a pallet wood table could be both strong enough and heavy enough to keep the umbrella in check and still do okay outdoors.
Step 1: Breaking Down Pallets


- The first thing I did was dismantle some pallets I picked up from a friend's work place. If you're unsure of where you can get pallets I would check craigslist or any place that sends/receives large items. There are many ways you can dismantle pallets. I used a reciprocating saw. Make sure if you're doing this that the blade used can cut both wood and metal. Pallets are riddled with nails.
- Once the planks were apart and the nails were removed, which takes a while, I sent the thin slats through a couple of passes through my jointer which will make them flat on one side. Once that was done I put them through the thickness planer to make them all the same thickness. I believe I made them all 1/2 inch thick. Most pallet slats are random sizes so I wanted them all equal for the next step.
Step 2: Making a Base and Adding a Sub Top


- For this step I used the 2x4s left from the pallet. I wanted the whole table to be made from pallets. To make the legs I cut equal sized boards using a miter saw. Be careful when cutting the 2x4s from a pallet in any kind of saw because as I said before they're usually riddled with nails. You'll definitely know if you hit a nail. Once the boards were equally cut I glued and screwed them together making for sets of legs.
- I then used the longest 2x4s from the pallets I could find to make runners from one set of legs to the next. I wanted people sitting at the table to have a place to put their feet as well as give the table more support. Once the runners were attached to the frame on both the top and towards the bottom it was time to add the sub top.
- It is also important to note that I did put a couple of cross braces under the table. I forgot to take a picture of that part. This is an important step because your table will need that added strength if something heavy is applied to the middle.
- Once this was done I started setting the 1/2 inch slats I had previously planed down to make a sub top. Once they looked good in the order that worked out well I tacked them into place with a brad nail gun and 1 1/4 inch brad nails. Looking back on the project I should have glued or maybe screwed these pieces into place.
Step 3: Designing the Top and Applying


- I wanted the top to have a chevron pattern so I decided I would make each slat into 2 inch pieces. I rip cut all the slats I had left over into 2 inch slats on the table saw. First thing I knew I had to do was find the center point of the table and draw a line.
- Once the center point was found I started laying down my slats. I wanted the table to maintain a very rustic feel so I didn't plane these boards down on both sides. Just the one side so they would rest flat against the sub top. I started the pattern on the top using a speed square registered against the end of the table and used a framing square to get my angles right. Once I found the right shape for the pattern I laid down my first slats and nailed them into place.
- The rest of the pattern was very repetitive and very easy to lay out. It was more time consuming that anything. Also, It is important to note that rather than just using a brad nail gun you should also glue these slats to the sub top as well and not just use brads. (Once the table had been outside for a couple of weeks the brads started to come up out of the table and the slats had to be pounded back down).
- Once the top was all laid down it was time to trim the edges. If you wanted to very flush cut table top you could clamp a straight edge to the table and use a router or circular saw and make that flush look. I used a jig saw and tried to eye ball it which gave it a rustic look in itself because I wasn't super steady with this step. However, I was fairly pleased with how it gave it a little character.
Step 4: Drilling a Hole for the Umbrella


- Using a hole saw that would accommodate the size of the umbrella I have I found what I thought was roughly the middle of the table. I drilled a hole through the table and rounded over the edges with a palm sander. After this was done I spent quite a bit of time with the palm sander getting the boards to be fairly even. I didn't want it to be completely flat and even because I wanted it to have a rough look with a pretty finish on it.
Step 5: Adding the Stain and Sealer


- Once everything was sanded down and wiped with water I let the wood dry while I went to Ace Hardware to find some stain. I found a natural color stain I really liked. I wanted to bring out the natural color of the wood and the stain was perfect for this. I applied 2 coats to the entire table and allowed it to dry completely.
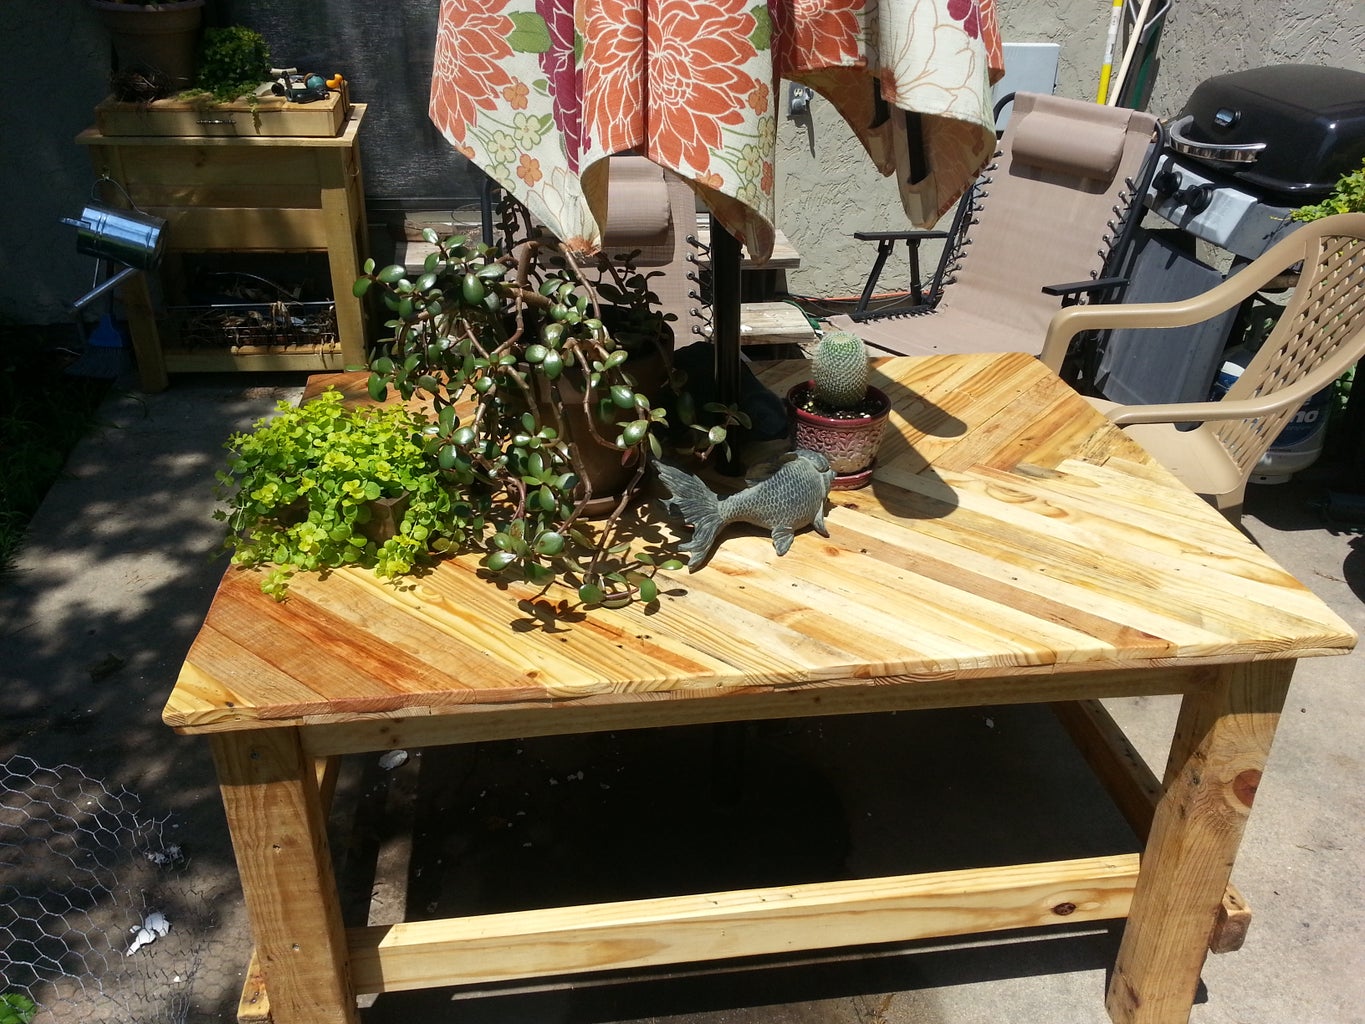
- Once the stain had dried completely I used spray lacquer and went over the entire bench several times. I wanted to make sure the table could with stand the out doors and keep the finish. So far it has worked out great and I love the look of the table on my patio!


