

Introduction: PiClock


I had a 4-digit 7-segment LED display and did not know what to do with it. After seeing the clock contest, I decided to use it for a digital clock. So, here is how I created my clock.
Step 1: Parts

12 ~ male-female wires
1 ~ breadboard
1 ~ raspberry pi
1 ~ 4-digit 7-segment LED display
1 ~ role of scotch tape
1 ~ piece of paper
Step 2: 4-digit 7-segment LED Display to Breadboard

First, connect the LED display to the breadboard. Second, place the raspberry pi on the breadboard and tape it to the board.
Step 3: Connect the Wires
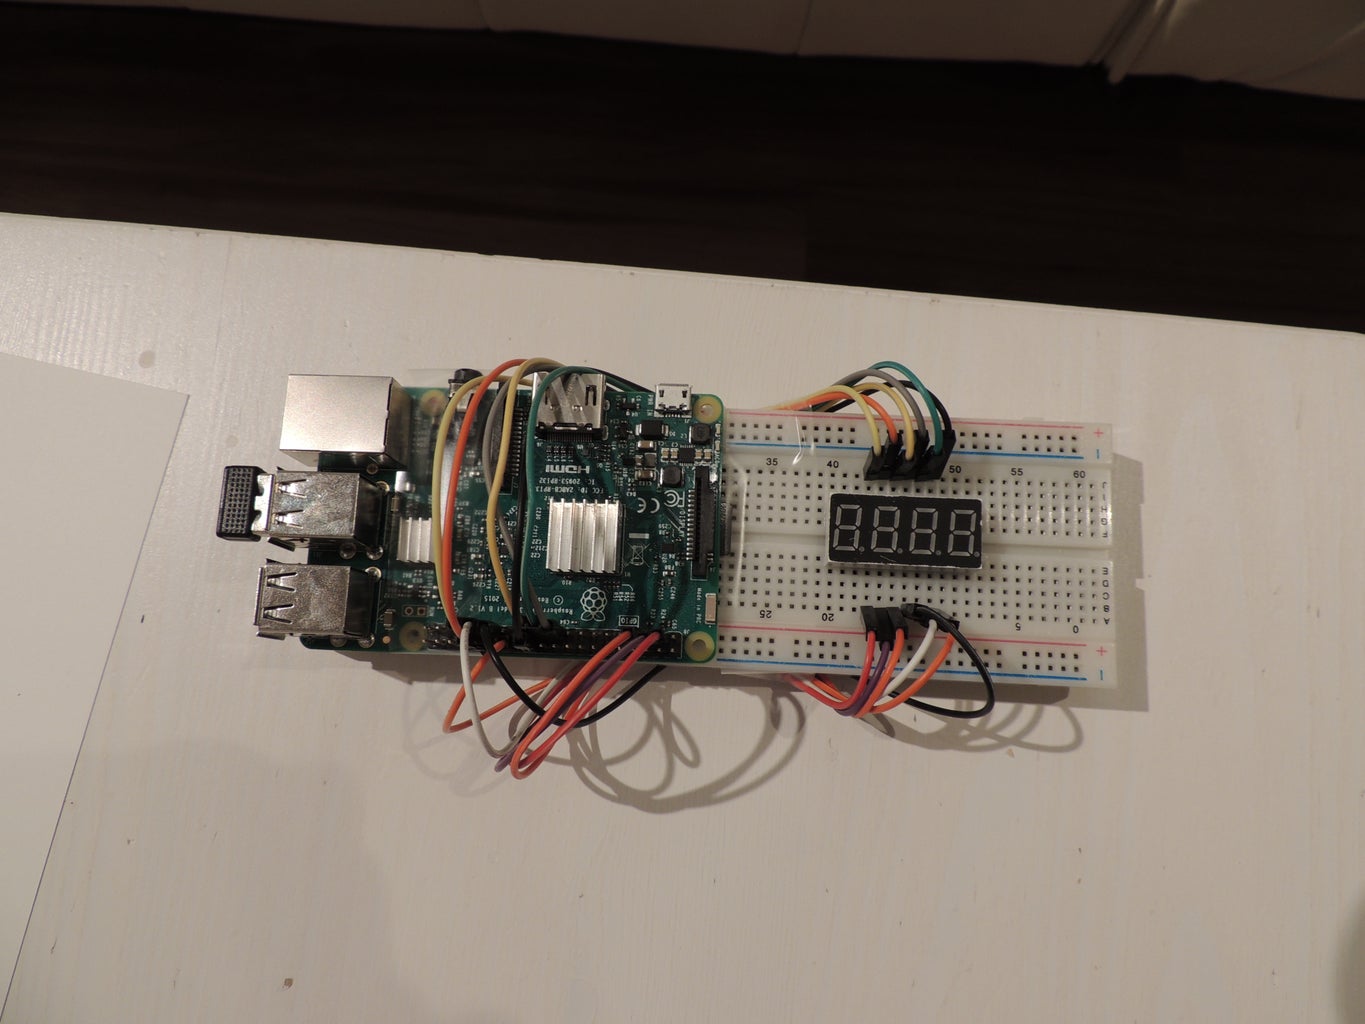
Connect all twelve wires to the raspberry pi and the breadboard. After that, tape the wires under the breadboard to keep them away from the LED display.
Step 4: Tape to Paper Stand


Tape the breadboard with all of the components to the piece of paper. Then, fold the paper to make it stand on its side.
Step 5: Download and Run

Download the python document, run it, and enjoy the clock.
Attachments


Participated in the
Clocks Contest


