

Introduction: Pocket Knife Maintenance: Tighten, Adjust, or Reposition Your Clip


When Spyderco introduced their ClipIt pocket knives in the 1980s, they used what they called an integral clip which was made of plastic, and was formed as a one-piece extension of the handle scale. While some of these knives are still around, many were lost when the clips eventually snagged on something or other and broke off. Unable to replace the clip without replacing the whole knife, you were pretty much out of luck if you wanted to secure it to your pocket.
Ever since, manufacturers have used metal clips which screw on, and can be removed or replaced. Some manufacturers put in the extra effort to drill multiple screw holes into their pocket knife scales, giving you the ability to reposition your clip in order to carry your knife on the left- or right-hand side, as well as in tip-up or tip-down carry position. While mostly considered this an obvious improvement over the original plastic integral clips, they still snag from time to time, and this can cause a clip to loosen up over time or get bent totally out of shape in some situations. While most reputable knife companies will sell you a new clip and screws for fairly cheap, it is often quicker (and sometimes easier) to simply re-bend the clip.
So whether your clip is loose, bent, or simply in the wrong position, read on to learn how to fix it!
Step 1: Tools Required

Most modern pocket knives from reputable companies such as Buck, Spyderco, Kershaw, Benchmade, or Cold Steel will use Torx screws to assemble their knives, including the clip. Some older knives, like Emersons, or the Kershaw Whirlwind I'll be working on, use a Philips screw, and yet others will use small Hex/Allen screws.
Here are some common sizes:
Torx: T5-T10, with T6 and T8 being the most common (these are what my Spydercos use).
Philips: Size 000-0, with 00 being common (this is what our example Kershaw uses).
Hex/Allen: sizes: 1/20", 1/16", 5/64", 3/32", 7/64", 1/8"
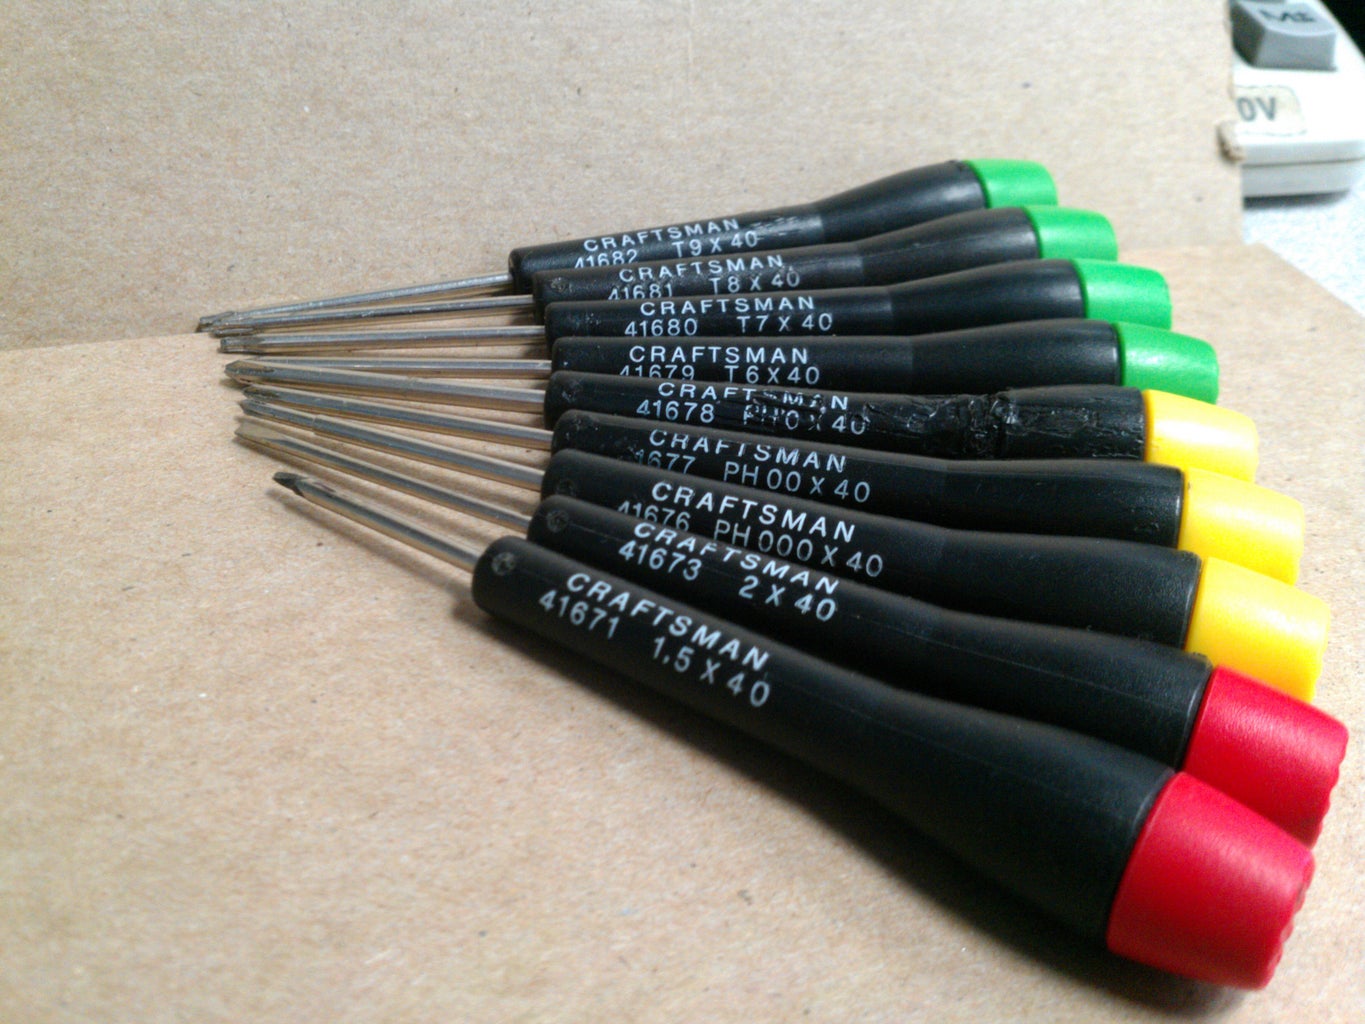
I like the Jeweler's drivers the best for working on pocket knives. They allow you to apply pressure and turn at the same time, which I feel offers a more positive engagement and prevents stripping of either the bit or the screw. At work we have a nice set from Crafstman (pictured), but here's my favorite $6 Torx multi-driver, from Husky. These are also great for working on electronics.
If you're going to be re-bending your clip, you'll also need two sets of pliers. Here I have pictured a set of vice grips and a set of pliers. The vice grips aren't ideal, but work in a pinch. If your clip is painted or you're worried about scratching it, you'll want a cloth or some masking/duct tape to wrap around the clip to protect it.
It's also a good idea to pickup a small tube of threadlocker, to prevent your clip screws coming loose in the future. Red loctite offers a good balance, keeping the screws secured without welding them in there in case you need to re-bend or reposition later on.
Step 2: Tip-Up or Tip-Down Carry?


Knife enthusiasts love to argue about which carry position is ideal, but the truth is that it really just depends on you and your knife.
The terms "tip-up" and "tip-down" carry refer to the position of the tip of the blade relative to the ground when the knife is folded closed and clipped into your pocket. My Spyderco Stretch on the left is currently set up for tip-up carry. The Kershaw Whirlwind on the right is set up for tip-down carry.
Both knives are set up for right-side carry. In addition to selecting tip-up or tip-down, the Spyderco has the option to carry on either your left or right side, as it is designed to be ambidextrous. The older Kershaw is designed for right-hand users, and does not have the option for tip-up carry.
Step 3: Remove Clip

I like to put the pocket knife on a non-skid surface, like a dish towel, or a mousepad. Some people choose to work on their pocket knives in a box, so that they don't lose any small parts. While this is a nice precaution, I find the dish towel adequate.
When you think you've selected the right driver to fit your screws, double-check with the next size bigger. If you get a snugger fit, use that one. Sizings between tool manufacturers and hardware manufacturers are not always perfect, and using a driver that's too small can cause a screw to strip (or with really cheap drivers, the bit may strip). Be sure to apply pressure inwards toward the screw as you rotate to remove it; this will also help ensure a positive fit and prevent stripping.
Watch out for your screws; if you're using a box, this is not an issue. If you're using a dish towel, just make sure you have enough space that if you slip on the knife you're not going to knock a screw to the ground.
Step 4: Rebend and Reinstall Clip


The key to re-bending a clip is to over-bend it. We're not talking about a 90 degree angle or anything, but for the clip to properly secure your knife it has to be engaged when it's installed, springing against the handle.
If you're concerned about scratching your clip (especially painted clips), now is a good time to wrap the end in a cloth (or tape it up).
Stick the end of the clip which has screw holes drilled with one set of pliers, and grip just past the area you want to bend. Hold tight, and start applying a steadily increasing force until you notice it start to bend. Stop, and test fit it against the knife. If you think you've got the tension right, install your screws (without threadlocker) and test it out. It should require a bit or force to pick the clip up off the handle, and needs to snap back into the handle when you let go. If it works, great! If the tension wasn't quite right, take it off again and re-adjust. Try to use small increments, it should only take a few test fits to get right.
Once you've got the fit right, apply some threadlocker to your screws and reinstall. As with lubrication, a little goes a long way. Be careful of spilling extra on your knife, as it will dry and harden fairly quickly and may be difficult to remove. Wipe up any excess, and enjoy your knife!


