

Introduction: Powering Arduino With a Battery


Make your Arduino projects portable by using a battery for power. From the Uno and Mega documentation pages:
"The board can operate on an external supply of 6 to 20 volts. If supplied with less than 7V, however, the 5V pin may supply less than five volts and the board may be unstable. If using more than 12V, the voltage regulator may overheat and damage the board. The recommended range is 7 to 12 volts."
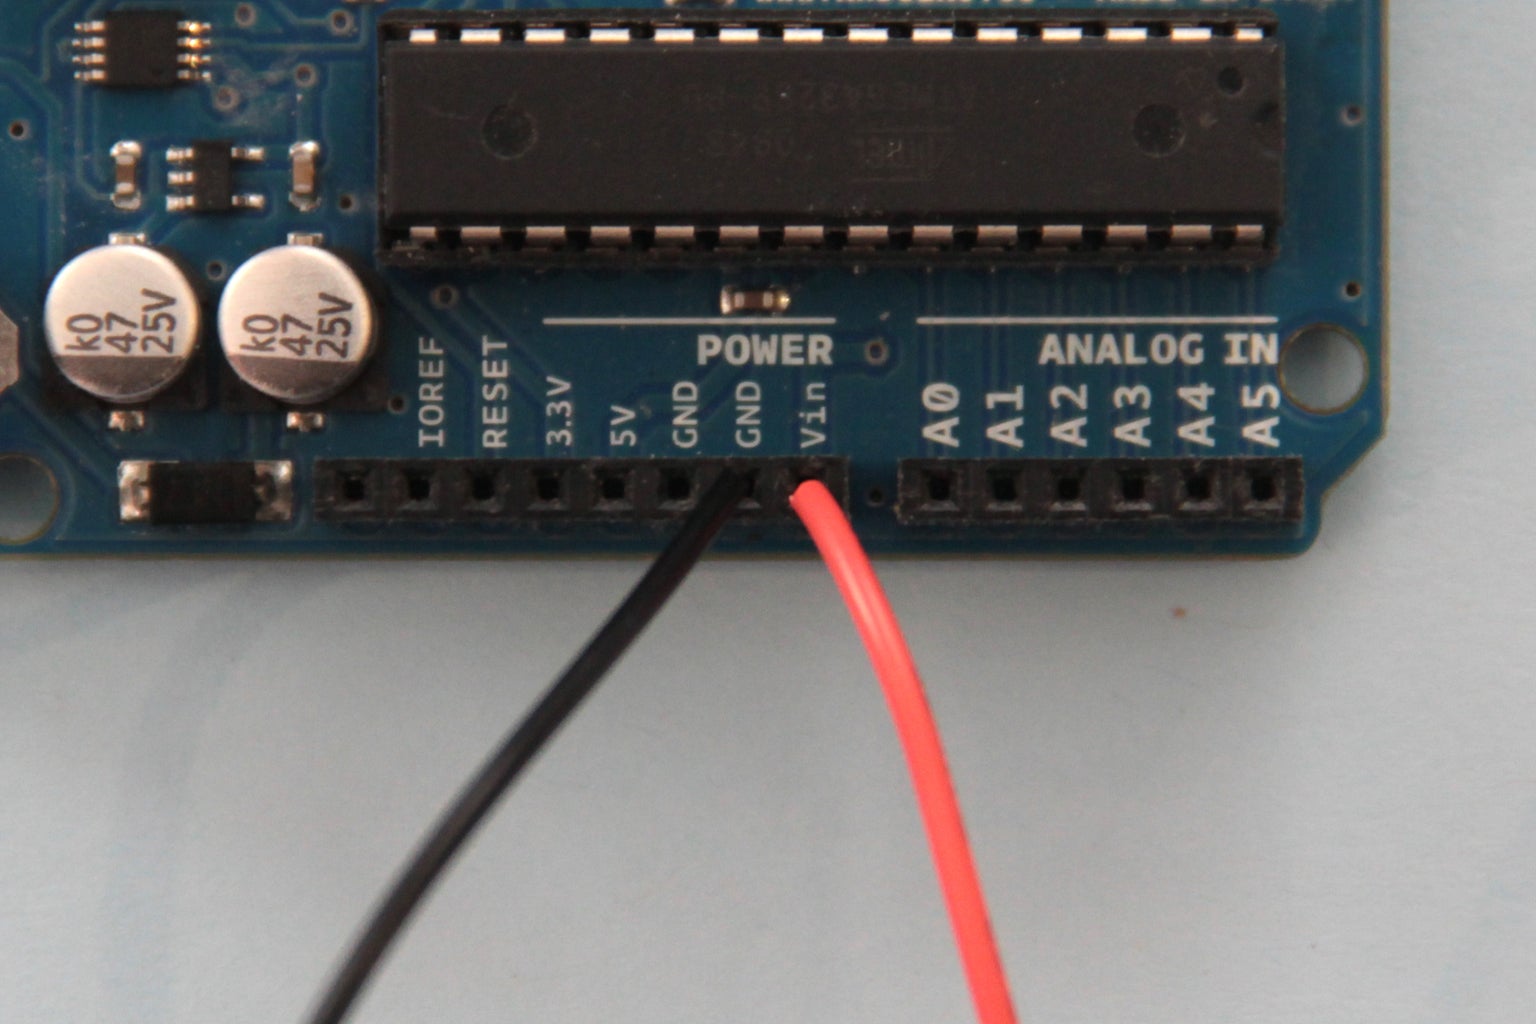
I've found that using 9V works well. You can simply connect the + end of your battery to Arduino Vin and the - end to Arduino ground (fig 1). You should see the green light on the Arduino turn on to indicate that it is powered.
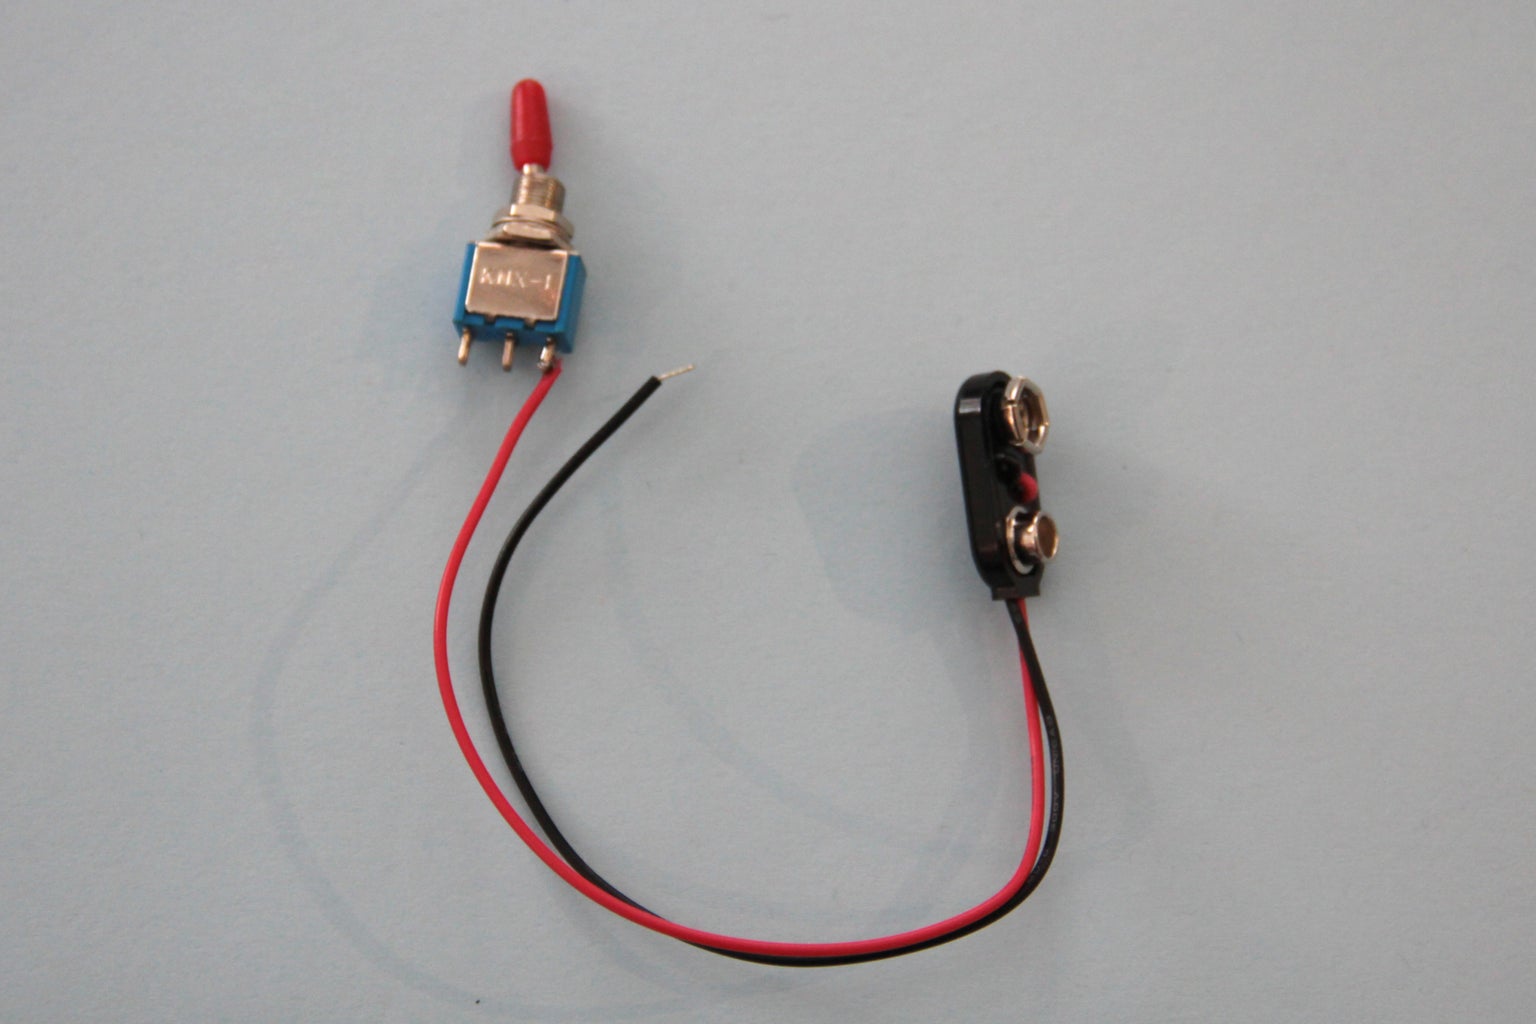
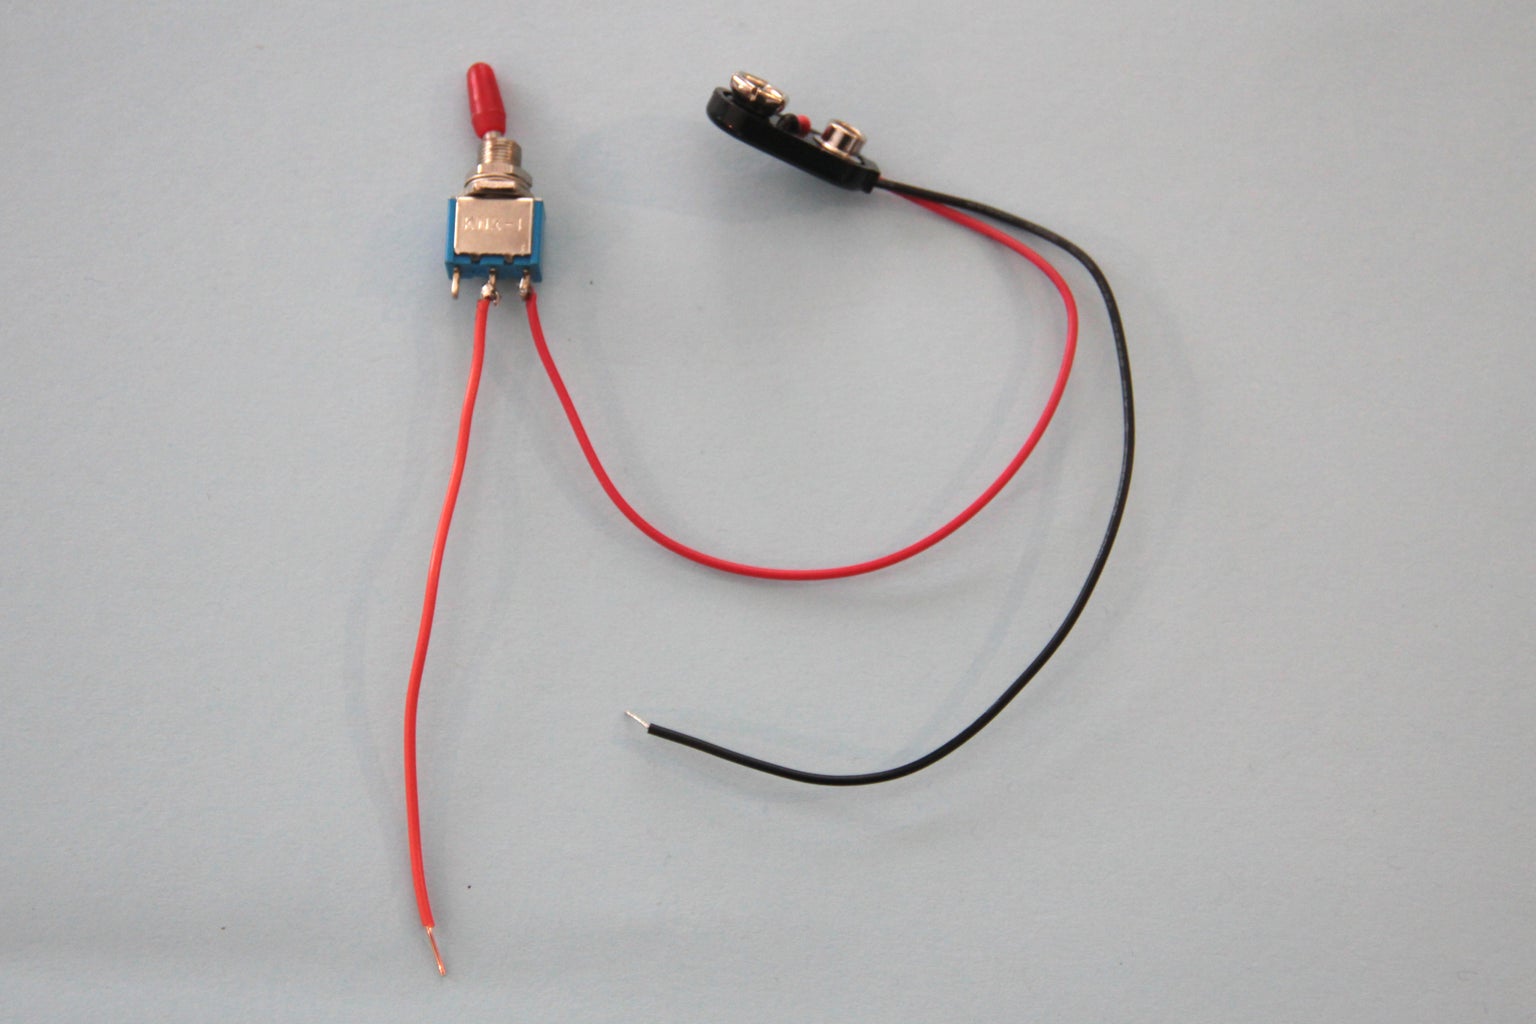
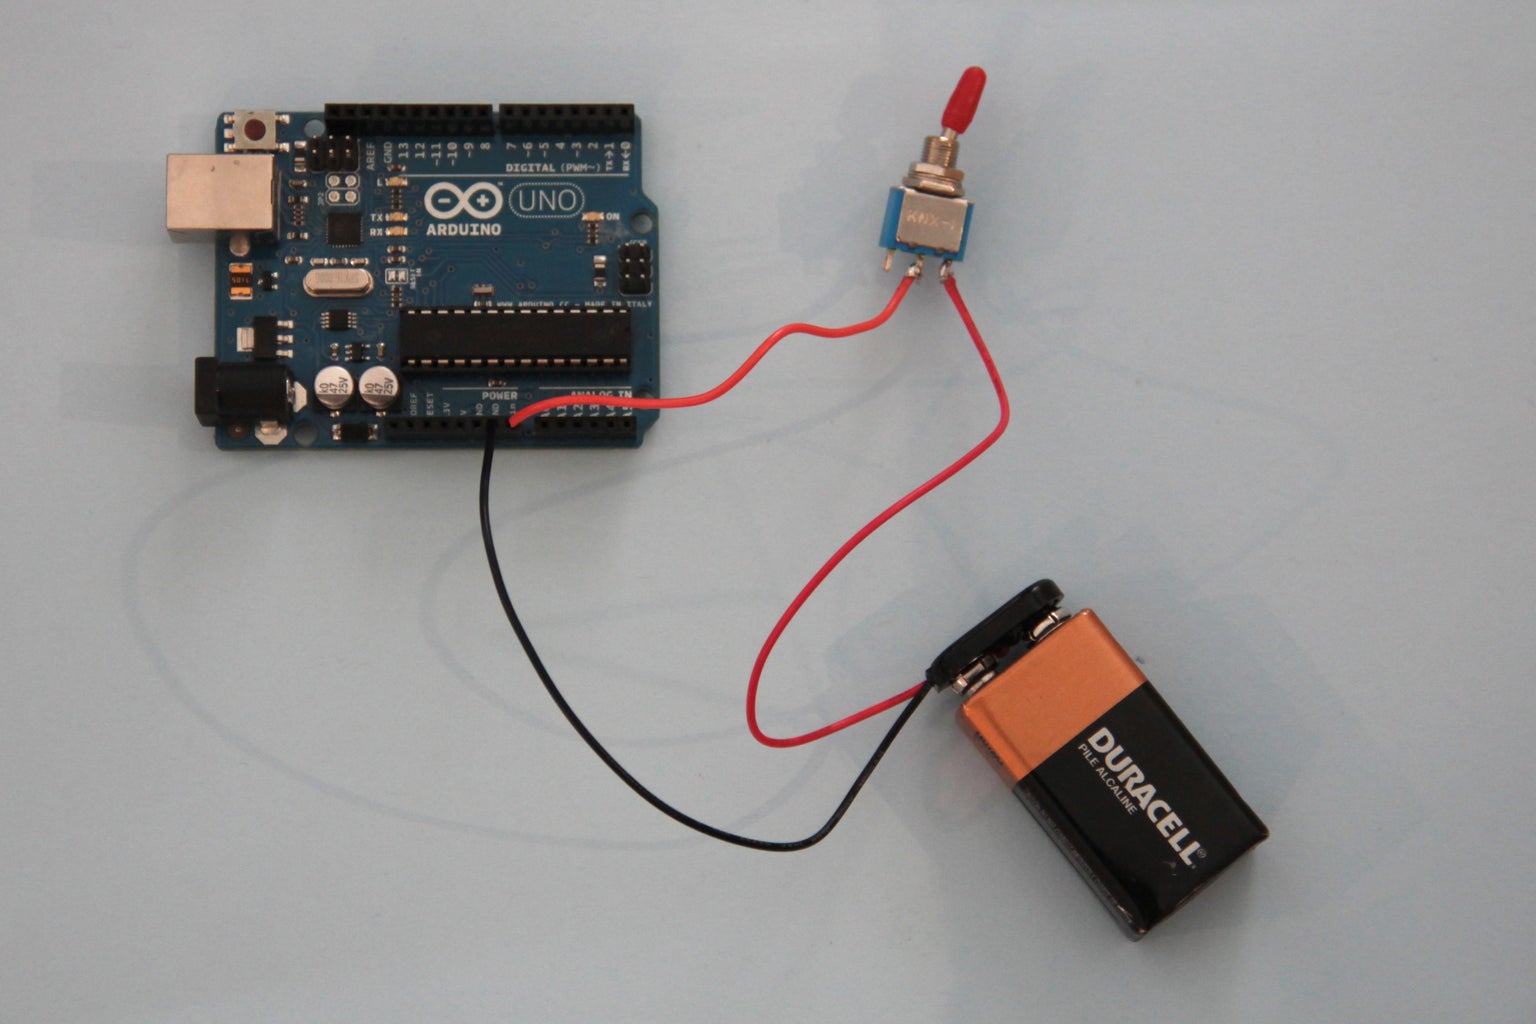
It's also a good idea to attach a toggle switch in series with this battery so that you can turn your Arduino off and on. As shown in the images above, solder a toggle switch to the red lead from the 9V battery connector. Connect the black lead from the battery connector to one of the Arduino's ground pins, and connect the lead from the toggle switch to Arduino's Vin pin. Snap a battery to the connector. Now your Arduino will turn on when the switch is closed and turn off when it is open (figs 5 and 6).
Parts List:
(1x) Arduino Uno Amazon
(1x) 9V Battery Amazon
(1x) 9V Battery snap connector Amazon
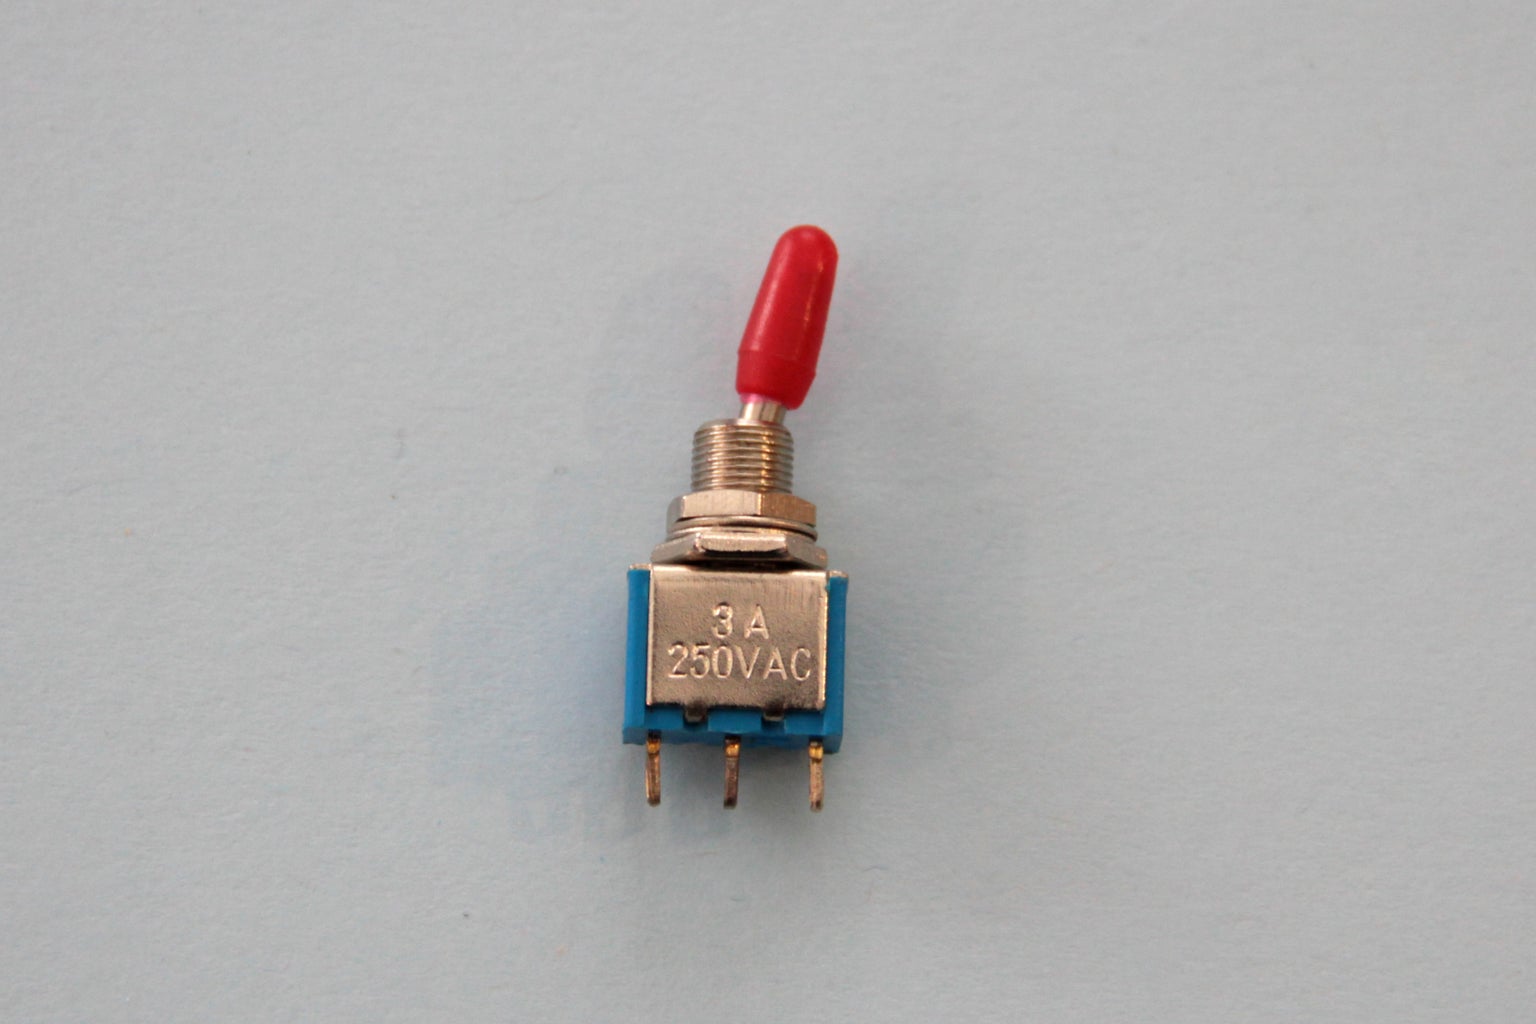
(1x) toggle switch Amazon (this one is a little different that that pictured, but it will work the same)
Alternatively, you can find these 9V snap connectors with the same n-tye barrel plug as the Arduino and plug into the barrel socket on the Arduino directly:
(1x) 9V battery snap connector to barrel plug Amazon

Participated in the
Electronics Tips and Tricks


