

Introduction: Prototyping Shield Kit for Arduino Uno R3 by Rob Goddard Designs

This guide has been written to show you how to assemble the prototyping shield from Rob Goddard Designs (www.RGDesigns.co.uk).
This shield was designed to offer a breadboard inspired layout allowing easy transitions to permanent prototype.
Step 1: Check That You Have Everything

The parts required to assemble this shield are included in the kit but it is important to make sure that you have everything before starting.
You should have:
1 X Printed Circuit Board
1 X 6 Way Stacking Header
2 X 8 Way Stacking Headers
1 X 10 Way Stacking Header
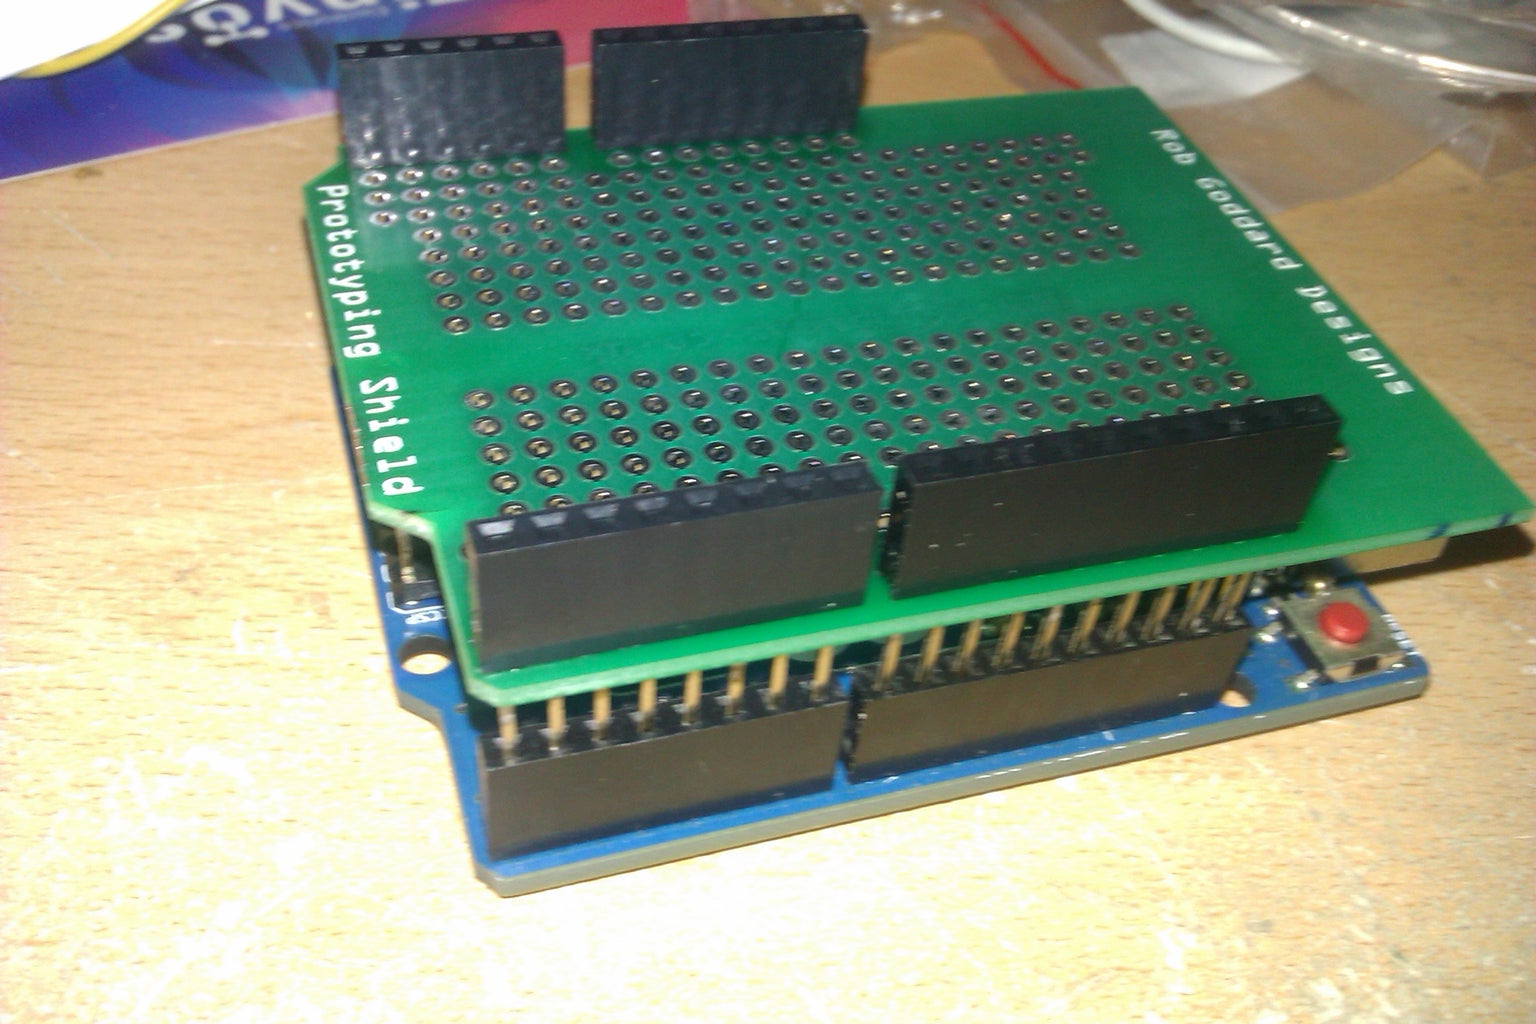
Step 2: Add the Headers

Push the headers through the board.
The white writing should be on the top of the board.
Step 3: Solder the Joints

Flip the board so that the weight of the board holds the pins in place. The holes through the board are tight enough that they should remain straight but the weight of the board should ensure this.
Solder the header pins into place.
Step 4: Enjoy Prototyping

Assemble your circuit on the board and enjoy.


