

Introduction: Quick Start Guide: Printing With a Makerbot Rep 2


This tutorial will get you up and running with your Makerbot Replicator 2.
You will need:
-a 3d model in an STL format
-Makerbot Replicator 2 (or similar)
-SD card or cable adaptor for the Makerbot
Step 1: Are You Going to Tether You Computer or Use an SD Card

I strongly recommend you to do the latter.
3D printing takes HOURS unless you are printing something really small and simple in which case it will take an hour.
Plugging your computer in USB will mean being stuck to the bot until the print is finished.
Now that you have decided to use the SD card reader lets mover on.
Step 2: Download Makerware

You will need to download a program called Makerware or Makerbot desktop in order to convert your STL file into a bot readable file. This is available here:
https://www.makerbot.com/desktop
Once you open the program it will ask you which bot you are using in order to give you a digital visualization of your particular build platform.
Step 3: Import Your STL File

Click ADD A FILE in the top right hand corner and choose the STL you would like to print.
You can even print more than one file at a time by placing them in different areas on the build platform.
Simply click ADD A FILE and choose anothe STL and you can drag them to arrange them on the build platform.
If your model is floating above the build platform the software will ask you if you would like to move it so the model is sitting on the platform. Click YES unless you are printing spaghetti.
Step 4: Customize Your Settings

In order for your model to print correctly you will need to customize the settings.
What type of material are you using?
PLA or ABS - If you don't know check the label on the spool on the back of the Makerbot
(There are pros and cons to each material, you have to choose which is best for your print)
Resolution- Do you want it to be faster or prettier or a happy medium? This depends on what you will be using your printed object for.
RAFTS AND SUPPORTS - This is the important one.
RAFTS- Like a life raft for your print, this layer of plastic is printed first and sits under your print and keeps it from peeling off the build plate during printing. If can be removed when the print is complete. The raft is useful if your print is long and flat because some warping may occur during printing due to temperature fluctuations.
SUPPORTS - Supports are what they sound like. They are there to keep your print from becoming a mushy pile. Remember there is no anti gravity device in your bot yet. (disregard if this is the year 3014 and no longer the case) Everywhere printing will occur where there is nothing underneath to hold it up will need to be supported. By checking the support box the program will generate a removable scaffolding for building your print.
Step 5: Export Your File

If your computer is linked to your Makerbot via USB you can simply press print at this time.
If you are exporting to an SD card there is one more step.
Export your file and it will be converted into a .x3g file which is what the bot will read. Save this file to the SD card.
Exporting may take a while so don't be afraid. It's not you; it's the software.
You may consider leaving it overnight for larger files.
Step 6: Save to SD


Yea that took a long time... I know. Now you have to save it to the SD card and wait for that to load. This is made up of two slow moving loading bars named verify and print-to-file. Why does this take so long? Not sure. Does it have to take this long? No. Other software is much faster but Makerbot will only use this type of file that only it's software can produce.
Step 7: Time to Print!

Finally the last leg of waiting (and the longest) PRINT TIME! Insert the SD card.
Step 8: Build From SD Card

Select the first option Build from SD card by pressing the "M" button.
Step 9: Select Your File
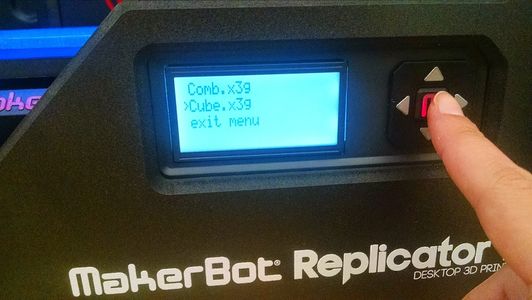
Using the arrow keys find the file you would like to print on the SD card and press "M" to begin printing!
Step 10: IT'S ALIVE!
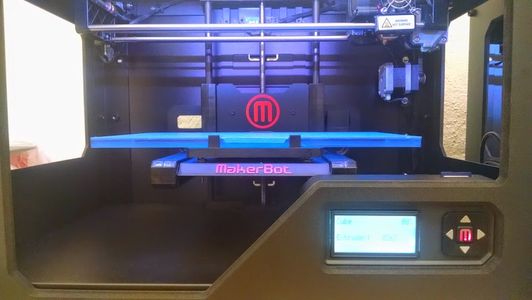
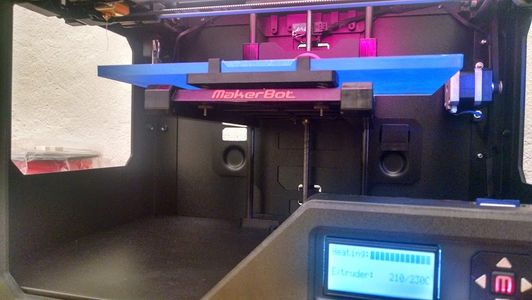
The printer will spring to life and align itself only to pause for preheat for a few minutes. You can monitor the heating progress in the bar on the screen and the LEDs in the bot will turn a red color to let you know it is all warmed up.
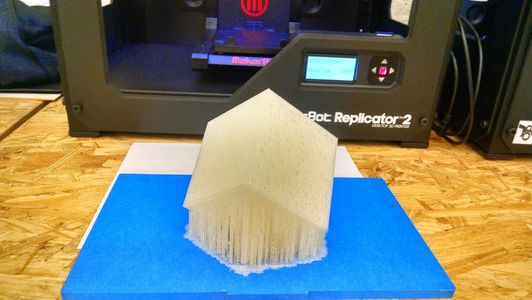
Step 11: Hours and Hours

Here is my print 19.5 hours in / 76% complete. Notice the support material on the outside of the object and how it is holding up the corners that would have otherwise collapsed.
Step 12: Almost Finished!


Hooray! Building complete! Now you have to remove the print from the build plate and remove the support material.
The build plate can be popped out of the bot so you have easier access.
You may want to use a scraper or other thin plastic object to pry it off the plate. If you tear the blue tape you can always replace it with a new piece. Just remember NO OVERLAPPING TAPE it will throw off bot calibration.
Step 13: Removing Support Material

Gently remove the support material. You can do most of it by hand but you can also use pliers as the plastic may be rough on your fingers. When the material has been removed if there are still small pieces left you can use a sand paper or an x-acto knife to smooth it.
Step 14: PRINT COMPLETE!

You survived! Congratulations! Think about it... They call this "rapid" prototyping. Imagine what it was like before 3d printers.


