

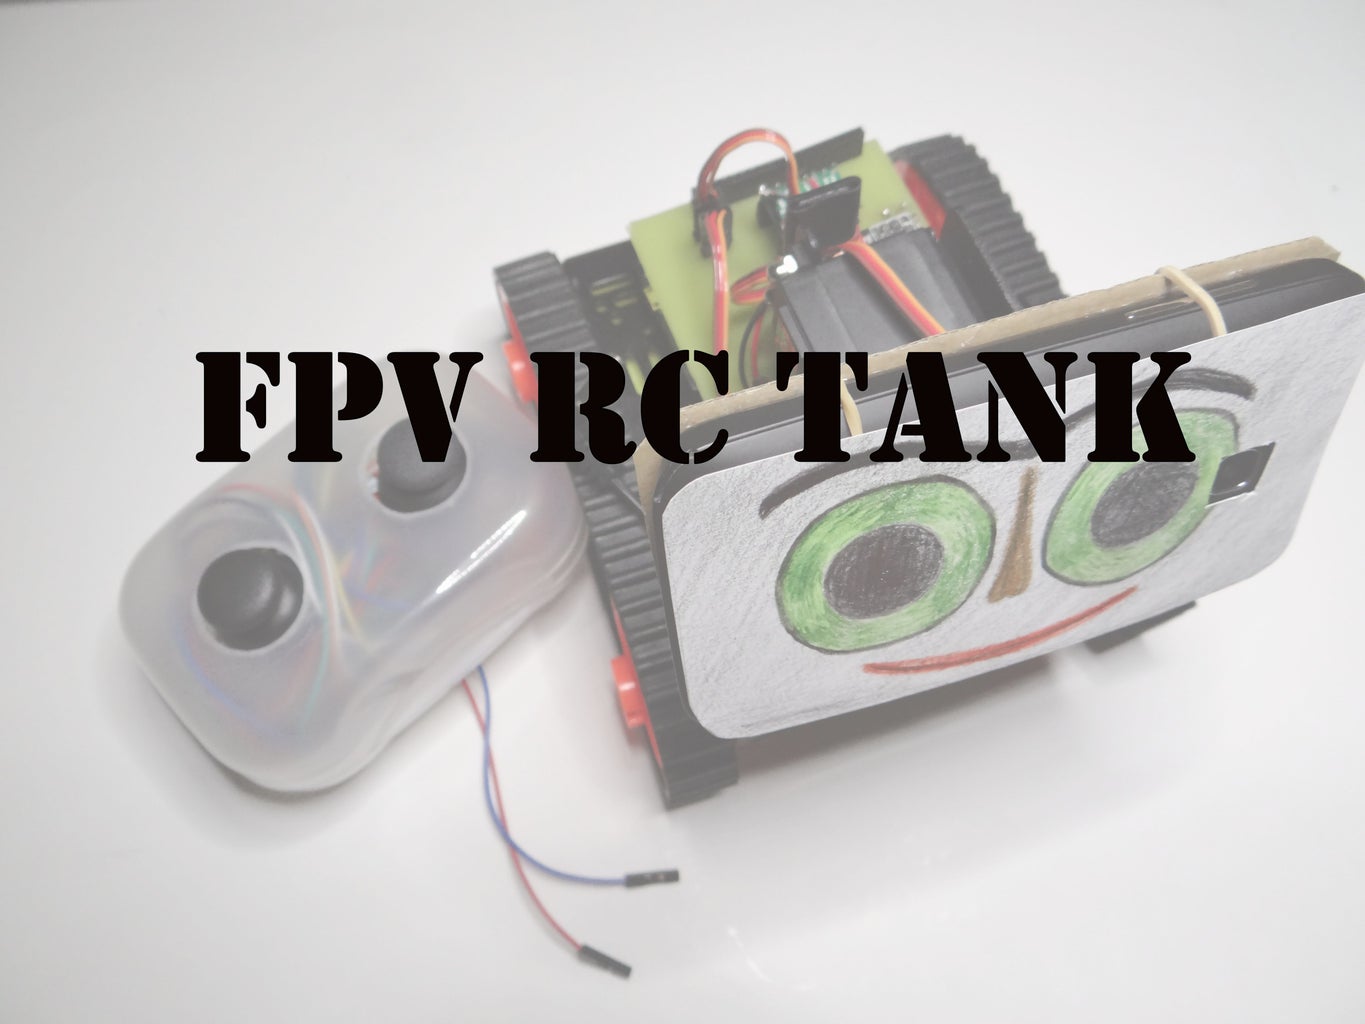
Introduction: RC Tank With a Moving FPV Camera


Hello.
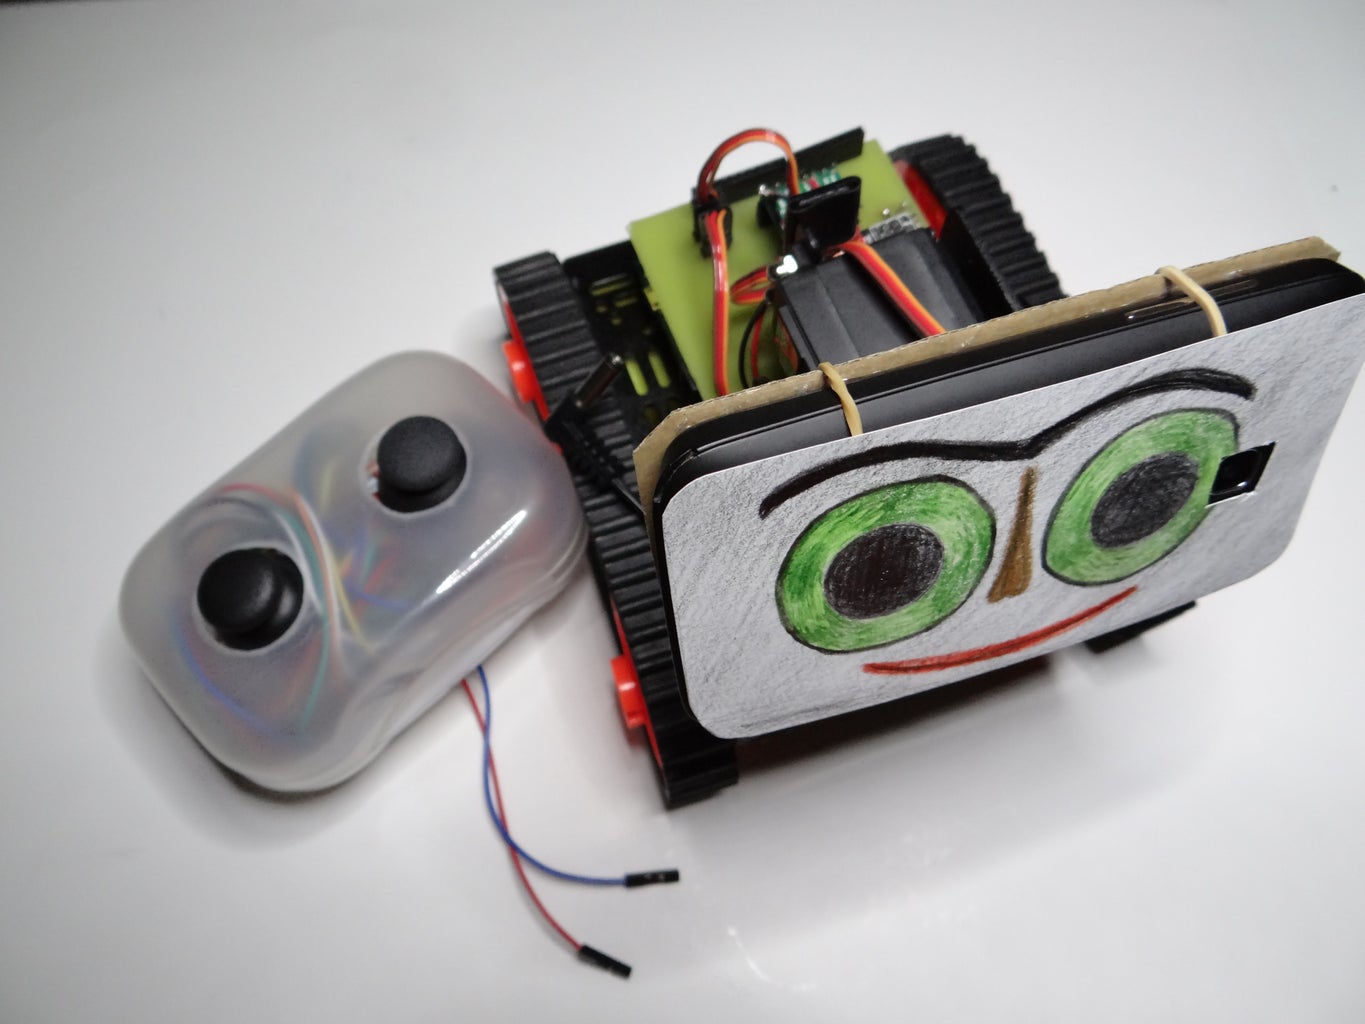
In this instructable I show you how to build remote control tank with FPV camera. At the beginning I build only RC tank without FPV camera but when I was driving it in the house I have not seen where it is. So I came up with that I will add to it the camera mounted on a 2 servos. The range is about 100m, you can also ride with it at home. With this tank you can see what your cat is doing when you're not looking. You can see it on a video :D
Explanation of acronyms for beginner:
PCB - Printed Circuit Board
GND - ground
VCC - power
RC - Remote Control
FPV - First Person View
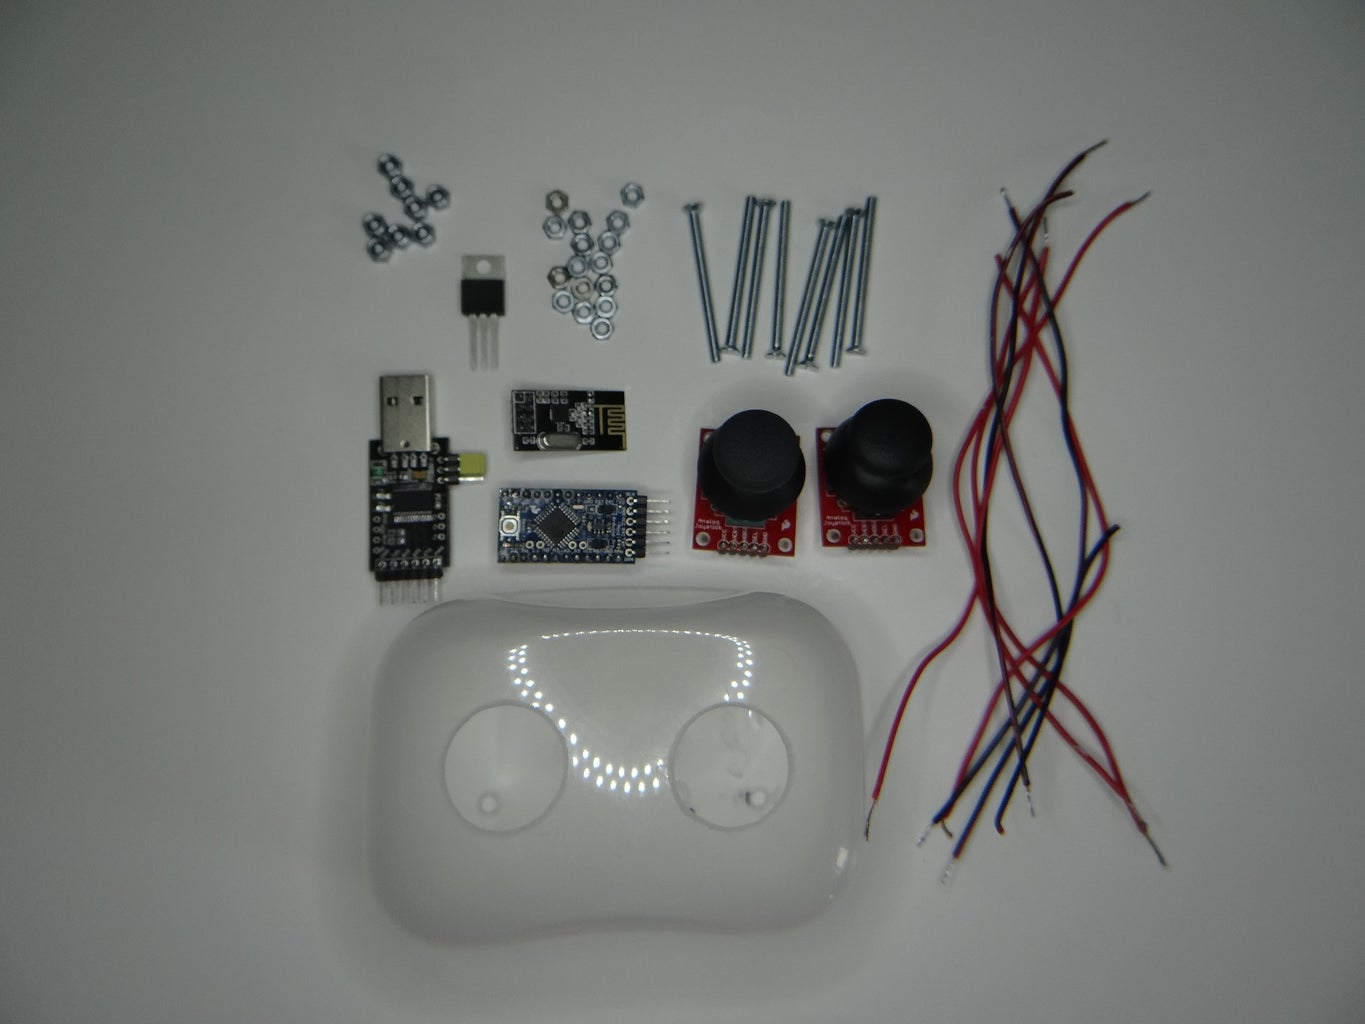
Step 1: Parts


This is list with necessary parts. The total cost is $120
- Arduino (x2)
- Chassis
- Smartphone with android
- NRF24L01 (x2)
- H bridge TB6612FNG
- Joystick (x2)
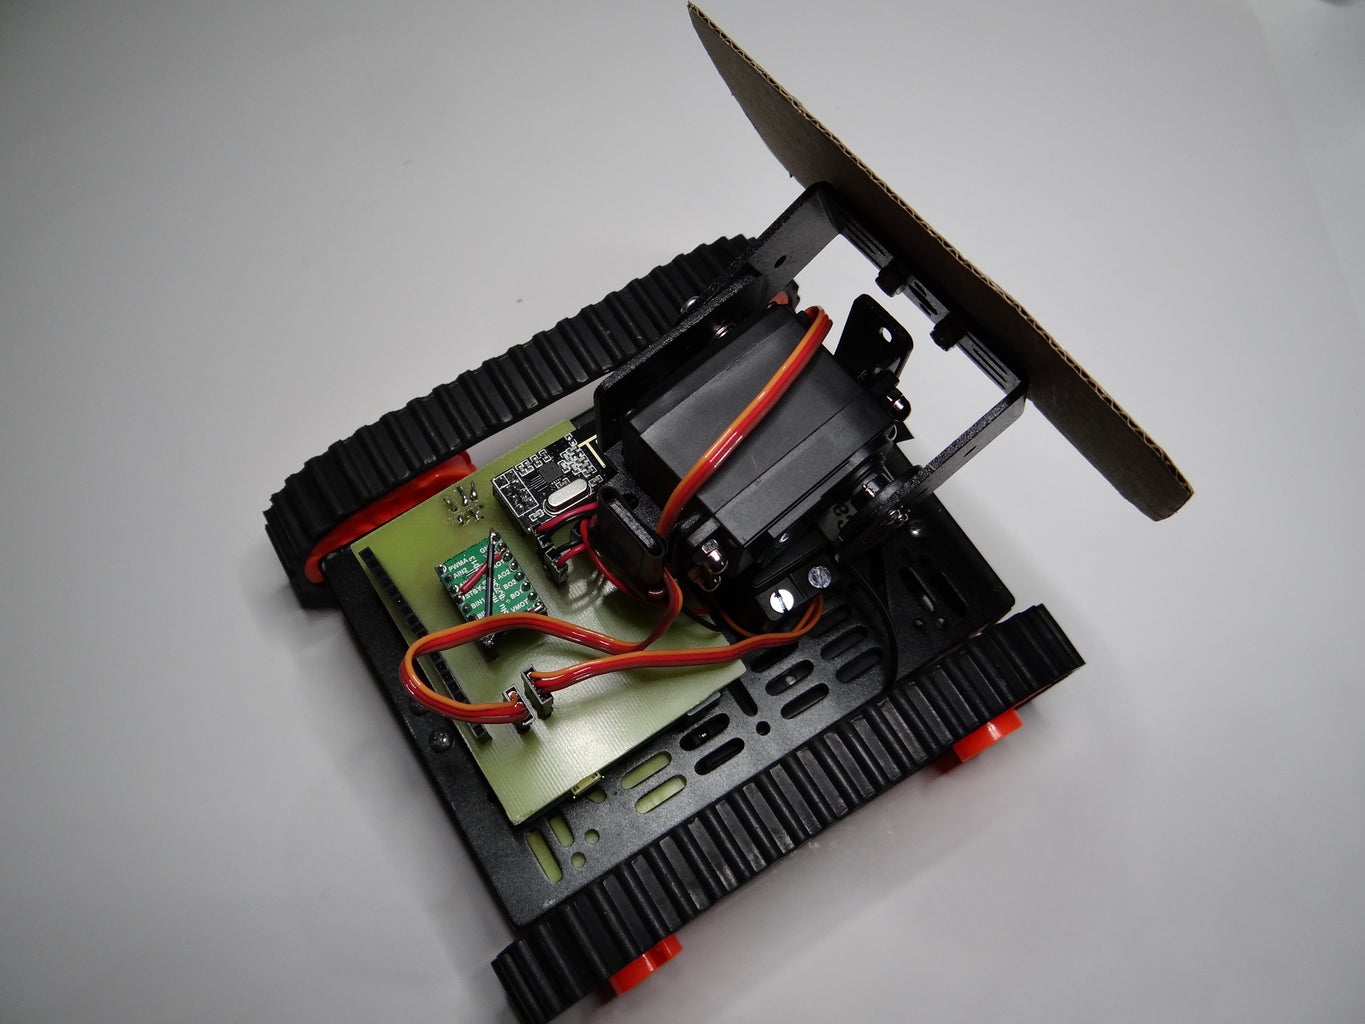
- Pan/tilt or 2 servos
- Everything to do PCB you can read about it here
- LEDs
- Batteries
- Screws
- 9V battery and 5x 1,5V battery or LI-PO 7.4
- Box for pilot
- Wires
- Tools (drill, soldering, screwdriver )
Step 2: Make PCB


Now we make the PCB you can read about this here. It's my first PCB, but it is very simple and sure you can do it. I add the file from fritzing you must print it in laser printer on thick paper or photo paper. Then you have to put print on a copper board and ironed. Possible deficiencies toner refill with oil marker. Prepare acid and insert the plate in it. When the whole disc is yellow, you can pull it out and wash under running water. Now just clear toner with petroleum ether and drill hole.
P.S.
I changed a little H-bridge you can watch it on image. I connect all GND, STBY with VCC.


Step 3: Solder


Solder all components to a PCB. You need add wires like on image above. I add the file from fritzing if you want something to change.
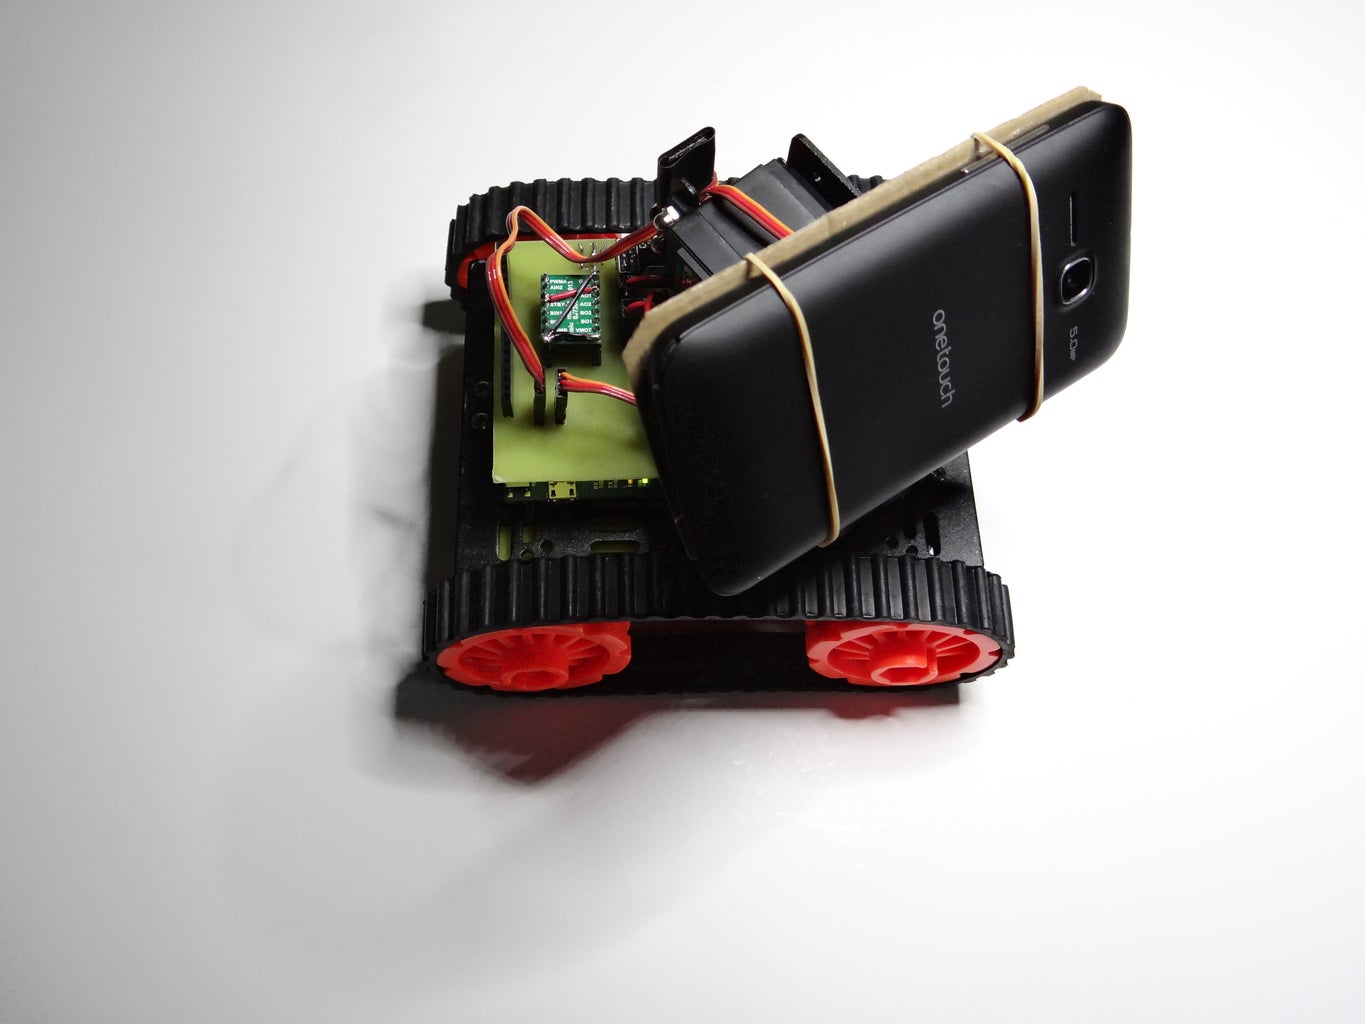
Step 4: Chassis


Now it's time to assemble the chassis on photos you can watch how to make it.
Step 5: Camera


You can use IP camera for example this from amazon, or your smartphone with android and with IP webcam application. You can view the camera image in the browser or in special program if you buy IP camera. On piece of paper I drew eyes and mouth, and glued with double sided tape on my phone
Step 6: Program for Tank
This is program for tank in comments is explanation of code you can upload it to your arduino and go to next step.
Attachments
Step 7: Pilot


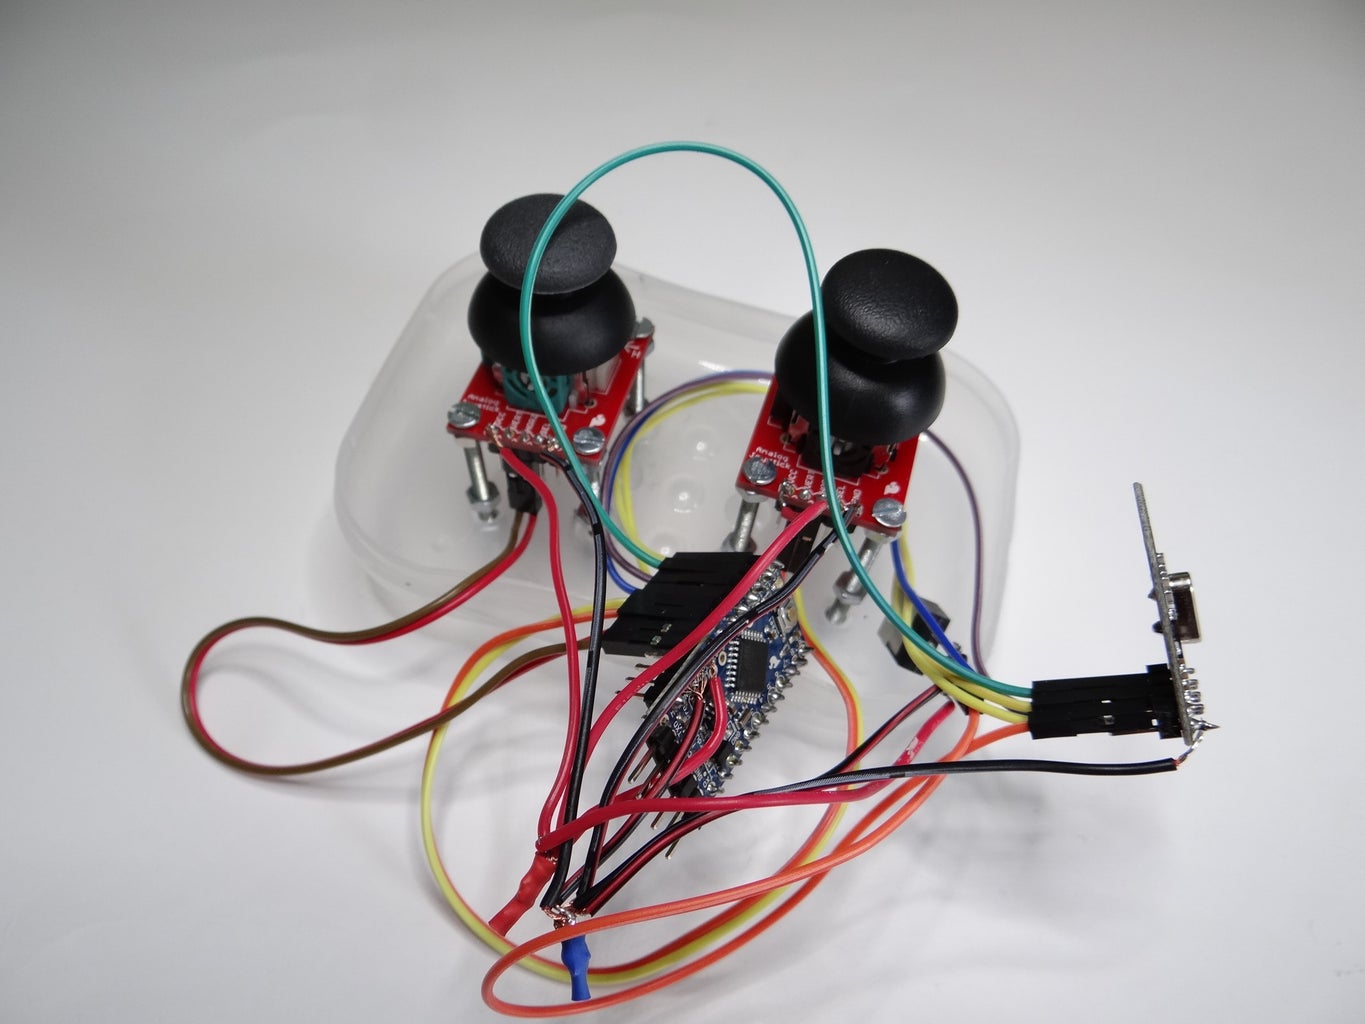

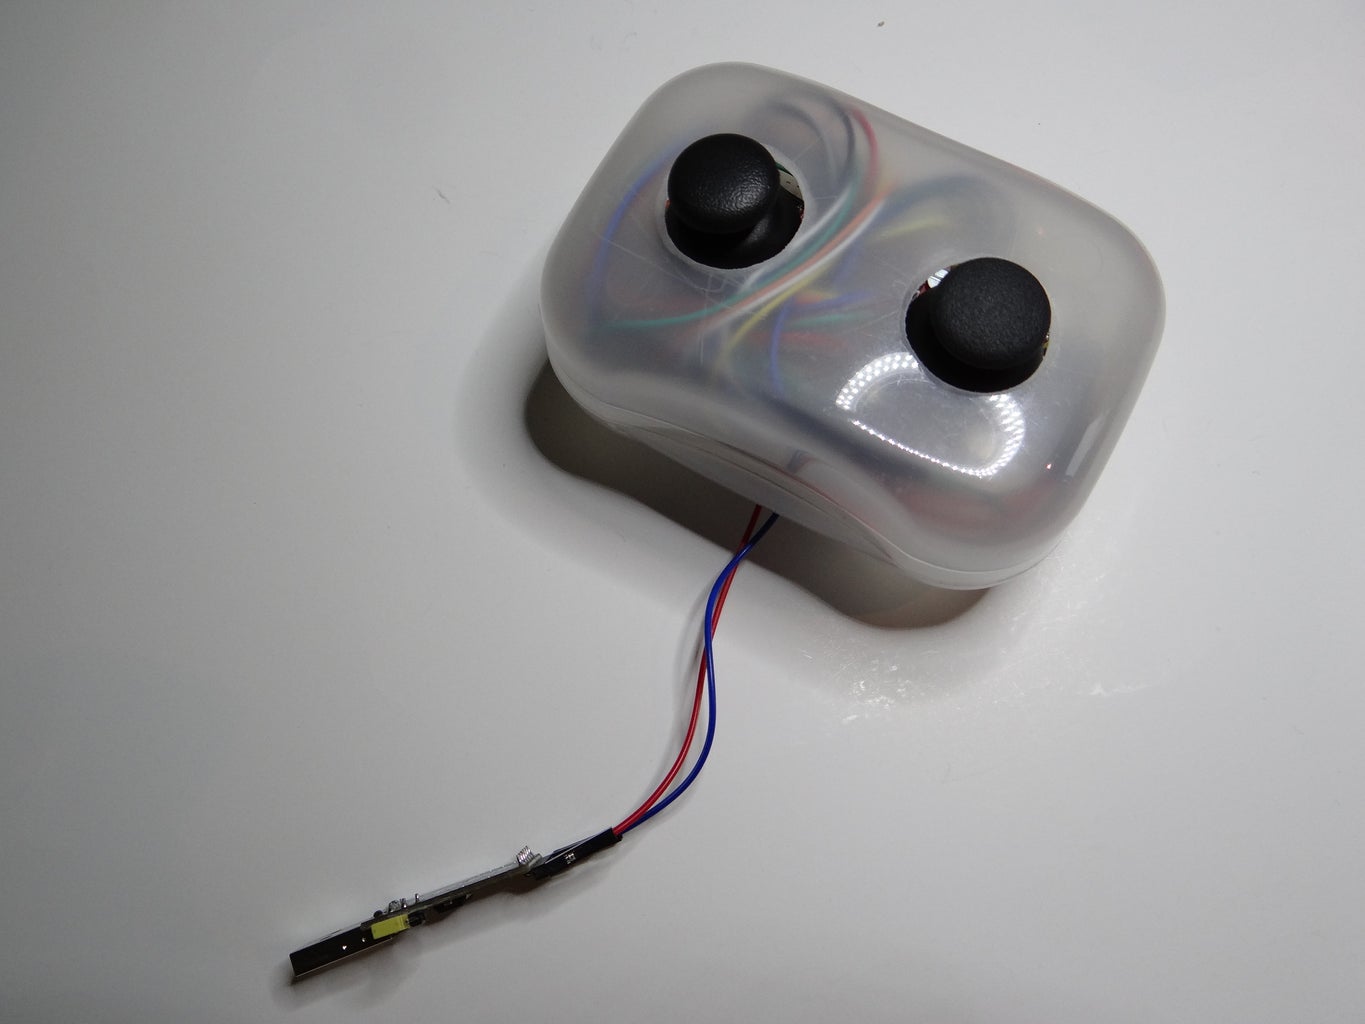

Now you can build your pilot. To wrap it nicely I used a plastic box that I bought for $ 0.50. Above I added picture from fritzing and a few photo of my pilot.
Step 8: Program for Pilot
So this is the last thing you need to do. Connect your arduino to computer and upload program.
Step 9: Test Your Tank
huuuura!
You just finisched your FPV RC tank :D congratulations.
Remember leaving a comment and click heart, if you like this project. If you have a question write a comment.
Thanks for reading

Participated in the
Remote Control Contest

Participated in the
Microcontroller Contest


