

Introduction: RGB LED Mood Lighting


Step 1: Parts Needed


Alright so below are the parts and the tools I used... I encourage adapting this project into your own style, so you can follow it step by step or use it as a reference to make your own creation!
Parts:
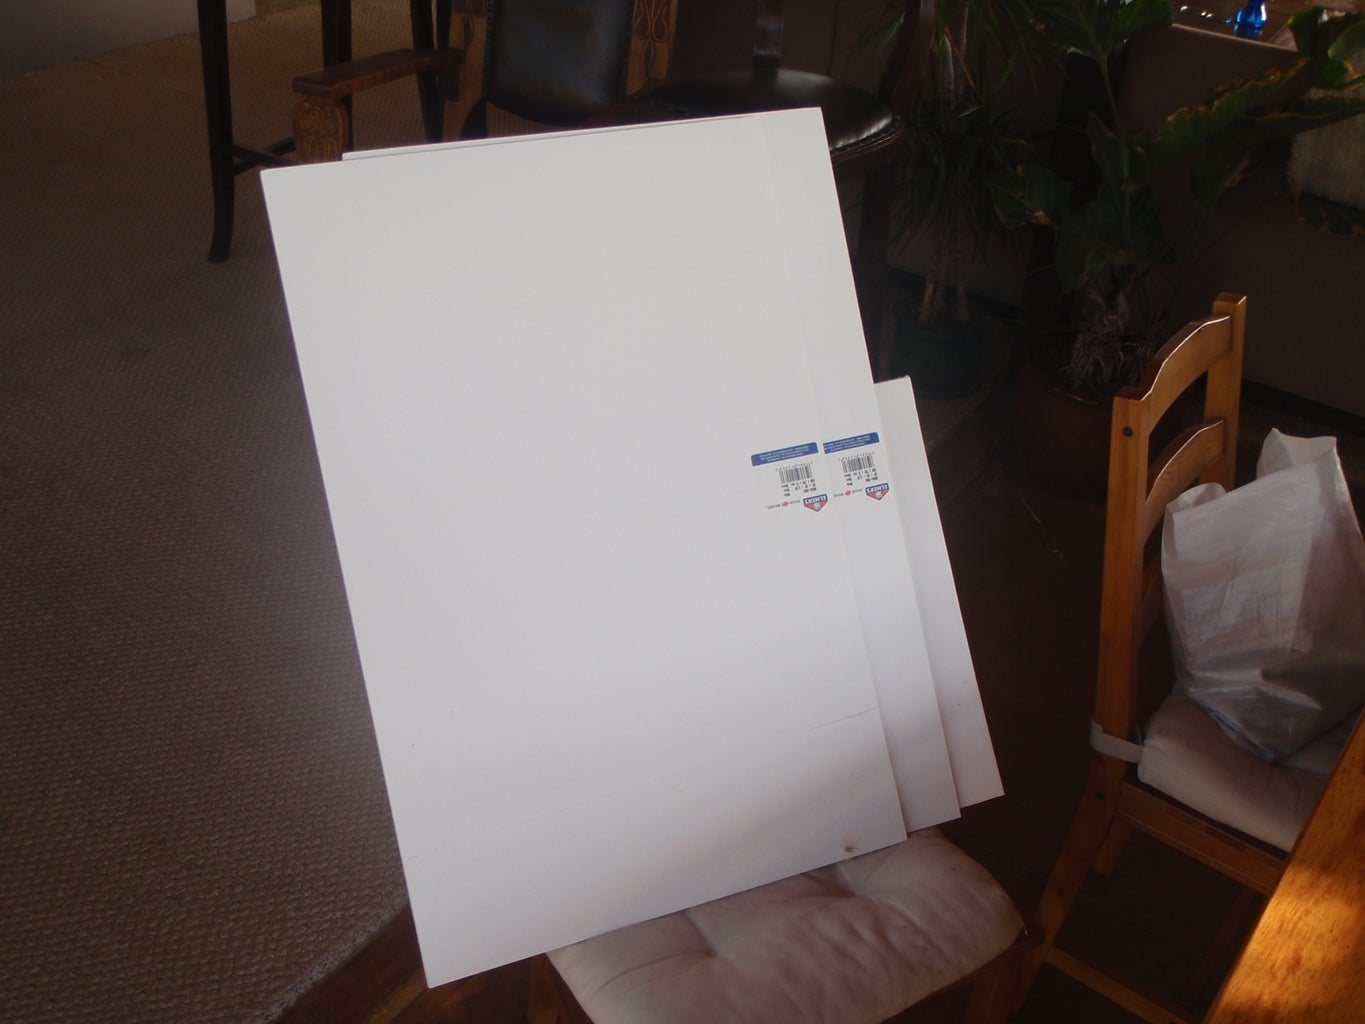
Poster Board (found at Micheal's arts and crafts)
5mm RGB LED's (I bought at www.besthongkong.com, also at Fry's Electronics)
Resistors for my project I used 330 ohm 1/4 watt resistors, but whichever kind you need for your LEDs, how I have found out is by going to http://led.linear1.org/led.wiz which is a LED calculator, you plug in your information and it tells you the array and what resistors to use. (I bought at www.besthongkong.com, also at Fry's Electronics)
Copper Tape (found at Micheal's arts and crafts)
Wire (found at Fry's Electronics, but I am sure Radio shack has them too)
9 volt battery harness (found at Fry's Electronics, but I am sure Radio shack has them too)
9 volt batteries (found at Fry's Electronics, but I am sure Radio shack has them too)
Choice of wood 1x4x8 (Home depot, Lowe's)
L shape metal Brackets (Home depot, Lowe's)
Screws fir Bracket (Home depot, Lowe's)
Fogged Plexiglas (or clear Plexiglas sanded with medium grit sand paper) (Home depot, Lowe's)
Tools:
Wire Cutters
Soldering Iron
Hot Glue Gun
Skill Saw, or Chop Saw
Screw Driver
Drill
Carpenters square or Ruler
Step 2: Deciding and Starting on Layout


Well to get everything started and to figure out how much of everything you need, you need to figure out the amount of LED's and the size of boxes to get your full dimensions of your project. Once you figure all that out you can collect all your materials and get started, I will go through the process of what I did, and you can either copy exactly or use it as a reference to create your own!
I decided on 25 RGB LED's
Each square 4 inch's X 4 inch's
25 squares, 5 squares X 5 squares, which makes the main board 20 inch's X 20 inch's
So measure out a 20" square piece of Poster board and start cutting, MAKE SURE IT IS A PERFECT SQUARE!
Step 3: Building Frame


After I cut out he size of the poster board, I made the wood frame to go around it. I wanted to go for more of an industrial look, so I mounted the brackets on the outside instead of the inside... I also did not sand down the wood to keep the rough look... but you can do it however you want! even make the frame out of sheet metal!
So the poster board is 20 inch x 20 inch, so I cut two of the boards 20 inch long, and then two of the 22 inch long since the boards were 1 inch think, and the longer ones cover two ends of the 20 inch boards. Once you have the boards cut simply butt them all up together in a square, Lay in the poster board and make sure it fits! Then layout out the brackets, and screw it all together!! Easy as that.
Step 4: Prepare Board


So we want to start the layout out with a bunch of guide lines on the main poster board. I first made a grid for the main boxes, 4 inch x 4inch. Then you need to make sure that the LED's are centered in each of the 25 box's. So draw an X in each of the boxes, which if all is laid out correctly you can draw the lines down the length of the board in a X pattern... Kinda hard to see in the pictures, sorry.
Now that you have it all laid out, grab a drill and drill bit. Choose drill bit size that is a little smaller then the end of the led itself, example: if you are using 5mm LED's then maybe go for a 3 or 4 mm drill bit. Now in the center of each box you should have an X, and at the cross of the X should be the very center of each box. So that is where you need to drill the holes!
Step 5: Making the Boxes


So you can make the boxes many different ways, but the most important thing is to make sure the boxes are nice and straight. So the route that i did was to cut out cross members out of poster board and then little notches out of them on the opposite side so they all fit together.
Cut 8 strips of the Poster board, 20 inch's in length and 3 inch's in width. I choose 3 inch's in width because that gives you enough room behind the main board for wires and batteries, but also enough on the front for a thin piece of Plexiglas.
Once all those are cut, now measure out and draw a line every 4 inch's. Then another one down the center, which in my case is in 1.5 inch's. For example take a look at the pictures below.
Next you want to cut notches into these poster boards, cut the notches half way down each of the four lines. Cut each notch the width of the poster board. See pictures below for examples.
Step 6: Preparing the LEDs

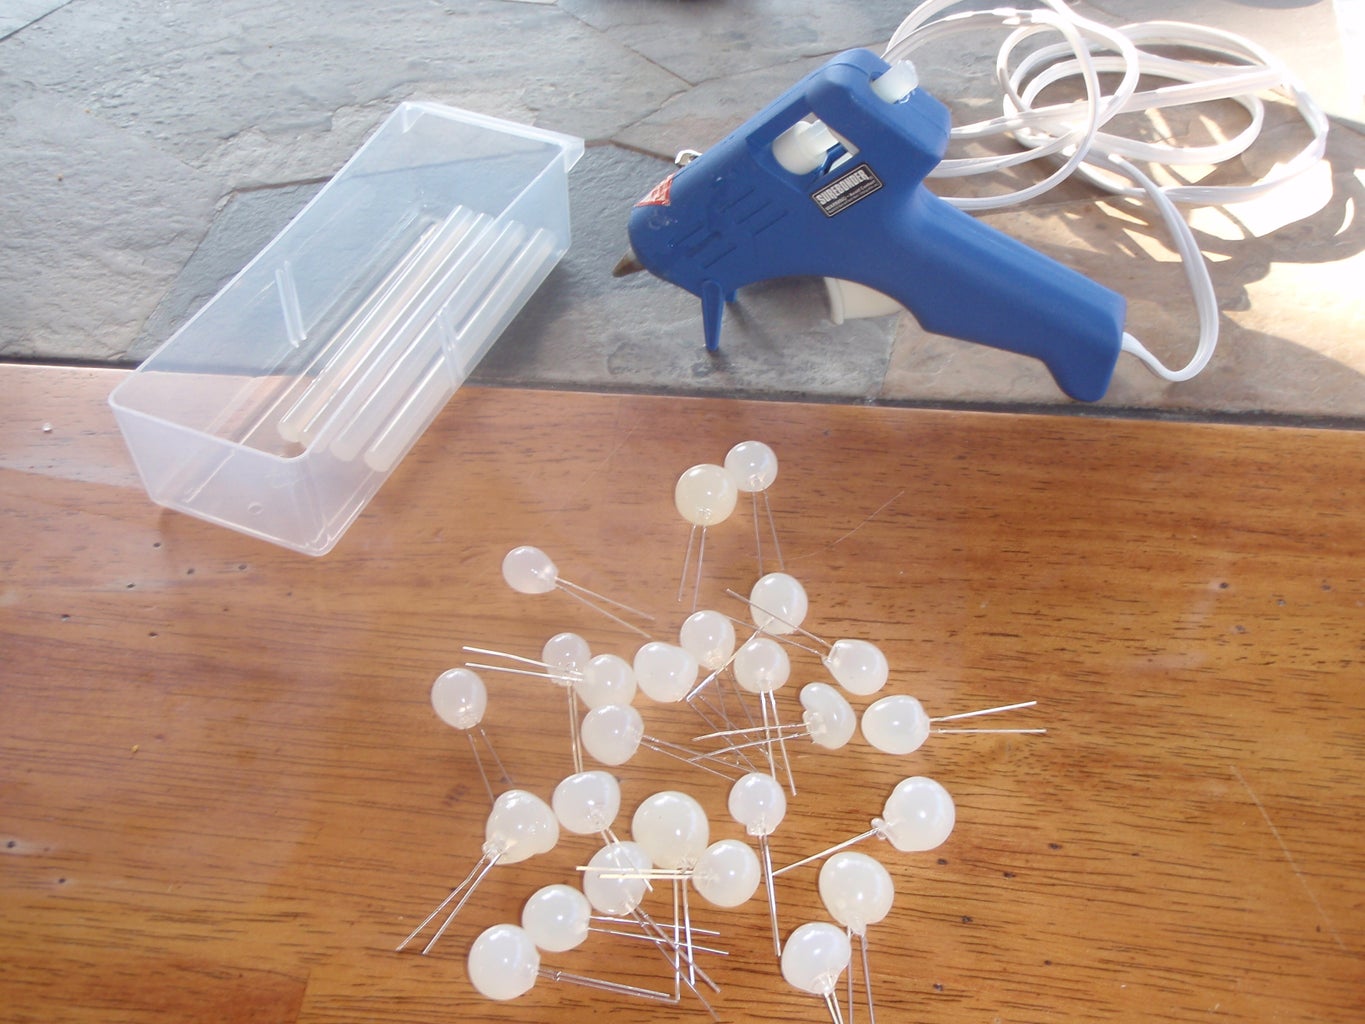
So you need to make sure that the LED's are nice and diffused, there are many ways to do this, some people sand the whole LED, others have cut the tops off to make the ends flat. But for me I went a different route, I just covered each LED in Hot Glue, and it seemed to work out pretty good!
A trick I figured out is to put the LED on something and then pour the Hot Glue onto the LED while rotating the LED so it doesn't drip.
Step 7: Putting It Together


Well now that we have Prepared all the parts it is time to put it all together and start wiring... so start out with putting all the cross members together. Once all of those are together you can place them into the wood frame, then slide the main board in the wood frame too. Layout how much room you want on the top of the cross members so the plexiglas will fit, then mark where the main board is on the wood frame. You can Glue it all in place right now or take out the cross members and glue in the main board in place, let it dry, and then glue in the cross members (which is what I did).
When all of the poster board is in place and the glue dried, you can slide all of the LED's in the holes. It might help to bend the leads (the two wires) out a little bit so when you flip the board over they will not fall out.
Step 8: Wireing It Up!


Lets start wiring and soldering!!
Start off by flipping the whole thing over so you can see all the LED leads sticking up out of the main board. Take a look at the LED leads, bend all of the positive leads (longer leads) one direction, and then all of the negative leads (shorter leads) the other direction. It is very important that this is correct or else some of the LED's will not light up.
For Junction points or soldering points I used copper tape, you don't have to do this. Rather you can just solder the wires and resistors straight together, I did this because for me it was quicker and cleaner.
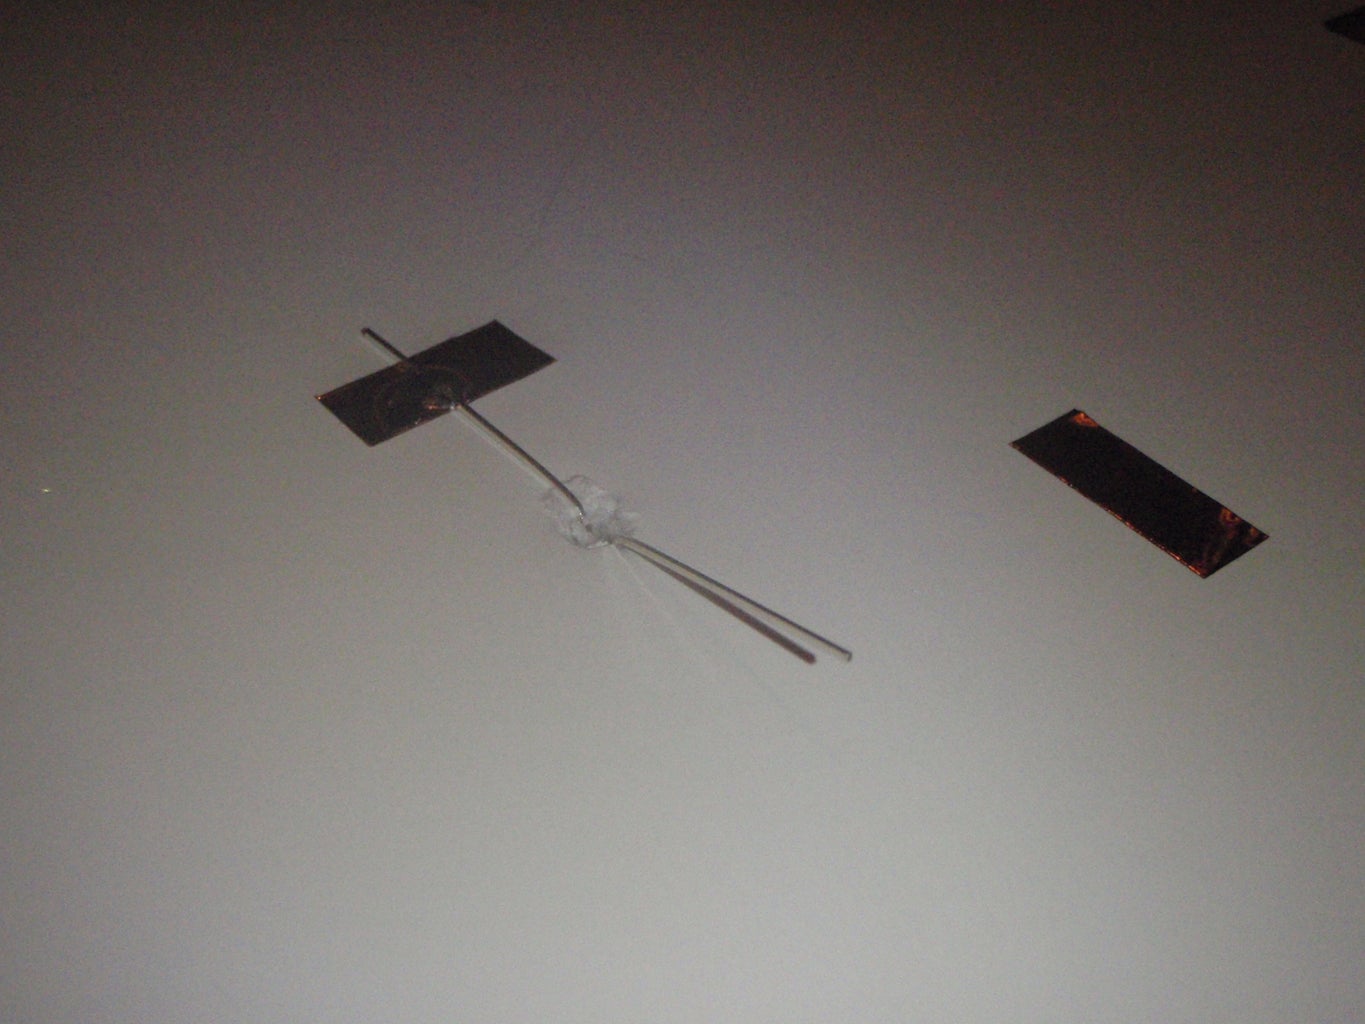
You will want to place one copper strip under the Positive lead so you can solder the positive lead to the strip. You can look at the image below.
The Negative lead will have a resistor soldered to it, so I placed the copper strip at a right angle to the right of the lead. This was so I could solder the resistor to the negative lead, then the other side of the resistor to the copper tape. You can see in the images below.
Once that is set up, you need to decide on how many LED's you want to put on the power source(s), I choose to use two 9 volt batteries. So that makes it 13 LED's on one battery, and 12 LED's on the other. You could use a plug in power source if you like, then you could put them all on one circuit.
Then just start throwing in some wires connecting all of the positive copper tapes together, and all of the negative copper tapes together. Figure out where you want the switch, and where to mount the batteries, then solder the negative end of the battery holder to one of the negative copper tape tabs. And solder the positive to a positive copper tape tab.
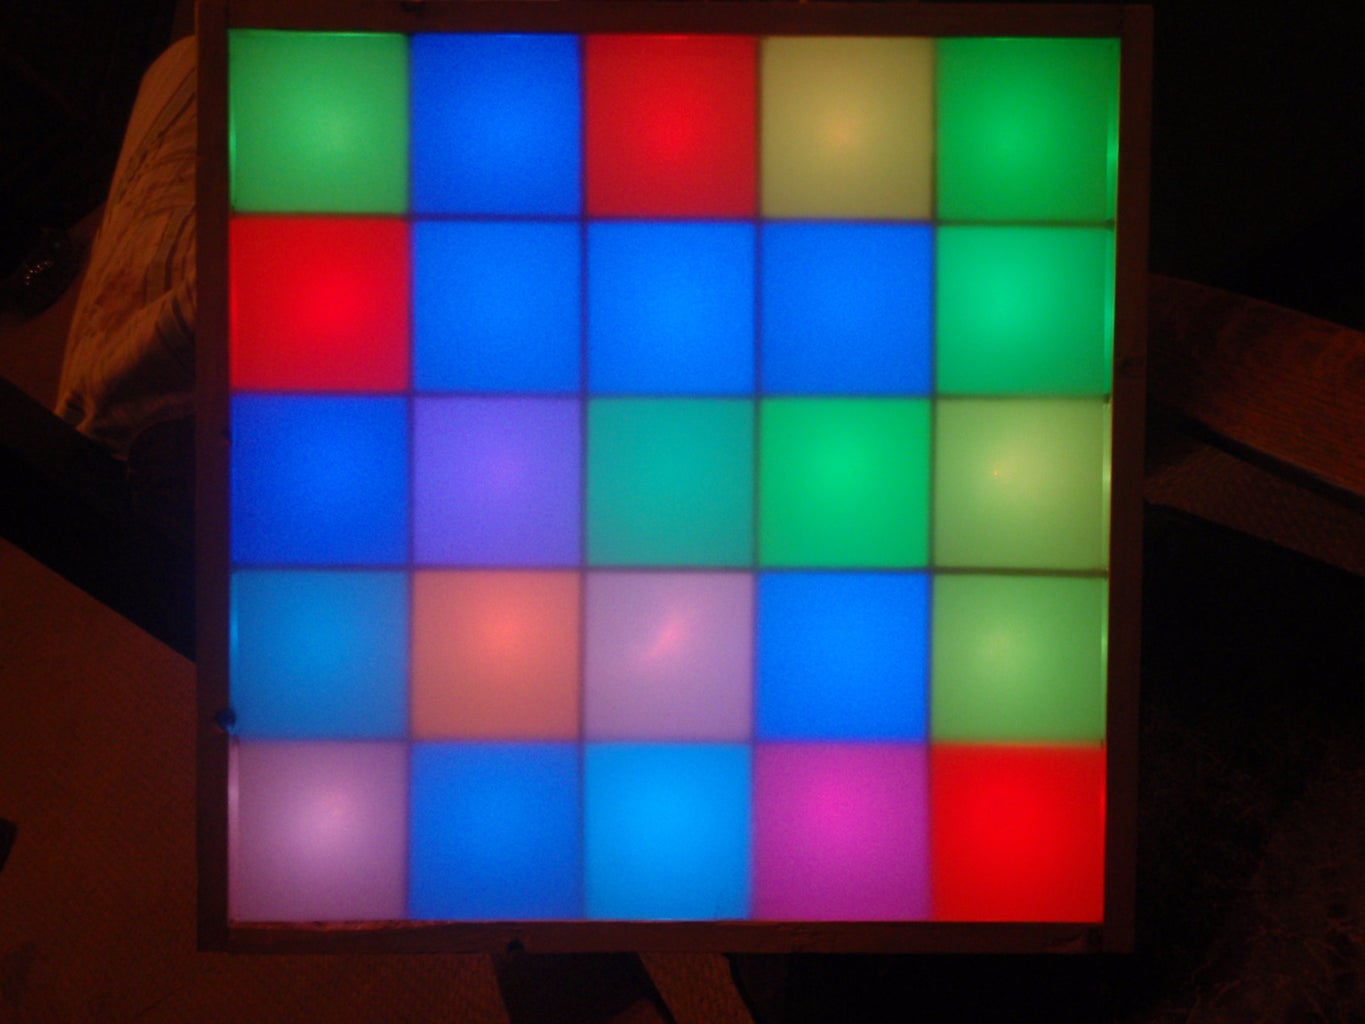
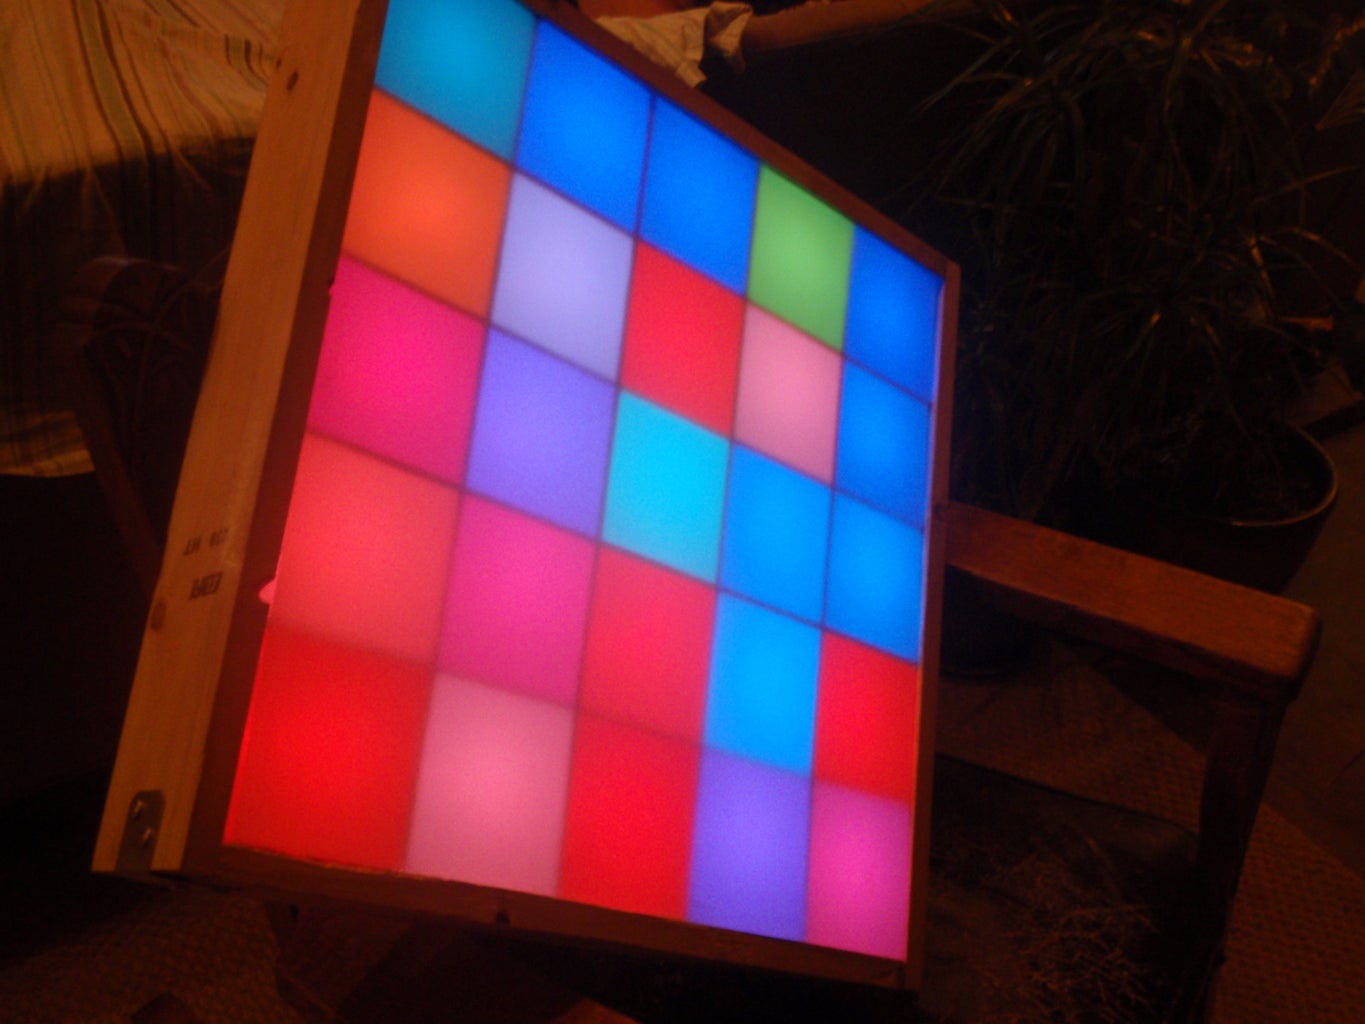
At this point you should be able to plug in the batteries, or your wall plug and see the beauty of 25 little boxes changing colors lighting up a room!
Step 9: All Finished
Participated in the
Homemade Holidays: Holiday Decorations
Participated in the
Craftsman Workshop of the Future Contest


