

Introduction: Raspberry Pi As Webserver.


This instructable will only briefly show a way to enable webtraffic to your Raspberry Pi.
In the last step you'll find a guide to add the content.
You'll need:
1 Raspberry Pi
1 Router
1 Micro USB cable
1 Ethernet cable
(and of course an Internet connection)
Step 1: Raspberry Pi As Webserver - Connect to Router.
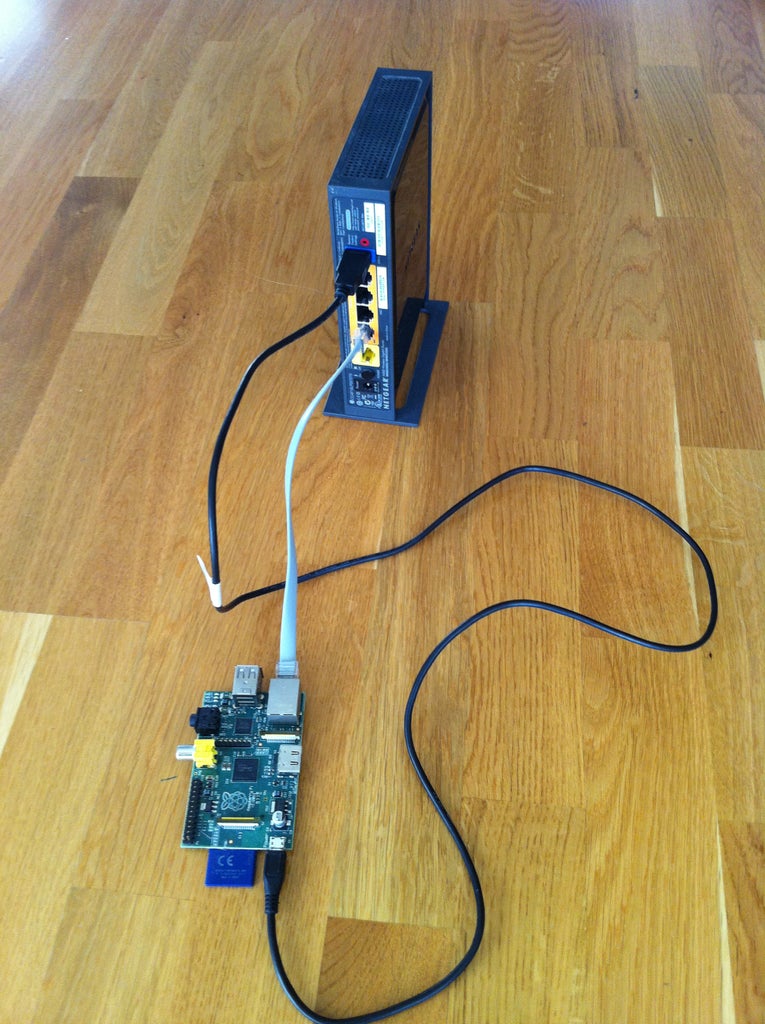

First you need to connect your Raspberry to your router.
Connect ethernet cable to a free Lan-port. (See picture above).
Connect Micro USB to router or if you have different cable, to your power net.
I'm also using a USB-hub and discstorage...
Step 2: Raspberry Pi As Webserver - Configure Router.


To enable access to your Raspberry Pi you need to enable traffic to it.
Steps:
1. Log in to your router.
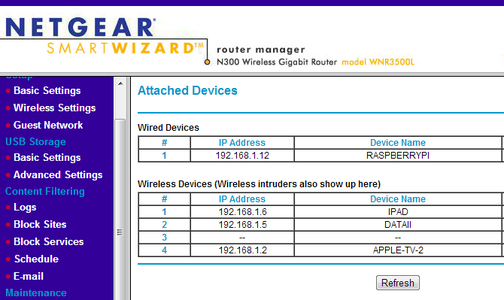
2. Check current ip.
Under Attached devices check your current ipaddress for your Pi.
3.Lock current ip to your Raspberry Pi.
Under LAN-setup Add an address reservation for your Pi.
4. Configure asDMZ-machine.
Under WAN-setup Enter current ip and enable as Default DMZ Server.
Step 3: Raspberry Pi As Webserver - Setup Webserver.

Now you'll need to add content to your webserver.
Here you can find a guide to setup and add content to your Raspberry Pi webserver:
https://www.instructables.com/id/Install-a-webserver-on-Raspberry-Pi/
If you are looking for a guide to use ssh to talk to your Pi, look here:
https://www.instructables.com/id/Use-ssh-to-talk-with-your-Raspberry-Pi/
My Raspberry Webserver can found here:
http://213.65.123.101/qr - a QR Business Card generator.
http://213.65.123.101/whoiam/ - all you want to know about what google knows about you.
Here you can find a guide on how you can use your QR business card:
https://www.instructables.com/id/Digital-business-card-in-your-iPhone-smartphone/
Good luck, and may the Pi be with you!


