

Introduction: Reinforced Shock Cap


I was driving my Rustler the other day and decided to take it off a huge jump. The first couple of goes were great but then...
I decided to take it to full throttle.
Not the smartest on my part, the car flew 20 feet before nose diving into the grass immediately ripping off the front bumper, only to send it into a violent tumble. Examining the damage I found that while the bumper had been ripped off, I could not drive it as the back left shock cap was broken. I thought about gluing it back together but its integrity was clearly breached. I didn't want to pay upwards thirty dollars for a new shock set, so I set about finding a solution.
Step 1: Step 1 3D Print


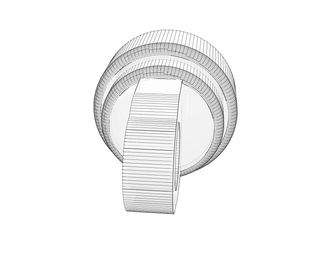
I went ahead and designed a new reinforced version in 123D Design. This program is free from Autodesk and works on PC/Mac. You will need to download the .stl file if you just want to print it as it is or the .123dx file if you would like to modify it for a vehicle other than a Traxxas.
You will need to have a 3D Printer or use a service such as Shapeways.
Print at 100% infill, no support, and ABS is preferable to PLA as it is more durable and strong.

Step 2: Step 2 Assemble


Simply unscrew your broken shock, I used pliers to take off the cap.
Warning: Don't spill the liquids inside the shock
Simply press the new cap onto the shock, and screw it back together.
Step 3: Step 3 Go Drive It


Now you have a fully functional shock for just pennies in plastic cost.

Participated in the
Formlabs Contest

Participated in the
Fix & Repair Contest


