

Introduction: Sheet Straps for a Tight, Immobile Bottom Sheet


The Problem:
Have you ever woken up in the middle of the night frustrated at your partner for ripping up the bottom sheet and making you sleep on the bare mattress? Well, chances are it's not his/her fault. Some sheets just don't fit as well as others. That was the case for me when I put on our "winter sheets" that were a little looser than our previous ones. Irritating, huh!?
The Solution:
The concept is simple; make the bottom of the sheets immobile. There are actual products that claim to do this, but for $15 I didn't feel it was worth it (yes, I'm that cheap!). Even still, no single product provided six points of contact. It was always just the corners. I find the sides to rise up just as much, if not more, than any of the corners. So I put a little bit of brainpower to it and, voila! Sheet Straps made from items laying around the house...well, almost.
Step 1: Tools and Supplies Needed


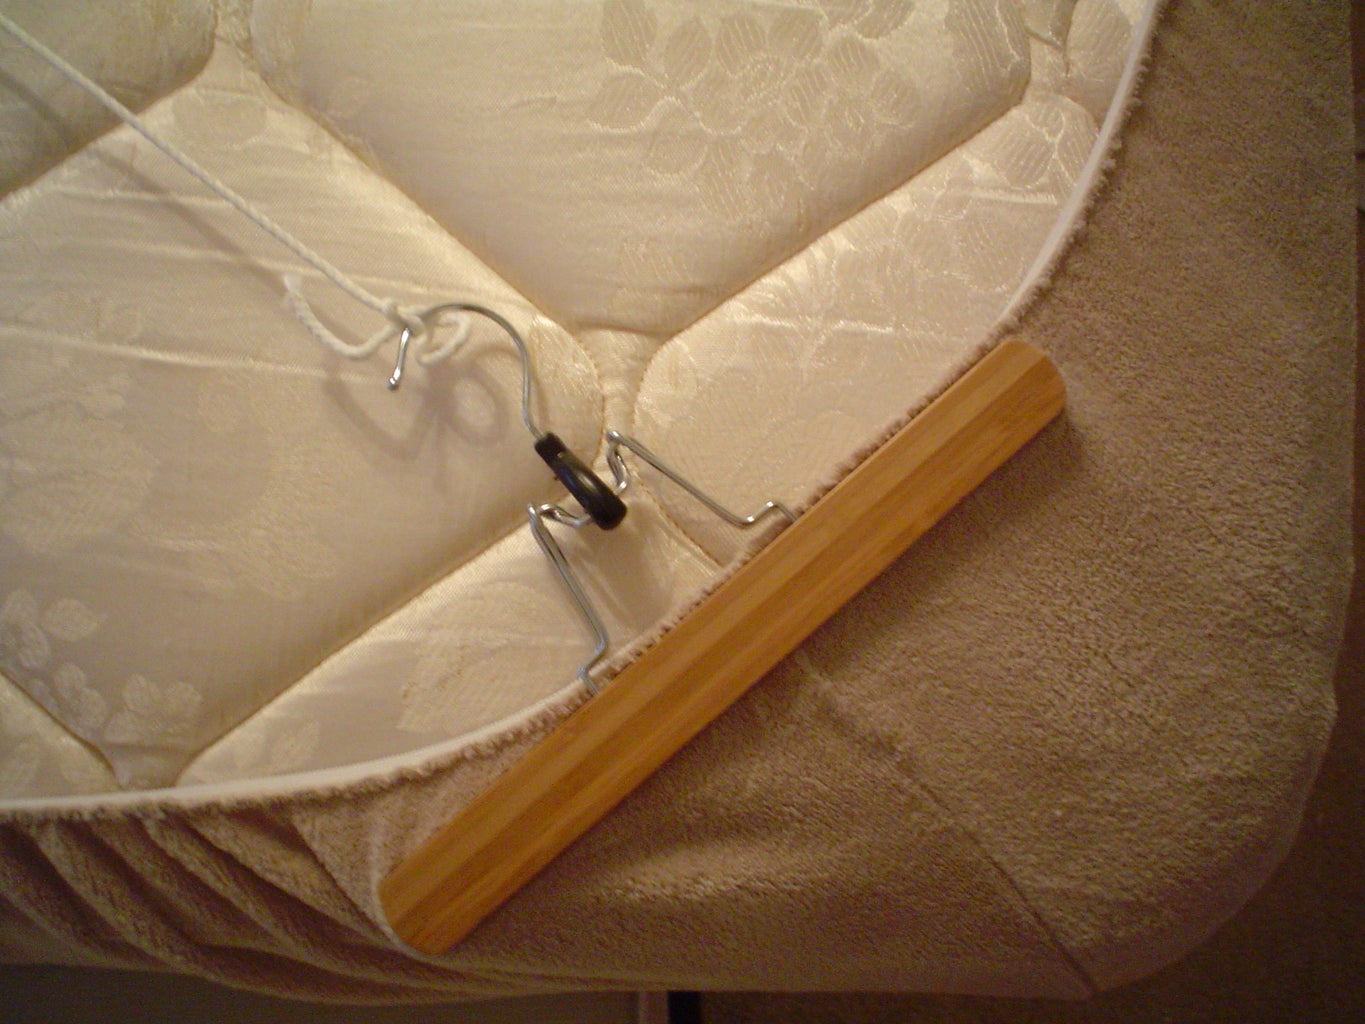
All you really need is six hangars that have pressure-clasps. They aren't just spring-loaded clamps, but use a lever-based action to hold the two sides of the hangar together. It's important that these are the hangars used because any spring clamp is likely to pop open under the weight of the mattress. I found the wooden ones seen in these pics at Wal-Mart for less than $10. That was the only thing I bought, but any hangar with the same function will suffice. These just have a bigger surface area to grab onto.
Other items to have are some rope, twine, 20lbs. test fishing line, or whatever. A blade to cut it with and a lighter or matches to dress up the frayed ends, if you're using rope.
Step 2: Attach the Hangars


Now you need to attach all 6 hangars to the four corners and the two longest sides. When attaching the corners just make sure that the handle of the hangar is pointing towards the center of the mattress. Same with the sides, but also center them up and make sure they are directly across from each other. Pretty easy.
Step 3: Tie the Rope to Connect the Hangars


At this point, I tucked the sheets like I normally would, but this time with the hangars underneath, and then turned the mattress on its side in order to give a good illustration of what I was doing. Now get out the rope and determine how long each piece (3 total) should be. I didn't bother posting the lengths because everyone's sheet and mattress sizes will differ. You will end up having two long pieces for the corners and one shorter piece connecting the two sides. IMPORTANT: The rope will make an "X" pattern for the corners. Tie off one corner hangar and take the other end of the rope to the opposite corner of the mattress. Repeat with the remaining corner. And for the two sides just take the shorter piece of rope and tie them off. It works best to stretch the sheet as tight as you want it and use the hangars to hold it in place, as opposed to using the hangars and rope themselves to tighten the sheet (like a ratchet strap).
Step 4: Singe the Frayed Rope Ends

Go to each snipped end and singe the rope. This probably isn't the safest way to do this, but be careful and ye shall prevail!
Step 5: Ta Da! Turn Over to Complete


I turned the mattress on it's side to do all these steps, but you could just as easily pull the rope underneath the mattress and pull it around. Once you've got all the pieces tied, turn the mattress back over and reset into position. Now you should have a nice and tight bottom sheet, never to disrupt you or your partner at any point of your sleeping endeavors. Any tips or suggestions are welcome.


