

Introduction: Simple Arduino Calculator


This is a simple calculator made using an LCD keypad shield and an Arduino Uno. It can do Multiplication, Addition, Subtraction and Division (It leaves answers that involve division with remainders eg 7 / 2 = 3 R1 (R being remainder)). Sorry, no fractions or decimals.
My calculator i used at school broke, so i built this one to replace it temporarily.
This requires just an Arduino Uno and LCD Keypad shield (http://www.droboticsonline.com/media/catalog/product/cache/1/image/5e06319eda06f020e43594a9c230972d/a/r/arduinolcdkeypadforstore3.jpg).
ANYWHO! Onto the instructable!
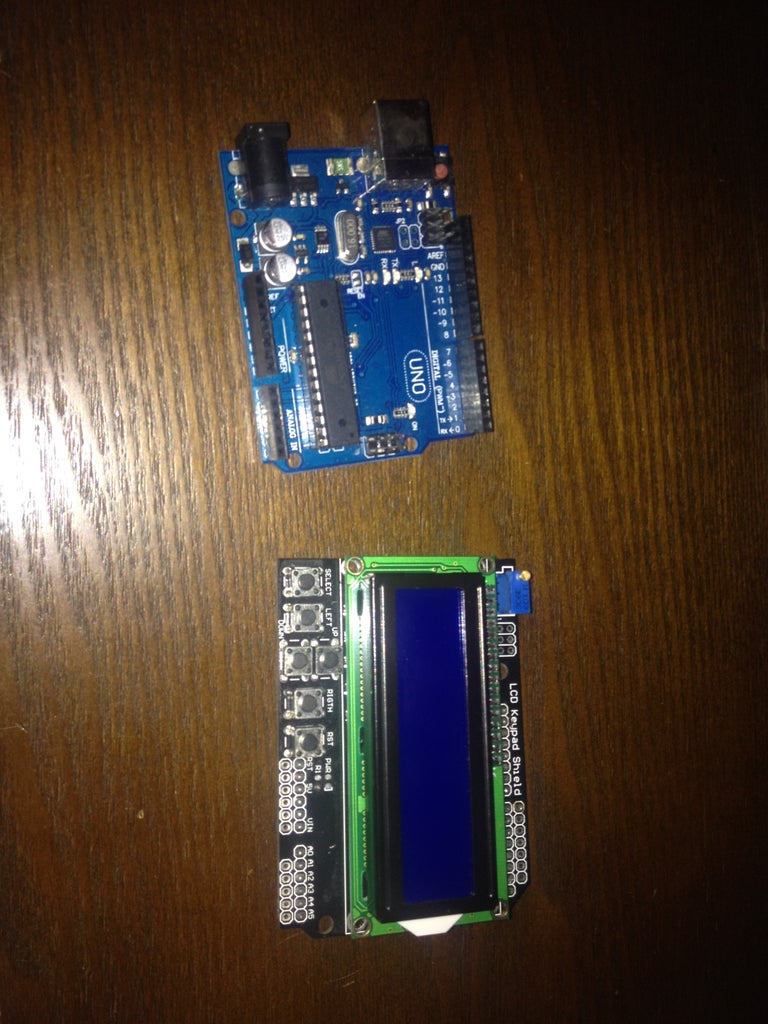
Step 1: Connect Your Shield
Pretty simple. Just sorta slot it on the board. It already has all the connections in the right positions for you (If you got the one I did). There isn't much to this part.
If you got one that requires you to make all the connections yourself, I won't be too much help there. You would probably be able to find instructions where you bought it.
Step 2: Configure Your LCD
If you upload and run this code, it will print a number on your screen. This should give you the follow results:
When you press select, you should get 722;
When you press left, you should get 480;
When you press up, you should get 132;
When you press down, you should get 309, and;
When you press right, you should get 0.
If those numbers are different, you will need to alter the code. Write down what numbers you got for what button and keep it handy for the next step.
Attachments

Step 3: Upload Your Program
This step could go one of two ways.
If you ran the code in the previous step and everything matched up, upload this to the Arduino and you are completely finished. Run a few calculations to make sure it works.
If you ran the previous step and it didn't match up, you have a tedious few minutes ahead of you. Go through and change all the times 722 is used, change the number to the one you got when you pressed SELECT. Do the same for 132 with UP, 0 with RIGHT, 309 with DOWN and 480 with LEFT.
Attachments
Step 4: Finished

Participated in the
Arduino Contest


![Tim's Mechanical Spider Leg [LU9685-20CU]](https://content.instructables.com/FFB/5R4I/LVKZ6G6R/FFB5R4ILVKZ6G6R.png?auto=webp&crop=1.2%3A1&frame=1&width=306)


