

Introduction: Simple IR Proximity Sensor With Arduino


After several times trying to optimize it, I finally came up with something that is quite simple e precise. Just like my first instructable, this project is perfect for beginners in the arduino's world, with a few components anyone can make it. I hope you all enjoy it.
Step 1: Materials
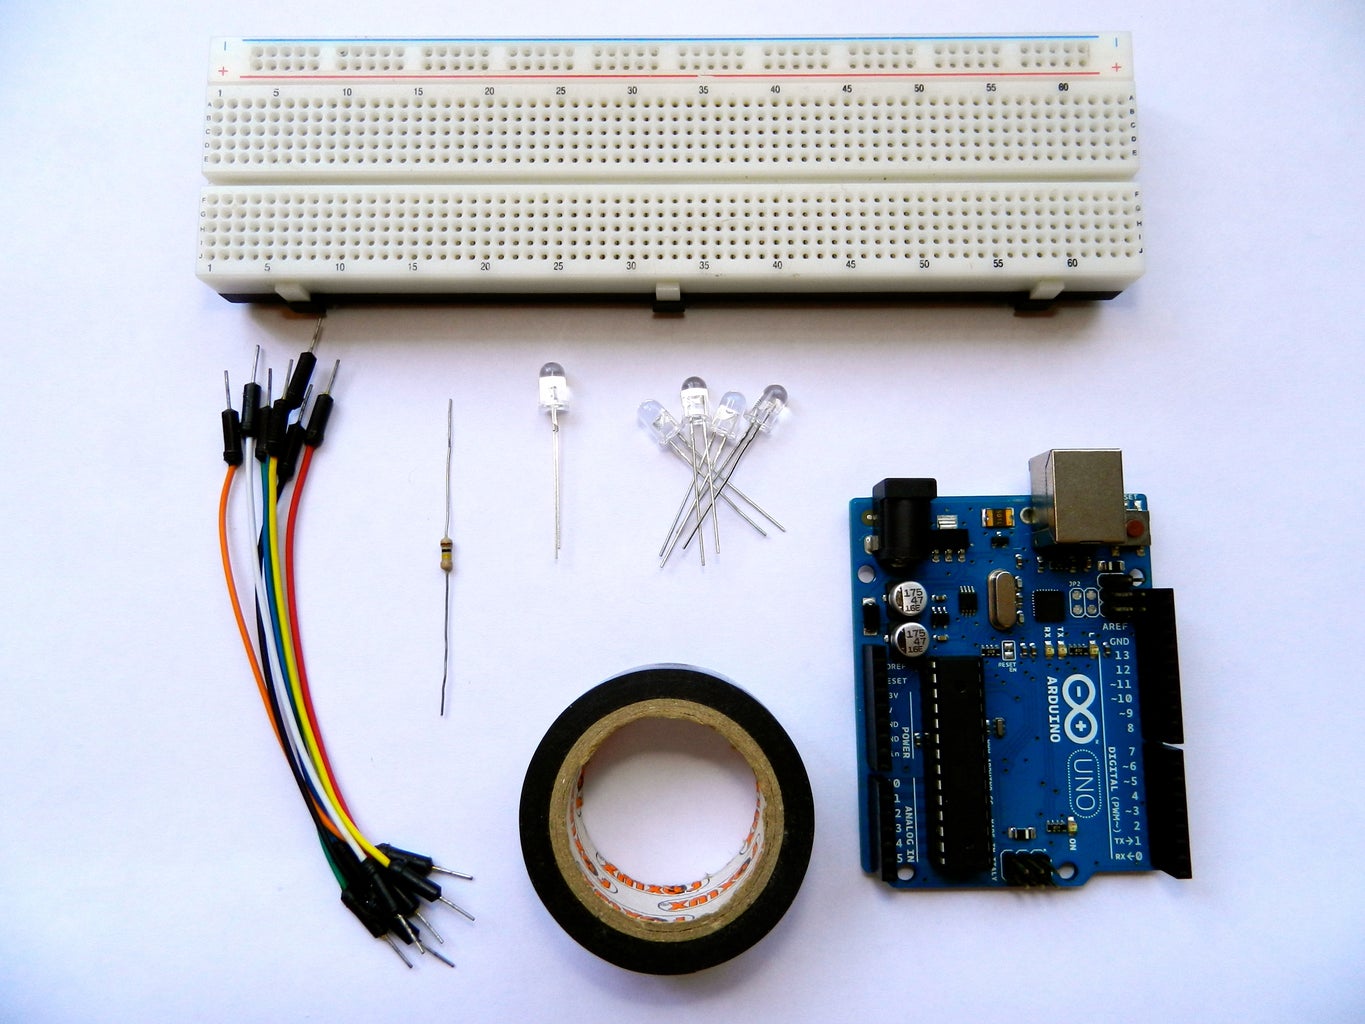
- Arduino
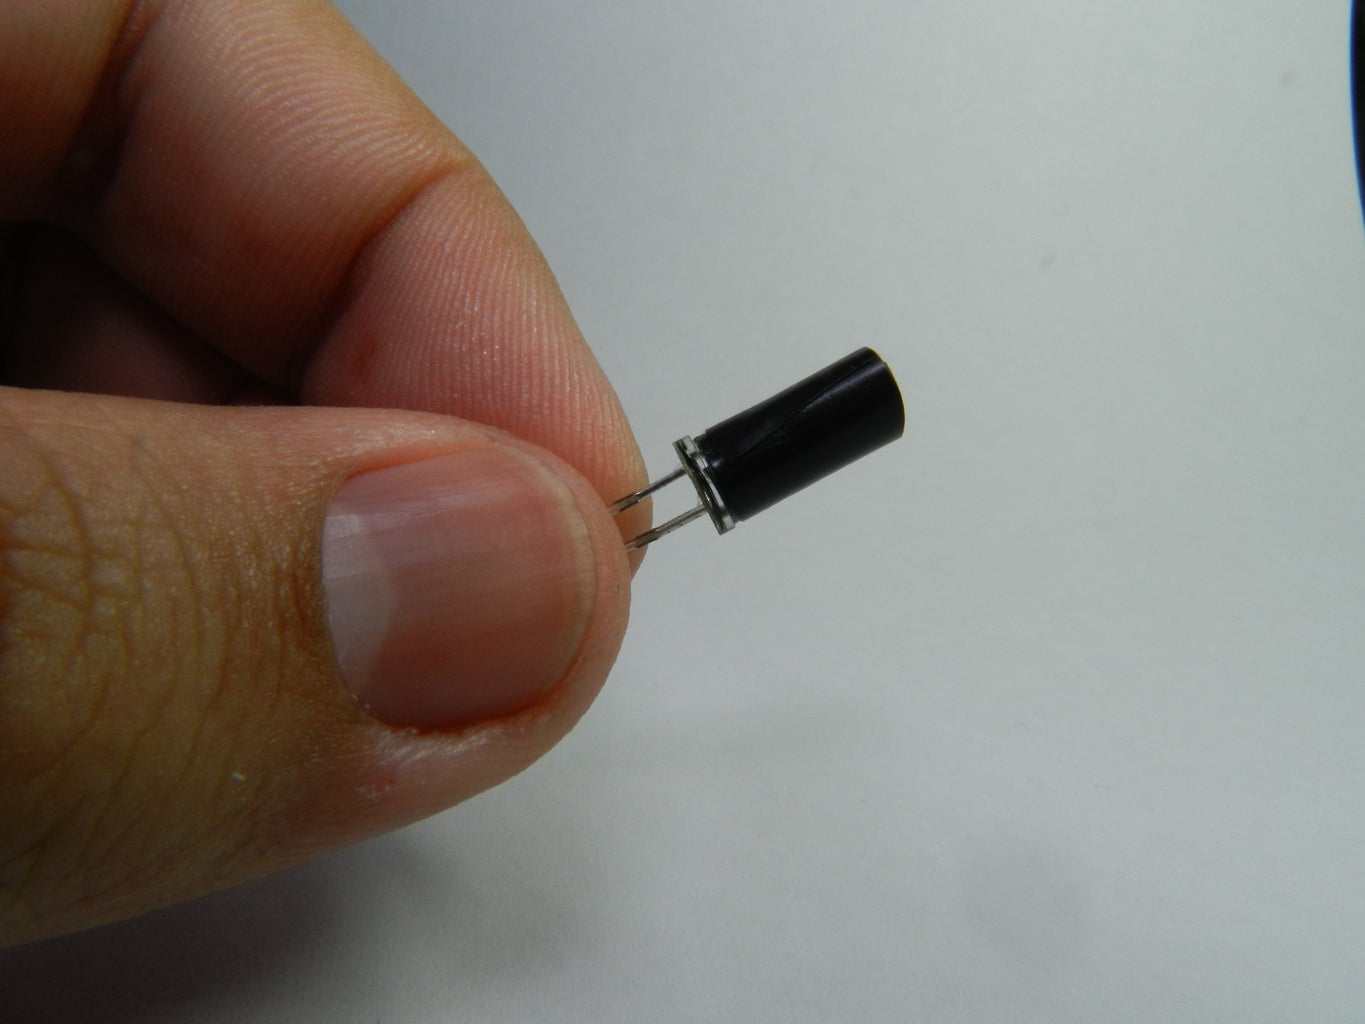
- 1 IR LED receiver (photodiode with 2 pins, not the phototransistor with 3 pins)
- IR LED emitters (as much as you can get, but at least 2)
- 100K resistor (brown black yellow)
- Jumper wires
- Breadboard
- Electrical tape
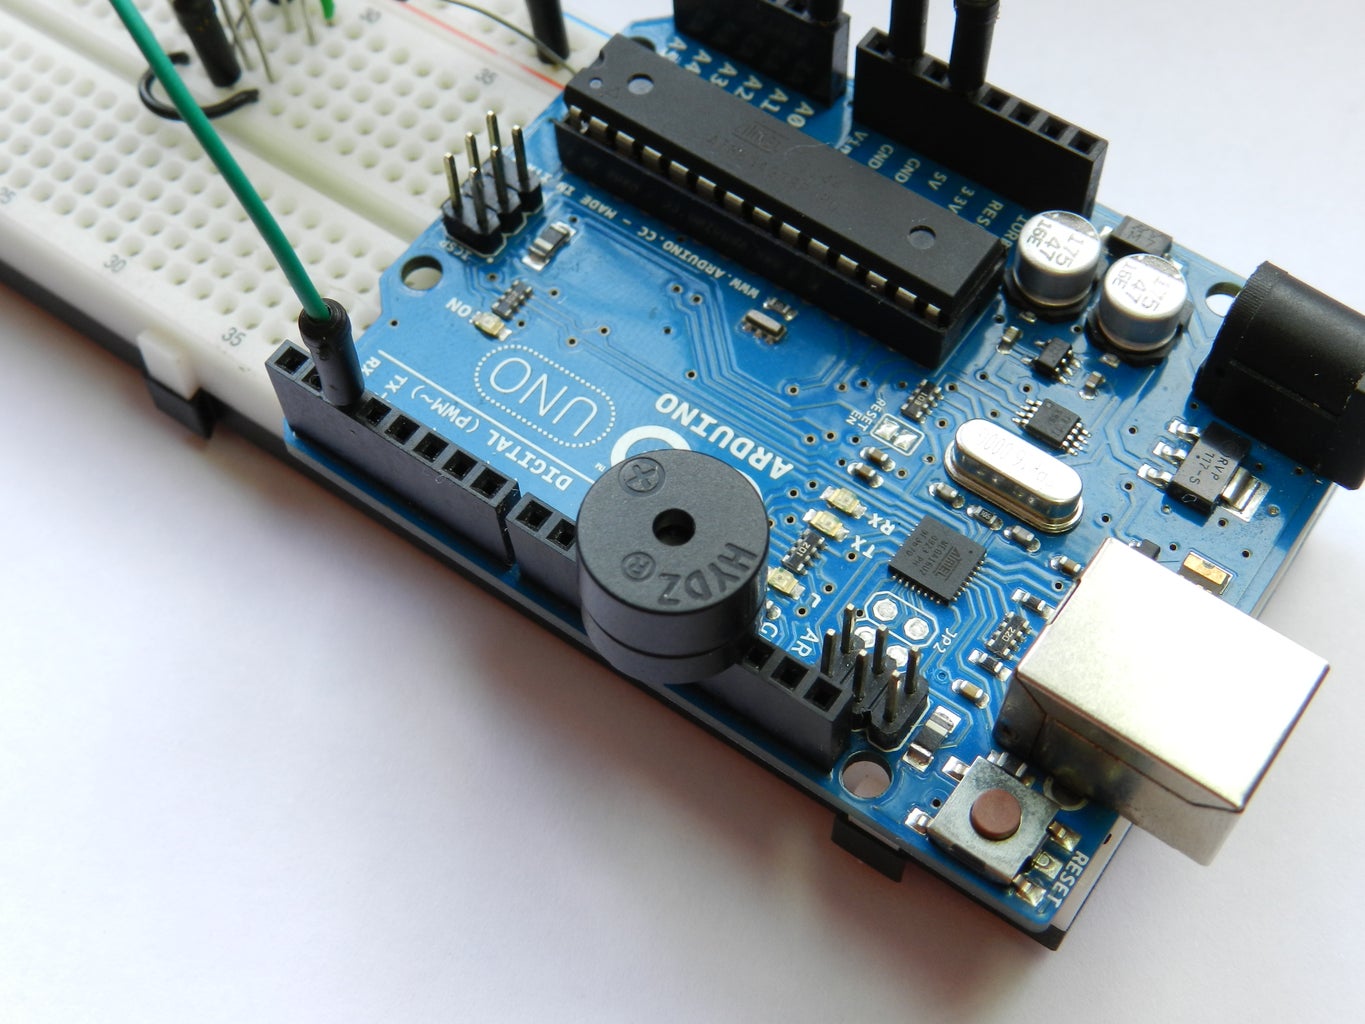
- Buzzer(optional)
Be careful to don't mix up the LED receiver with the LED emitter, they all look the same.
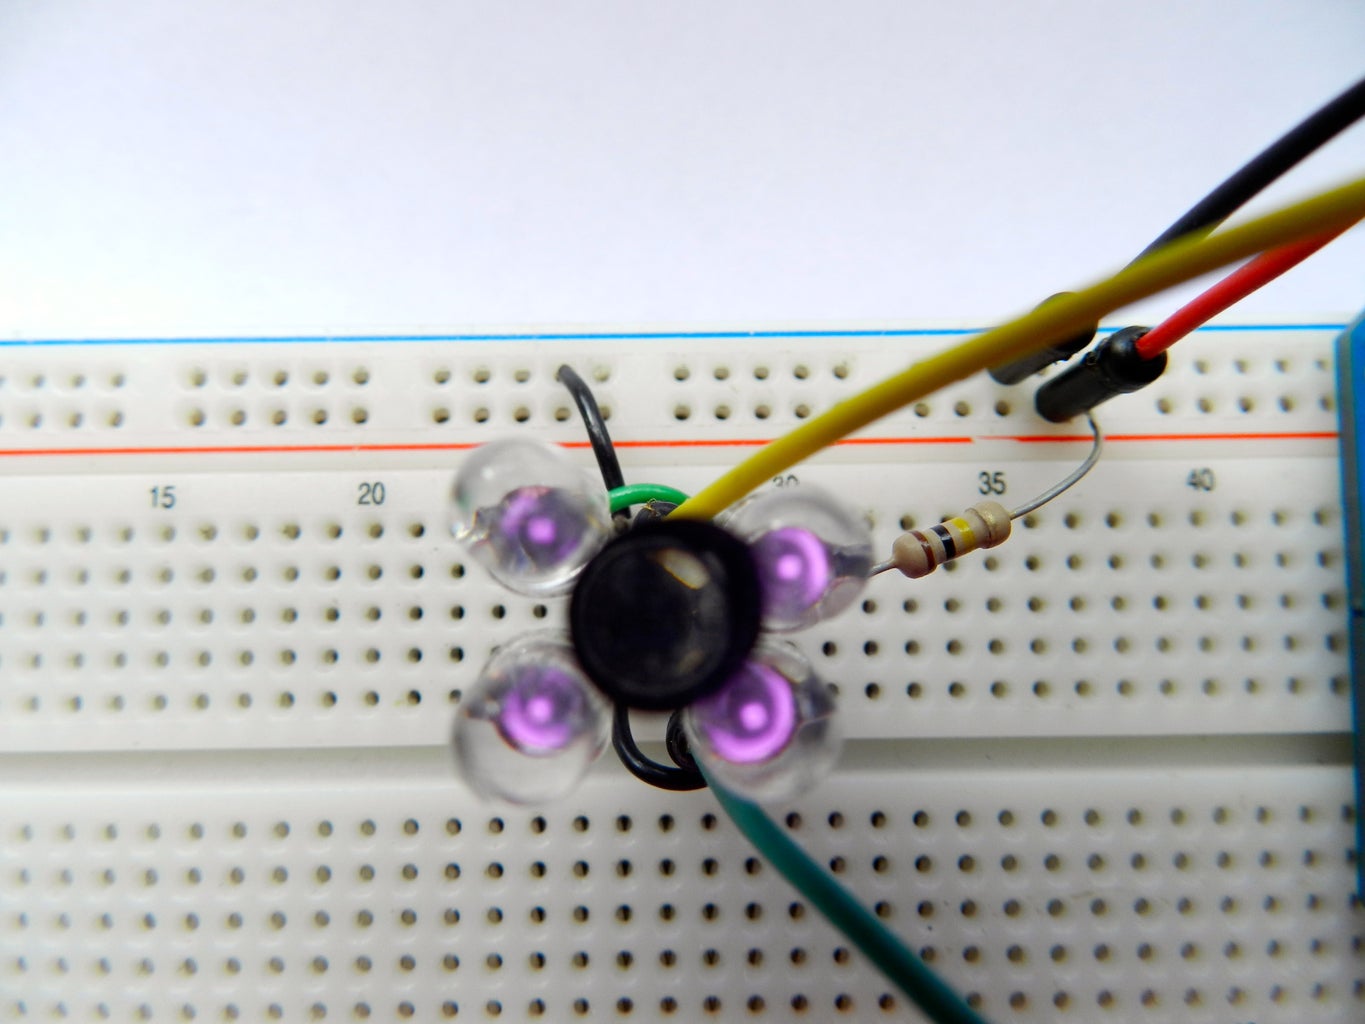
Step 2: Preparing the Sensor
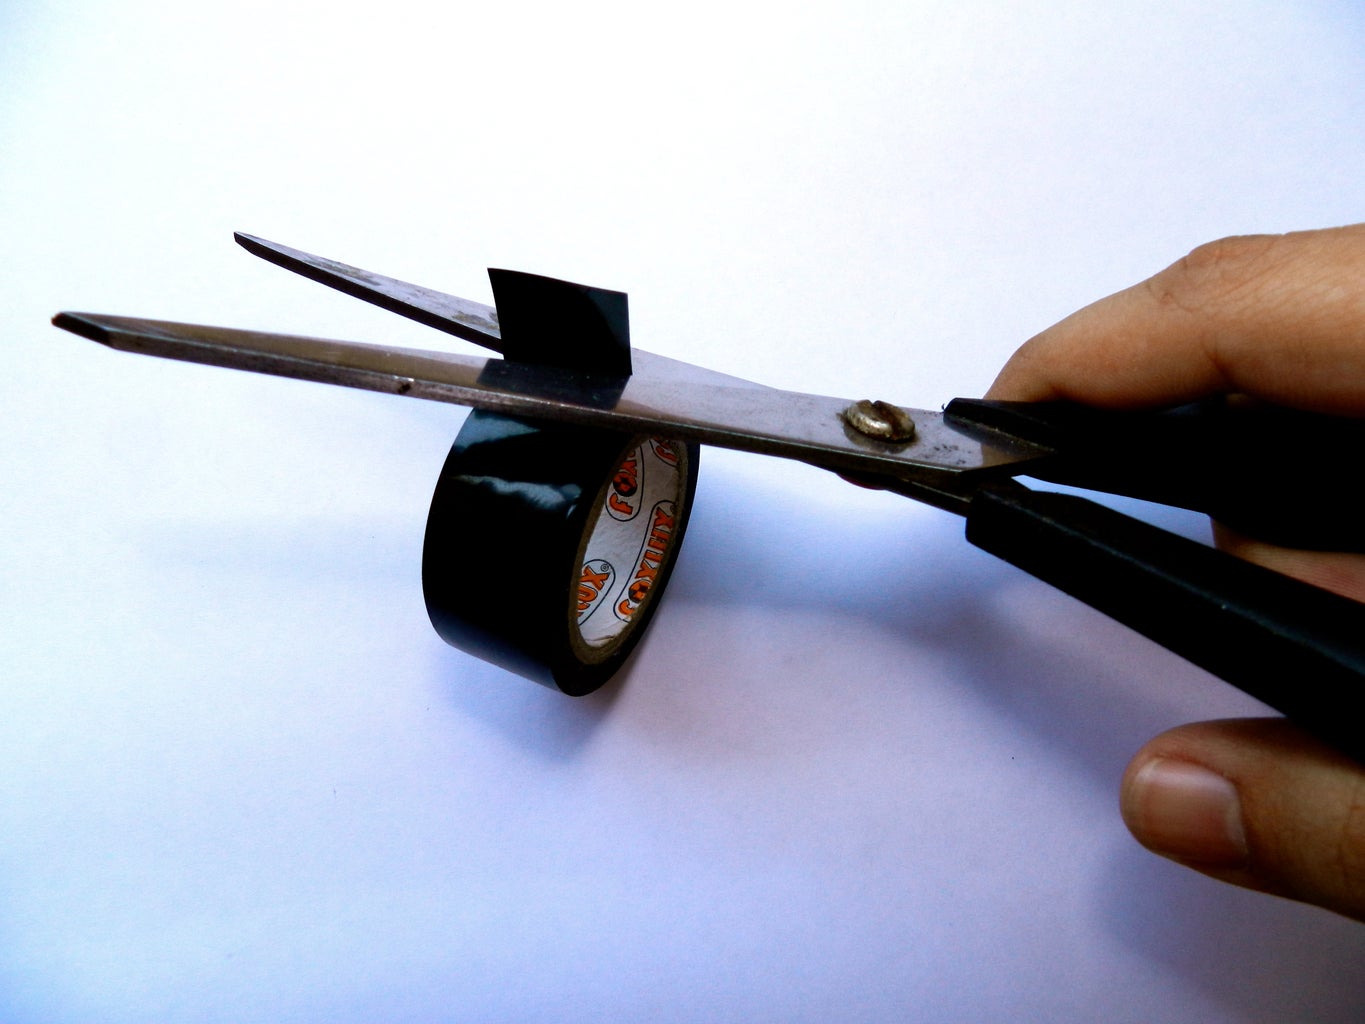
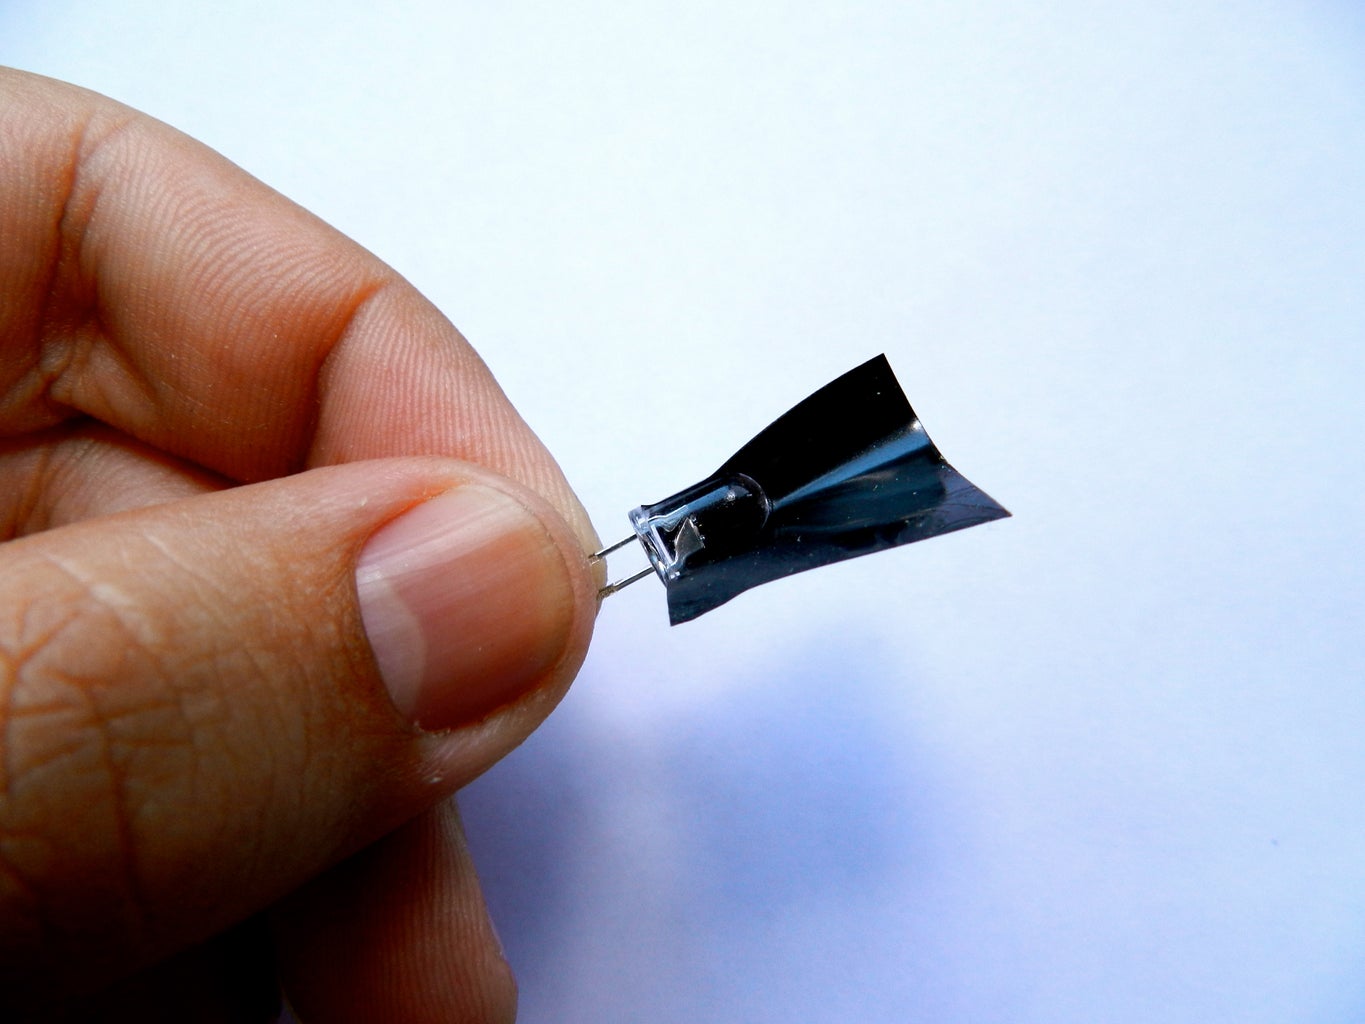
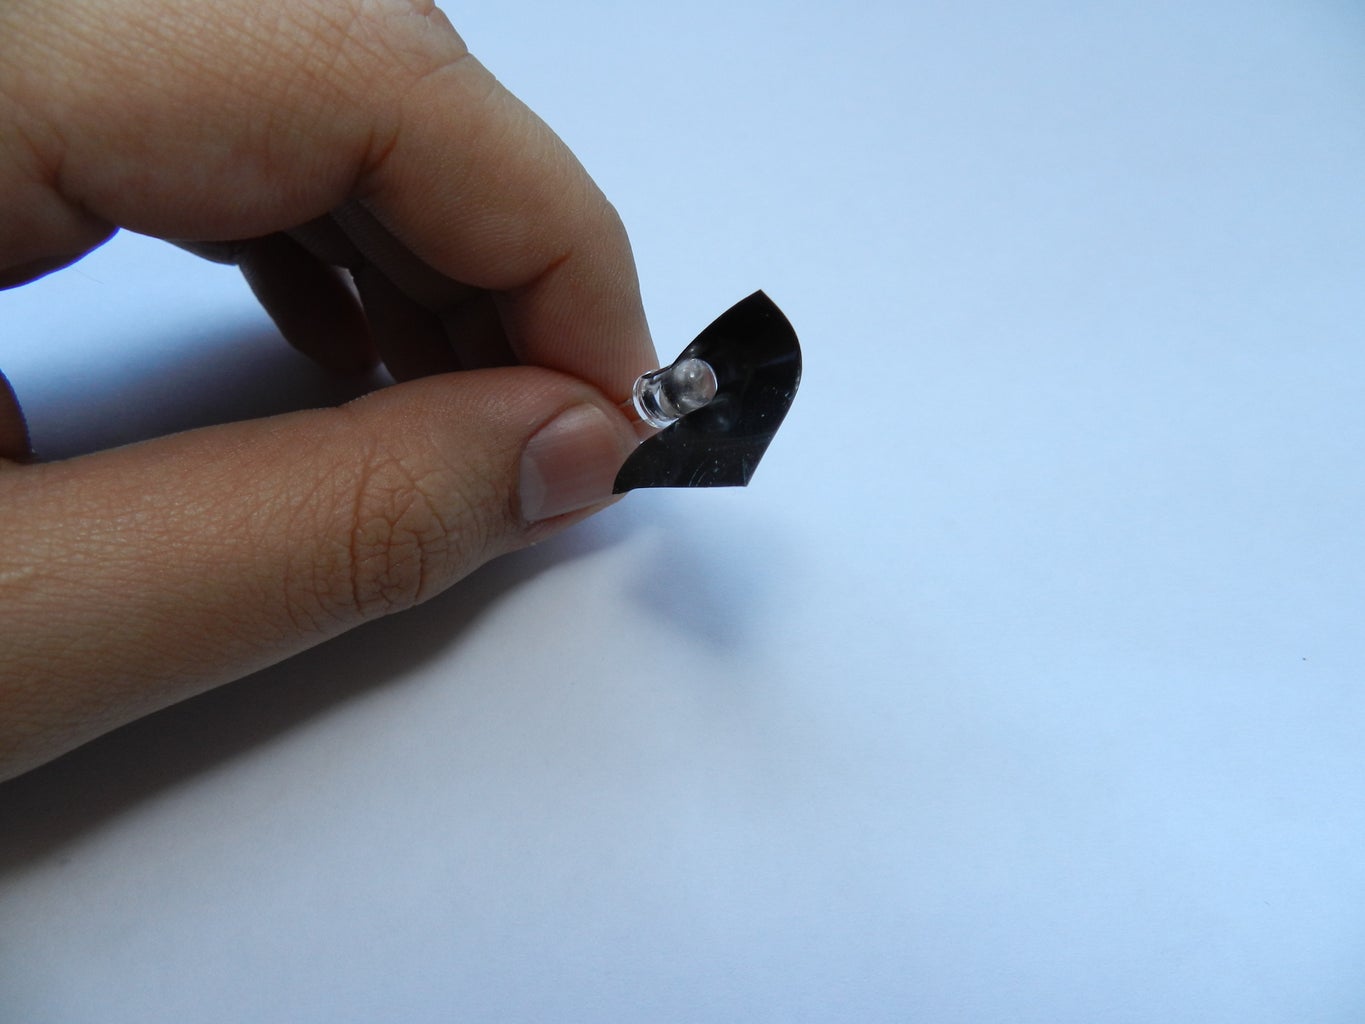

Before mount it, we should prepare the IR LED receiver to don't receive light from the sides, so than the sensor is more directional.
I use electrical tape to make it, but you can use a straw or anything that blocks the light from the sides.
Cut a small piece of electrical tape and wrap it around the IR LED receiver, forming a tube. Trim the edge with a pair of scissors until it's about 1cm long.
Have a look at images to see how I made it with electrical tape.
Step 3: Code Time!

Write the code above on the Arduino program and upload it to the Arduino.
I also added an buzzer to this project if you wanna "hear" the distance.
// Simple Proximity Sensor using Infrared
// Description: Measure the distance to an obstacle using infrared light emitted by IR LED and
// read the value with a IR photodiode. The accuracy is not perfect, but works great
// with minor projects.
// Author: Ricardo Ouvina
// Date: 01/10/2012
// Version: 1.0
int IRpin = A0; // IR photodiode on analog pin A0
int IRemitter = 2; // IR emitter LED on digital pin 2
int ambientIR; // variable to store the IR coming from the ambient
int obstacleIR; // variable to store the IR coming from the object
int value[10]; // variable to store the IR values
int distance; // variable that will tell if there is an obstacle or not
void setup(){
Serial.begin(9600); // initializing Serial monitor
pinMode(IRemitter,OUTPUT); // IR emitter LED on digital pin 2
digitalWrite(IRemitter,LOW);// setup IR LED as off
pinMode(11,OUTPUT); // buzzer in digital pin 11
}
void loop(){
distance = readIR(5); // calling the function that will read the distance and passing the "accuracy" to it
Serial.println(distance); // writing the read value on Serial monitor
// buzzer(); // uncomment to activate the buzzer function
}
int readIR(int times){
for(int x=0;x<times;x++){
digitalWrite(IRemitter,LOW); // turning the IR LEDs off to read the IR coming from the ambient
delay(1); // minimum delay necessary to read values
ambientIR = analogRead(IRpin); // storing IR coming from the ambient
digitalWrite(IRemitter,HIGH); // turning the IR LEDs on to read the IR coming from the obstacle
delay(1); // minimum delay necessary to read values
obstacleIR = analogRead(IRpin); // storing IR coming from the obstacle
value[x] = ambientIR-obstacleIR; // calculating changes in IR values and storing it for future average
}
for(int x=0;x<times;x++){ // calculating the average based on the "accuracy"
}
return(distance/times); // return the final value
}
//-- Function to sound a buzzer for audible measurements --//
void buzzer(){
if (distance>1){
if(distance>100){ // continuous sound if the obstacle is too close
digitalWrite(11,HIGH);
}
else{ // beeps faster when an obstacle approaches
digitalWrite(11,HIGH);
delay(150-distance); // adjust this value for your convenience
digitalWrite(11,LOW);
delay(150-distance); // adjust this value for your convenience
}
}
else{ // off if there is no obstacle
digitalWrite(11,LOW);
}
}
Of course you can edit it to fit in your own project. You can for example make a robot change direction or velocity based on the distance read from the IR sensor.
Attachments

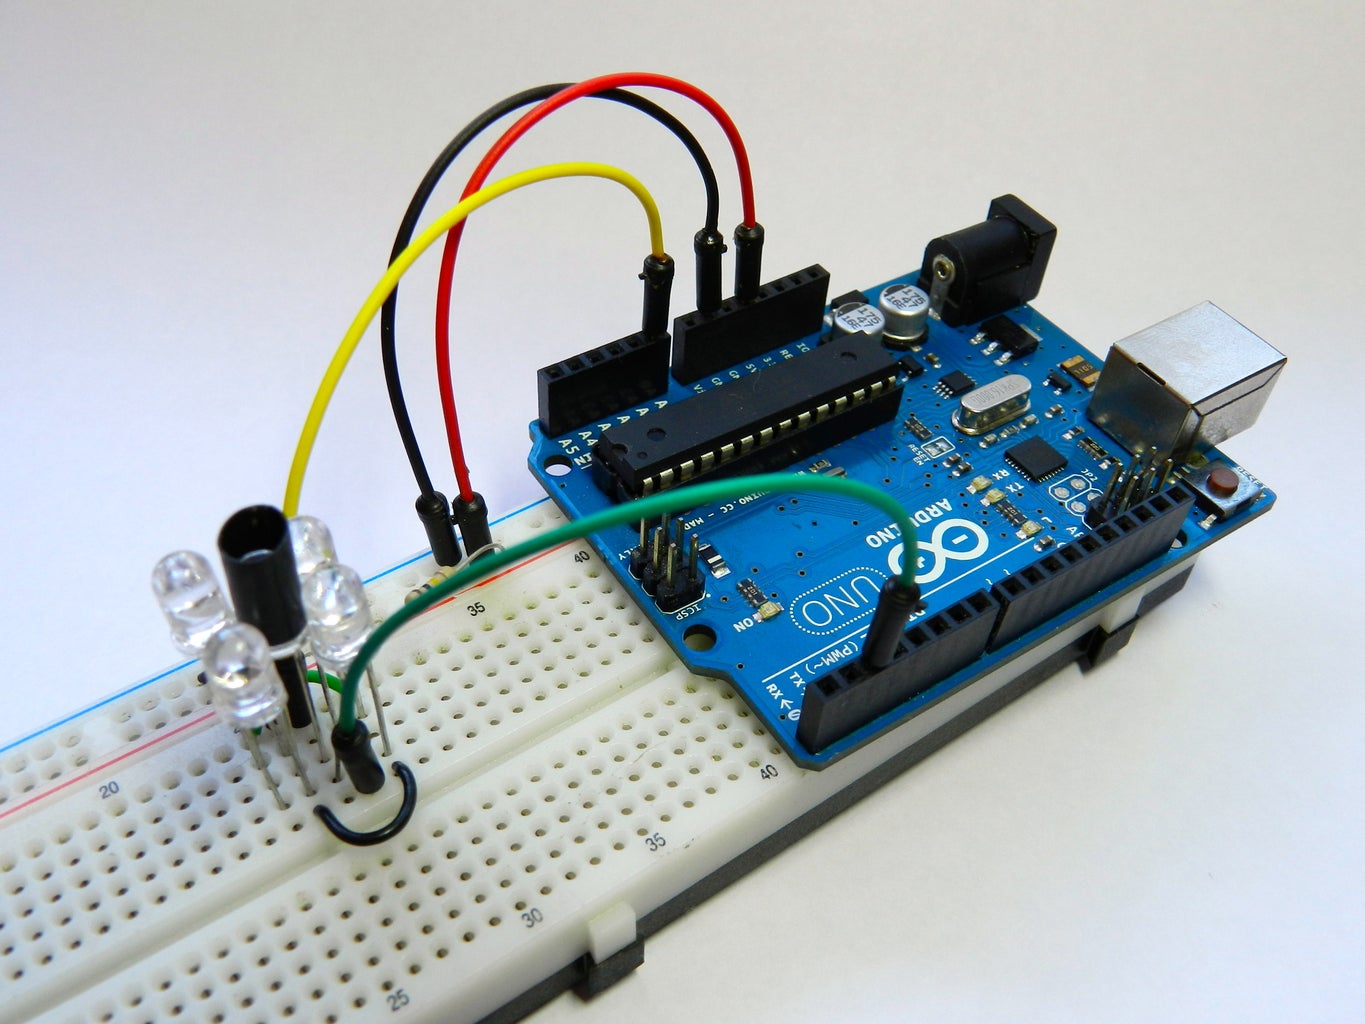
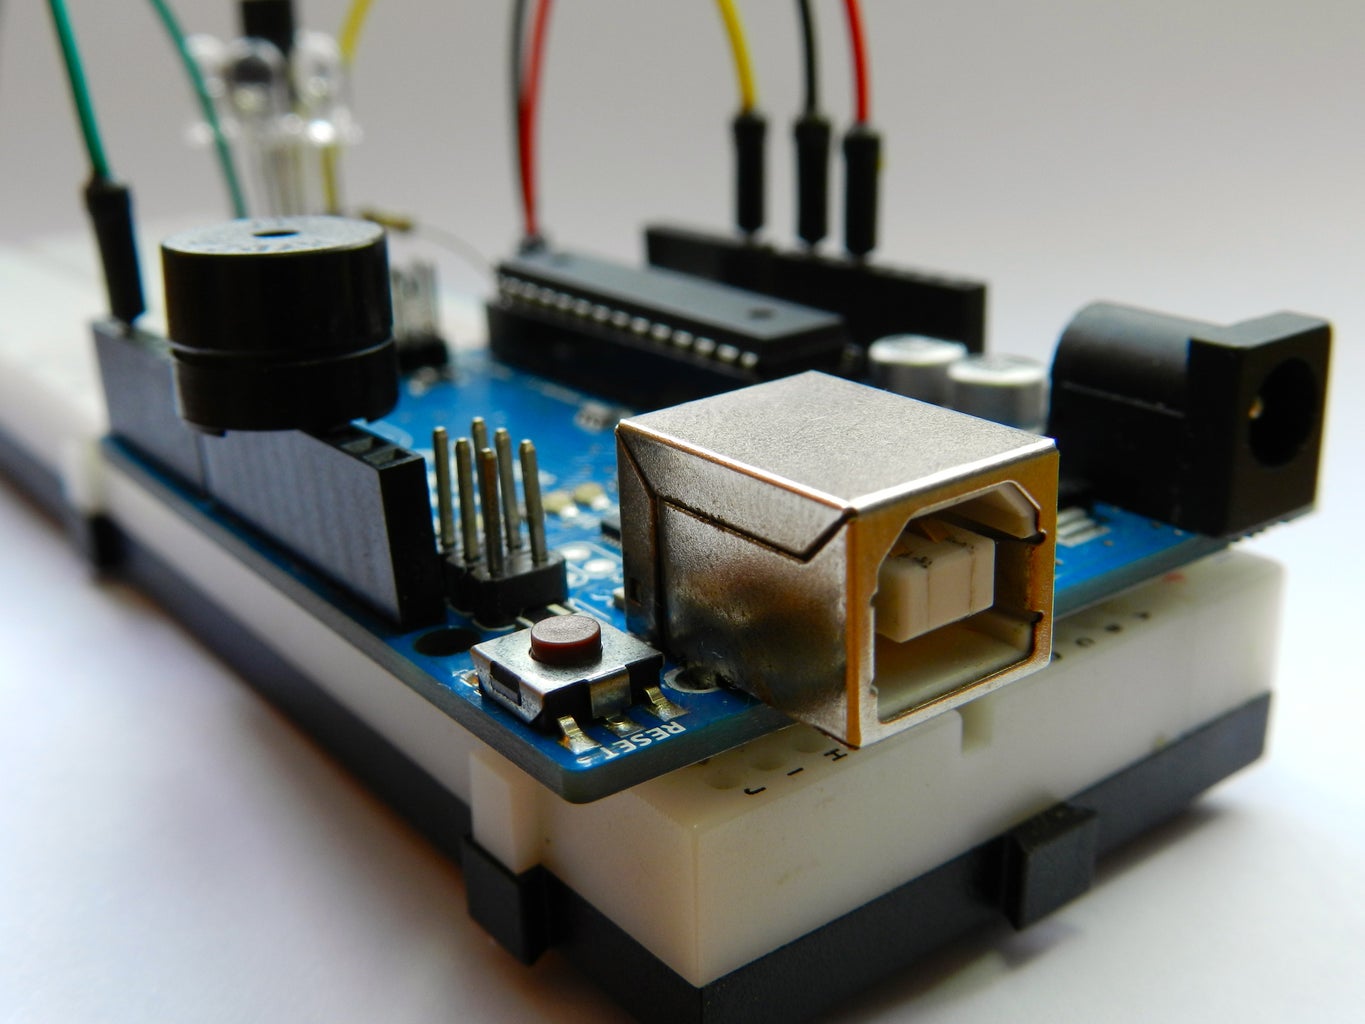
Step 4: Connect It Up.
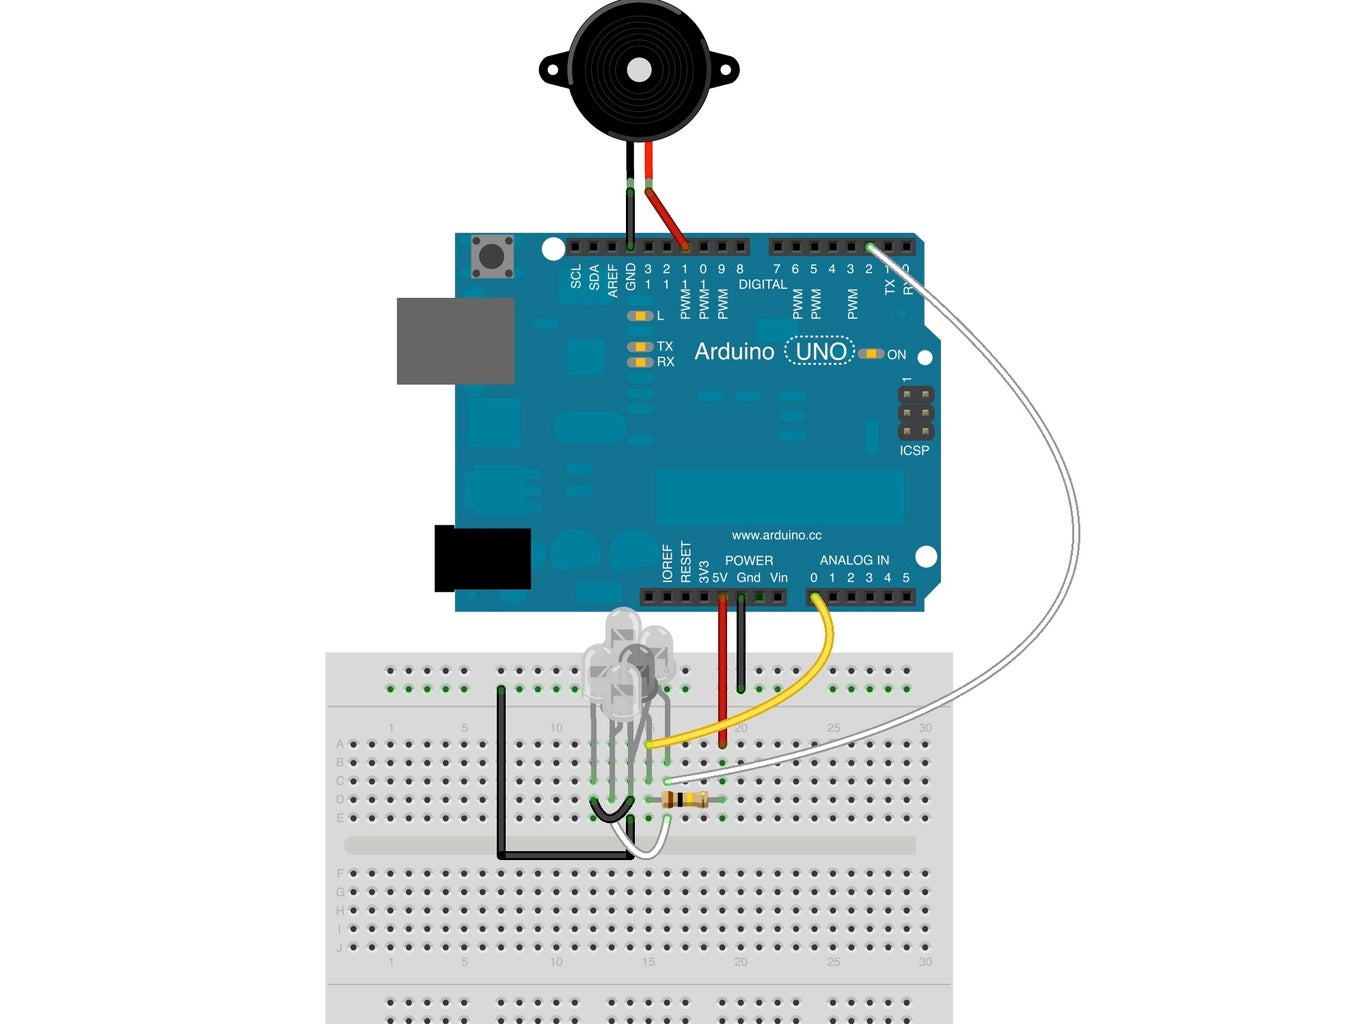
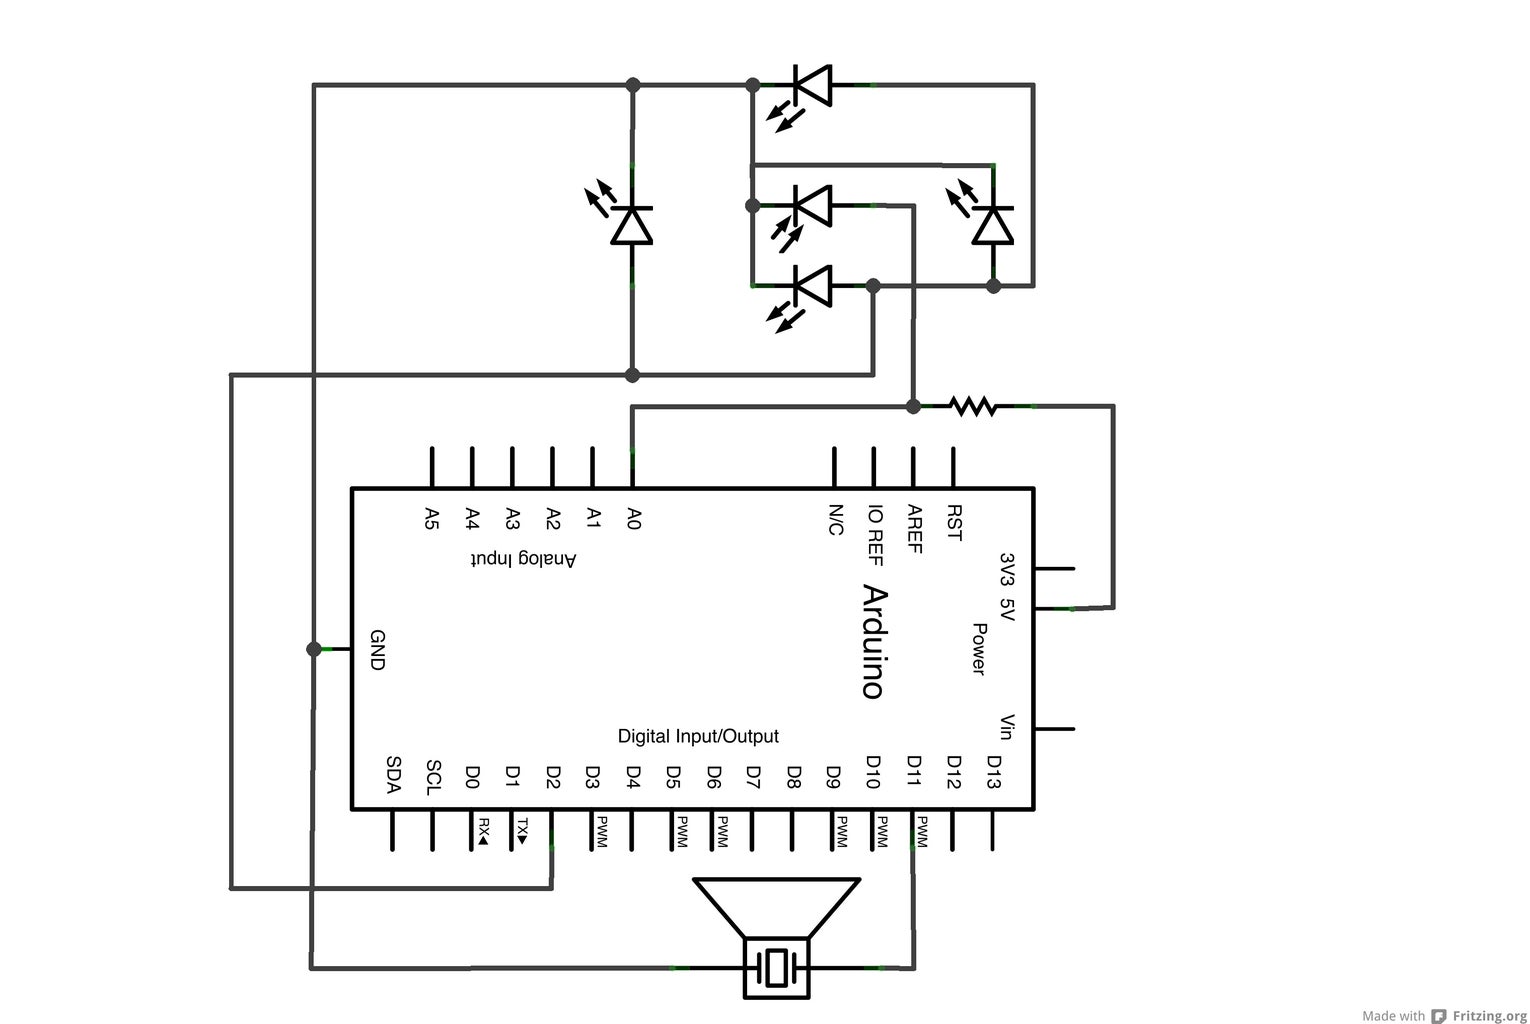
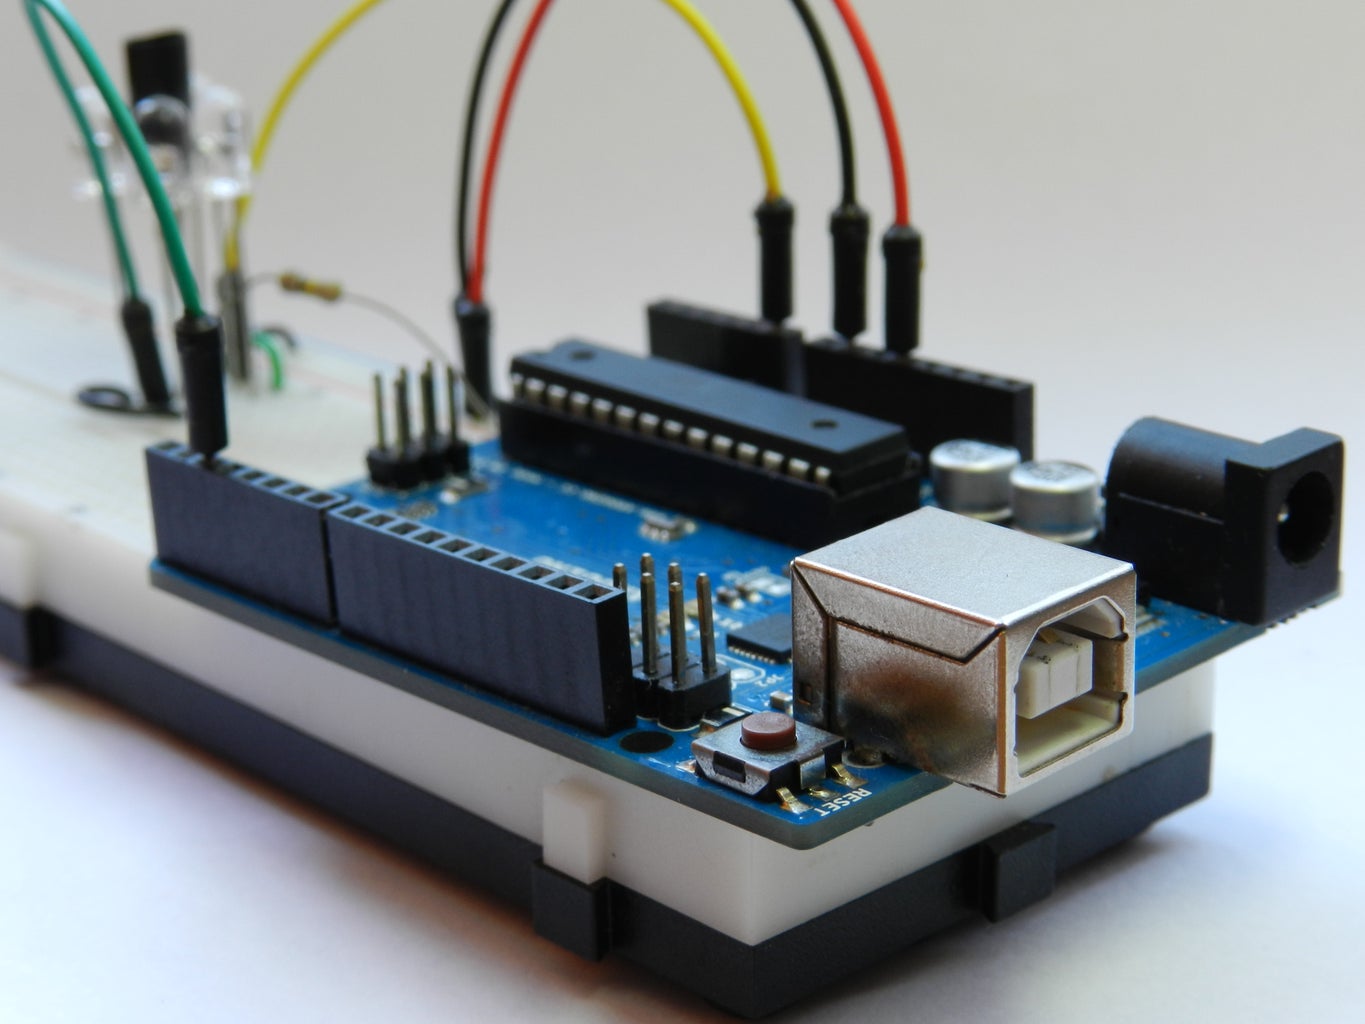
Connect the resistor from the 5V pin to the anode pin of the IR LED receiver. All the anodes pins of the IR LEDs emitters to the digital pin 2. A wire goes from the analog pin 0 to the anode pin of IR LED receiver. Don't forget to connect all the cathode pins of the LEDs to the ground pin.
The buzzer is optional, but if you are using it connect to the digital pin 11 and the ground.
Infrared light isn't visible to naked eye, but you can see it thru a digital camera, it helps to see if the LED is working or not.
Take a look at the pics.
Step 5: It's Done!
Feel free to modify this project to your way, and tell me your progress. Comments are welcome.
Here is a video I've made.


