

Introduction: Sled Suit


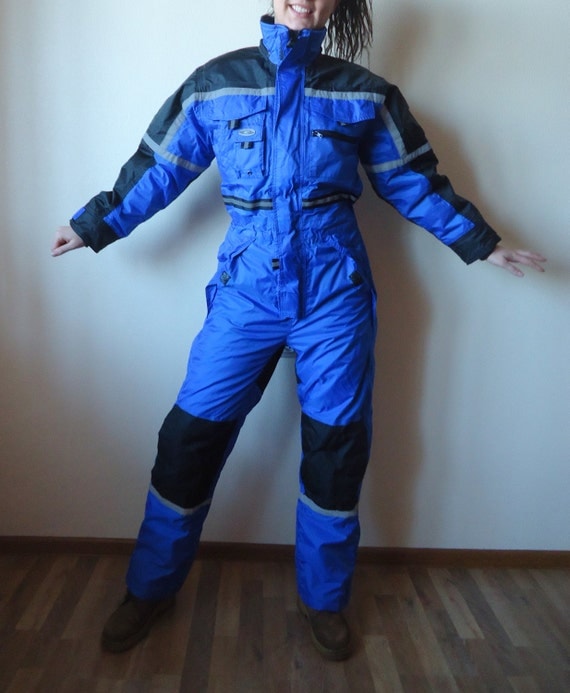
Ever get tired of towing a sled up the slopes? Why walk down a snowy incline when you can sled down it! This sled suit combines the fun of sledding with the everyday ease of putting pants on.
Made with plastic shelving liner and a snow suit, this project will get you planking down slopes in no time. To sew through the flexible plastic, you will need access to a walking-foot machine or someone who is willing to sew the plastic down for you.
Thanks to user Natalina for letting me use her Disco Ball Helmet. Want one? Make it here!
Step 1: Materials


Materials
[1] Snow Suit (preferably a retro one)
[1] 10 feet roll ribbed shelf liner
Batting or quilted material (optional)
Scissors
Seam ripper
Matching thread
Tools
Access to a walking foot industrial sewing machine
Nylon thread (for walking foot)
Step 2: Find a Retro Suit

Check out Retro Ski Shop, Etsy, Ebay or other online retailers that sell retro snowsuits.
The suit should have full arm coverage and preferably be a one piece. This could work with a pant and jacket combo, but there is more potential for snow and water getting in the suit as you sled.
Choose a snow suit that fits your taste and size, your taste will need to angle towards the colorful and cheeseball side to fully appreciate the array of designs out there.
When you get a snow suit in your hands, you will be ready to move on to the next steps.
Notes on Fit
To ensure a decent fit, take measurements of the chest, waist and hip and add 4 inches.
Find the measurements on the listing, if they are close to your calculations, the suit is more likely to fit over your clothes and be comfortable to move in. A lot of sellers measure on the outside of the garment and when the clothes are laying flat, so the listed measurement of a waist of 30 inches, would be more like a 29.
Step 3: Seam Rip


You have the suit, let's get building!
In order to get in with the sewing machine, some seams need to be taken apart.
There will most likely be two layers to the snow suit, the outer fabric and the lining fabric. Both layers will need to be seam ripped.
Locate the side seam, that runs from armpit down to the ground, and the underarm seam that runs from the armpit to the wrist. Seam rip the outer and lining layer on both sides along these seams.
Step 4: Cut Shelving Liner


This sled suit focuses on the back of the suit, however I can see the sled material (liner) coming in handy placed elsewhere. On the palm of a glove, or on the front of the torso.
It's helpful to cut for one half of the suit, then use those pieces as the template for the other half. The only rule here is to leave a break in the liner where your body bends: the back of the knee, waist, around the shoulder, etc.
Starting at the bottom of a leg, mark how long the liner will need to be with some straight pins or chalk. Cut the liner to size width and length-wise. Rounding the edges of the liner pieces will add comfort when wearing the suit.
Step 5: Pin and Sew


The shelf liner is surprisingly soft, soft enough to pin through. Use medium to heavy weight pins, satin pins probably won't hold up. Be careful to only pin through outer layer. To make the suit easier to work with as it's sewn, start with one panel and keep adding from there.
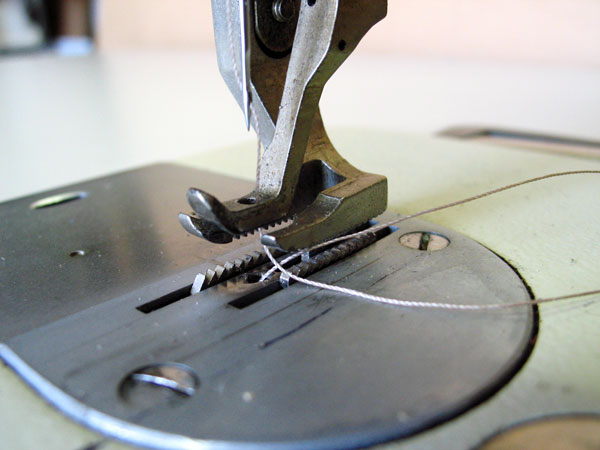
Coming from the opened side and underarm seam sew down the panels using a walking foot machine. The heavy needles, thread are heavy enough to piece and stitch through the plastic and walking foot mechanism will make it very easy to sew over such thick material.
Keep adding pieces until they are all attached.
Step 6: Sew Some More

Now that the liner is stitched on, the seams that were ripped open need to be sewn back up. Turn the suit inside out and sew the outer fabric's seams back together. They can be accessed because of the opened lining seams.
When finished with the outer layer, the lining seams are all that are left. In order to sew these seams back together, the seam allowance will need to be facing towards the body, rather than facing the outer fabric, which is most likely how it was before it was taken apart.
Step 7: Get Out on the Slopes!

The sled suit is done and it's time to hit the slopes!


