

Introduction: Spooky "Voodoo" Apothecary Powder & Potion Spell Bottles for Halloween


My Voodoo-inspired Halloween altar/display wouldn't be complete without some otherworldly powder & potion spell bottles! These mystical props are aged to look centuries-old, decorated with vintage symbols and charms that just "might" belong to someone.
Glue (Elmer's & hot glue), wax and paint were the main tools used. Everything else is a smattering of bits and vintage pieces I've collected over the years, along with some inspiration from a nightmarish movie or two.
Many of these techniques and "recipes" can be used in whole or in part, with colors of your choosing. I prefer to stick to a cohesive, earthy color palette. These should look very rough, organic and primitive.
Display with skulls, bones and candles, and you've got the makings of a pretty spooky display!
Step 1: Supply Scavenging

Much of what I have here is collected from around the house: random art supplies, costuming bits & pieces, first aid drawer and sewing box. If you feel stuck, draw inspiration from specific animals, plants & flowers - even emotions - and attempt to personify your subject with color and texture. My rule of thumb is to use organic materials wherever possible, in a variety textures and colors.
Read the entire Instructable before you go shopping!All supplies are listed below but not all are needed for every bottle - make sure you read the specific "recipe" used for each specific design. Once you get some of the techniques down, there are endless possibilities for combining them in different ways.
SUPPLIES:
- Assortment of bottles in interesting shapes and sizes. I found mine at craft stores and our beloved local Archie McPhees. Antique/junk shops are good sources, too.
- Encaustic medium* (natural or clear - no pigment)
- Hot plate
- Elmer's glue
- Hot glue gun
- Fine sand - found at plant nurseries (decorative potting material) and craft stores
- Assorted spray paints in earthy colors, including chalkboard spray paint and matte finish Spray
- Steel wool
- Sandpaper (fine and coarse)
- Heavy-duty metal file
- Craft knife
- Thread in various weights and colors
- Raffia
- White "chalkboard" marker pen
- Gauze
- Art paper
- Artist's charcoal in white & black
- Vintage beads, coins and buttons
- Fine glitter
- Food coloring (I used yellow, red and black)
- White flour
- Feathers, hair, bone, dirt, knobby twigs, etc. (some type of real organic material)
*Encaustic medium can either be prepared or purchased in fine art stores. It is preferred over regular candle wax because of its softness and blending capabilities. There's a great instructible here on how to make your own. I was lazy and bought mine on Etsy!
Step 2: An Overview of the Designs

What you find on your scavenge hunt for supplies may go far in inspiring your creations. Here are a few designs based on what I found around my home.
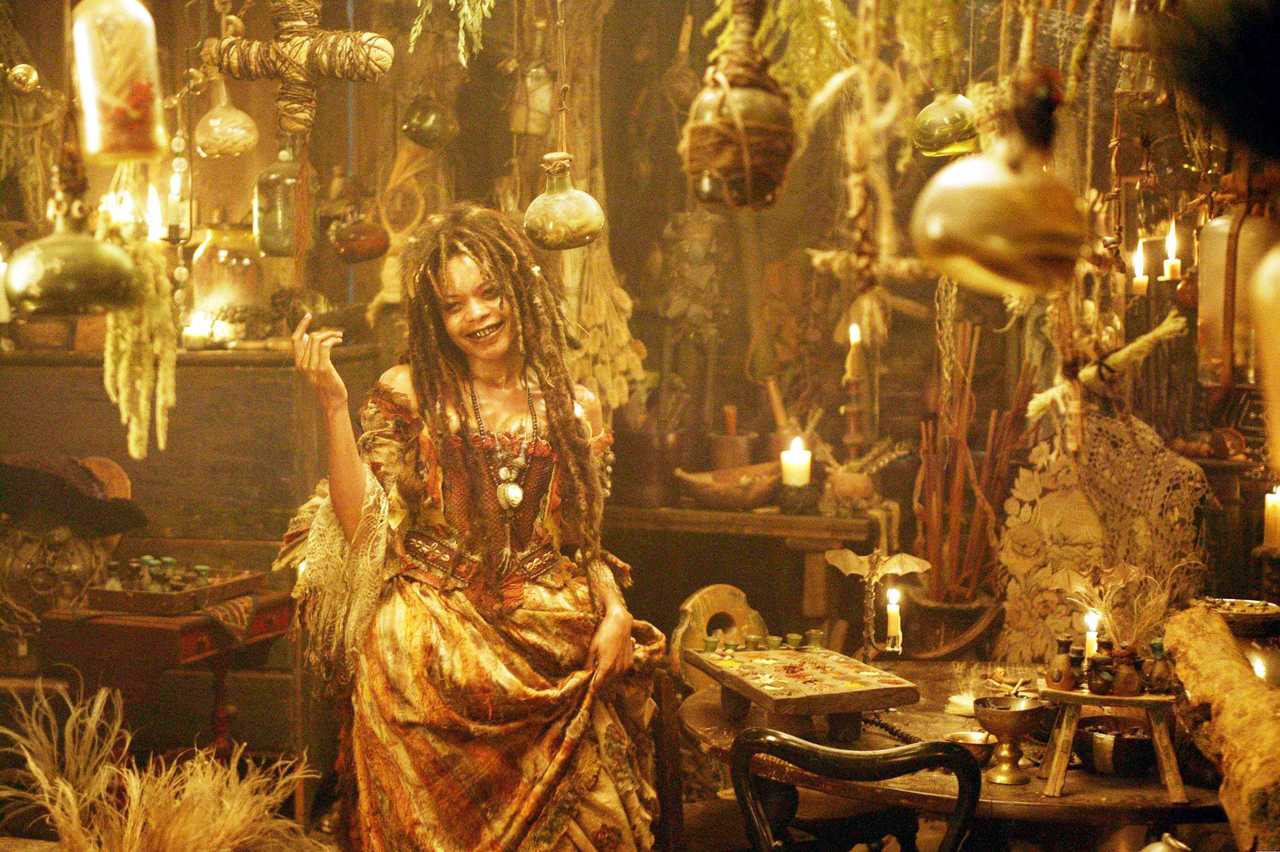
I found that these took on a life of their own once I got going.. Many times what I ended up with was far from what I had envisioned due to a few happy accidents. A few inspirations were online searches of vintage apocetharies, Tia Dalma's shack (Pirates of the Caribbean), and one of my faves, the Serpent & the Rainbow movie.
Apologies for not having more photo steps in some of these. If you have any questions, please shoot me a message!
Step 3: Prepare Bottles

Before you start on any of these designs, the bottles will need to be roughed up with sandpaper. This helps with the aged look, plus it provides a good surface for the paint to adhere to. The coarser the sandpaper the better. Wipe off any dust and make sure they're completely dry before painting.
Step 4: Design #1: Encrusted Red & Black Ombre

RECIPE: spray paint (red & chalkboard black) + fine sand + sandpaper + thread + encaustic medium
PAINTING:
- Roughen the surface of the bottle with sandpaper
- Spray the very bottom of the bottle with black and allow to dry completely.
- Set upright and spray the bottom half with black spray paint. To do this, I start with a downward light mist a few inches away from the bottle and bring it in slowly to just get the bottom.Take the red paint and spray over the top half of the bottle as best as you can using the same technique as the black, only positioned higher. Spray downward from above to get the very top. It's ok to have the top half fairly wet.
- While the paint is still wet, dip the top half into a bowl of sand and allow to dry a bit. Paint over the top again using the red as before, making sure all the sand is covered well.
- Hit the bottom half once again with a light mist of black. Allow to dry completely.
- When the paint is dry, take some coarse sandpaper and sand it down, trying to blend it into the sides. The idea is to get a tapered shape overall.
- At this point you can repeat steps 3-6 if you like. I did a few rounds of this because I wanted the top to be super crusty and close up the opening a bit.
FINISHING:
- Heat up the encaustic medium on the hot plate. When it is liquid, dip your brush in and roughly paint over the top. This will be the "glue" that holds the thread in place. For this one I brushed extra wax around the top in between short drying periods to create a more opaque look (which is why it looks whitish here).
- Before the wax hardens, take some black thread and wind around the top unevenly. Brush more encaustic medium over the thread to make sure it is all adhered to the bottle.
Step 5: Design #2: Waxy Black With Voodoo Symbol


Voodoo symbols are easy to find online with a simple search. I chose ones that represented more positive meanings (love, house blessing, spirit, etc.) because I'm superstitious like that.
RECIPE: spray paint (chalkboard black) + label (art paper, white "chalkboard" marker) + sandpaper + encaustic medium
PAINT & LABEL:
- Roughen the surface of the bottle with sandpaper, clean and set upright on a covered surface.
- Spray a light but thorough coat of black. Allow to dry completely. Lay on its side and spray the bottom.
- Using both rough and fine sandpaper, thin out the paint in random places enough to see through the glass a little.
- Measure, cut, prepare and glue on the label using Elmer's(see step #6 describing this process)
- When dry, use sandpaper to taper the edges and blend into the glass.
- Carefully cover with another coat of black spray paint, being careful to avoid covering the label (a little is ok around the edges)
- Using a black marker, color the edges of the paper black to remove any hint of the label edge.
- Lightly sand with fine sandpaper to age the symbol on the label in places.
- Repeat step 3.
CORK:
- Color the cork with black marker.
- Using the white chalkboard pen, draw a small symbol right on top (I just drew a simple "x").
- Insert the cork tightly.
FINISHING:
- Heat up the encaustic medium on the hot plate. When it is liquid, dip your brush in and paint light "x" motions on the bottle around the edges of the label and over the top of the cork. Take care to not cover the center of the label.
- When the medium dries a little, repeat with another light brushing, again in "x" motions. Try to keep the medium as thin as possible.
Step 6: Design #4: Black Distressed With Voodoo Snake Symbol


This design is an overall matte look with black rubbed down to reveal base color underneath. I envisioned this being stored in a dark cellar, faded and encrusted with dust. It looks really cool to set a candle behind the bottle so it can shine light through bare areas in the glass -tough to capture in a photo.
RECIPE: spray paint (light blue, chalkboard black, clear matte) + label (art paper, white "chalkboard" and black/sharpie marker) + sandpaper + steel wool + metal file + thread + encaustic medium + raffia + vintage coin & beads + hot glue gun
PAINT:
- Roughen the surface of the bottle with sandpaper, clean and set upright on a covered surface.
- Spray 2 coats of light blue spray paint (let dry between coats). When dry, turn on its side and spray the bottom.
- Using rough & fine sandpaper, rub in different directions until you start wearing the blue down, removing completely in some areas.
- Cover entire bottle with a light coat of black chalkboard paint.
- While paint is still wet roll in fine sand, concentrating on the bottom half. The coating of sand should be fairly light. It helps to use a straw inserted into the neck to handle the bottle without getting fingers on it.
- Spray black again lightly, making sure sand is covered.
- Let dry, sand a bit to smooth, and cover with a coat of the clear matte spray.
- Using rough and fine sandpaper, rub in different directions to reveal both the black all the way through, and just enough to reveal the blue undercoat in other areas.
- Polish and buff with steel wool. In the places where blue and black are ground down to the glass, rub the black edges with steel wool to reveal more of the blue paint.
- If you want deep, sweeping scratches, take the metal file and scrape it a bit.
MAKE THE LABEL:
- Measure and cut black/charcoal art paper in the shape of label you want.
- Using the white chalkboard marker, carefully draw out your symbol(s). Search online for "Voodoo symbols" and you'll find plenty of cool examples.
- Turn the label over and sand with coarse sandpaper until the paper becomes thin and flimsy.
- Apply Elmer's glue to the back of the label and spread it evenly with your finger.
- Press the label hard into the surface of the bottle. Let dry completely.
- Sand around the edges of the label, blending it into the bottle.
- At this point you can choose to darken around the symbol using the black marker and go over the white symbol again.
- Lightly sand with fine sandpaper to age the symbol on the label in places.
FINISHING:
- Insert the cork tightly and gather up some twine.
- Heat up the encaustic medium on the hot plate. When it is liquid, dip your brush in and paint light "x" motions on the bottle around the edges of the label, the top portion of the bottle and over the top of the cork. Take care to not cover the center of the label.When the medium dries a little, repeat with another light brushing over the bottle, again in "x" motions.
- Brush the top of the cork with encaustic medium and wind some twine over and around the cork from the top edge to the base. Continue brushing encaustic medium over the twine as you wrap it (see step #7 for photos).
- Finally, I had some vintage beads I strung together, along with an abalone button to secure them around the top in a ring. Finally, a little raffia and peacock feather was hot glued to the back of the button .
Step 7: Design #3: Stitched Gauze & Feathers


What inspired this one were shrunken heads and mummies. Lovely!
RECIPE: glue wash + white charcoal scrapings + gauze + twine + feathers + spanish moss + vintage coin + encaustic medium + fine white sand
PREPARE THE INSIDE
- Prepare some glue wash (1:1 Elmer's & water), pour into the bottle, swish around and pour out.
- Scrape the white artist's charcoal with a craft knife to create some dust.
- Fill the bottle with the charcoal dust and tap around to adhere to the sides. The more uneven and chunky-looking, the better.
- When it was dry, I chose to fill the bottle with white feathers and spanish moss, although its hard to tell what's in there with the gauze covering it.
ATTACH GAUZE & STITCH
- Rip up the gauze in a shape long enough to wrap around the bottle, plus a little extra to overlap for stitching. Create a long fray along bottom edge by carefully pulling threads out.
- Mix up some glue with a little water - this will be the adhesive for the gauze.
- Position the gauze so the frayed edge hangs below the bottom of the bottle and brush the glue mixture over the top of the gauze right onto the bottle, taking care to not glue the long frays. Also, avoid gluing the area where the bottle starts to curve at the top so you can gather it softly around the neck later. Leave about a half inch or so unglued along the seam (where the stitching will be).
- Fold the ends of the gauze vertically and overlap them.
- Using coarse twine (I pulled some thread from some burlap I had), stitch the folded ends together from bottom to top using a rough "x" stitch. Leave the strands long at the top.
FINISHING
- Heat up the encaustic medium on the hot plate.
- When it is liquid. Brush the top of the cork with encaustic medium and wind some twine over and around the cork from the top edge to the base. Continue brushing encaustic medium over the twine as you wrap it (see photo).
- When encaustic medium dries, gather up the gauze at the neck and wrap with more twine.
- For this, I attached an old coin I had and fished through some white feathers and spanish moss.
Step 8: Design #5: Waxy Red With Symbols

This one was the easiest to make, and borrows techniques from a couple previous designs that I'll reference below.
RECIPE: spray paint (red) + sandpaper + white "chalkboard" marker + encaustic medium
- Follow the directions from Step #6 (Design #4), except using red spray paint instead of the blue. Just follow #1-3 under the "PAINTING" section.
- Take the white chalkboard marker and draw in a few simple designs. I kept this super simple!
- Using fine sandpaper, sand a bit over the design to fade it a bit.
- Heat up the encaustic medium on the hot plate. When it is liquid, dip your brush in and paint light "x" motions over the entire bottle. I just did one coat here. Try to keep the medium as thin as possible.
Step 9: Design #6: Sandy Beach Glass With Iodine "Venom"


For this I visualized a snake having its venom extracted into a vial and how those drips might look. I ended up filling mine with flour and glitter to simulate Voodoo "zombie" powder.
RECIPE: glue/water wash + sand + black charcoal scrapings + "iodine" food color + twine + encaustic medium
PREPARE THE INSIDE:
- Make glue wash with a pea-sized drop of water mixed with a drop or two of white glue.
- Mix up the iodine color. I used ~1 drop of red, ~2-3 drops of yellow food coloring, along with a tiny toothpick-tip of black food coloring. Stir well and set aside.
- Pour the glue wash into the bottle, swish around and empty. Drop a pinch of sand inside, tap around to adhere it to the sides, and empty (tapping hard to get as much as you can out). If the sand is too solid on the inside, take a bamboo skewer or other sharp tool and scrape away to loosen some of the sand. Tap hard again to empty. SAVE THE REMAINING GLUE WASH FOR LATER.
- Take the black artist's charcoal and scratch off some dust (just a little is needed). Pour the scrapings into the bottle and tap around to adhere to the sides a bit, and empty.
- Taking care, pour a nice thick drop of the "iodine" while tilting the bottle to the side and let it slowly drip down. Keep the bottle propped at an angle until it dries. A duct tape roll works great for this.
- Allow to dry COMPLETELY.
- Combine the flour and glitter into a separate container, enough to fill the bottle. Don't mix thoroughly - rather, try and keep the glitter somewhat "chunked" together. Fill the bottle*, leaving a bit of space at the top.
* Tip for filling the bottle: Take some heavy-stock paper folded in half, put some of the mixture into the fold, and use it as a funnel to carefully pour into the neck of the bottle.
OUTSIDE:
- Roughen the bottle with sandpaper.
- Using the rest of the glue wash, smear a light but splotchy coat on the outside of the bottle in places where you want the sand to adhere.
- Set the sand with matte finish spray.
FINISHING:
- Cork the bottle tightly. Gather up some twine and heat up the encaustic medium. Follow the instructions on Step #7 (1-3) on wrapping with twine and sealing with encaustic medium.
- For this, I had a little mirror-like doodad I found from a bead shop and attached it around the neck with thread.

Participated in the
Paint It! Sponsored by Olympic Paint

Participated in the
Vintage Contest

Participated in the
Glue Contest


