

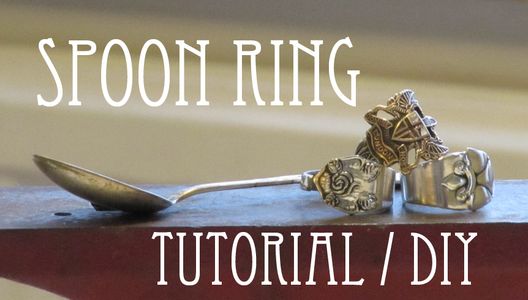
Introduction: Spoon Ring - DIY Tutorial


Prise: 1 -5 Dollar || Time: 15min - 1h || Difficulty: Easy
In this tutorial we are going to go true the steps for how to make a spoon ring!
You will need:
- A Silver spoon
- Mandrel
- Rubber/Plastic Hammer
- Wooden Block
- Polish disk, Polish and a screwdriver.
Make sure that your spoon does not contain any nickel!
In this tutorial I am using spoons that is not made out of silver. Instead I using spoons that where "softer"/easy to bend for the propose of training. If you have a spoon that you still want to use and is not made out of silver, you can use clear spray paint to protect your skin from the metal.
Step 1: Watch This First!
Here is a instruction video I made! :) Make sure to watch this first, and you can understand more exactly how I uses the tools when crafting this ring.
If you can not watch the video true the "picture frame", then you can follow this link instead!
Step 2: Getting the "bend"

We are starting of this project with a basic tee-spoon "1.". To get the bend started I place the spoon against the mandrel and by hand force bend the ring as much as I can "2.". When you have bent the spoon as much as you can it is time to remove the "spoon part". Use some pliers and cut it of. Make sure that you do not cut to much, it is better to have extra material which you can remove later then the other way around!
You need a file to remove any sharp edges!
Step 3: Finish the Ring

It is now time to use your rubber hammer to bend the rest. In my case the top of the handle where to hard to bend by hand. There for I place the ring rather high on the mandrel (on a large size). This is just to get the ring started. I can them work my way down towards the size I want. I even make the ring smaller (maybe 2 sizes smaller) then needed to the resize the ring. Use a wooden block under the mandrel and ring all time! This is to save the pattern on the ring.
In this way I have a few sizes to make the ring rounder. When the ring have sections that are not round and you force the metal down agents the mandrel the rest of the ring will follow and lift/get bigger... It is rather hard to explain, but you will understand what I try to say when attempting this project your self! :)
When the size is right and you have a round ring, your edges may not align. Use your wooden block and hammer to align them. Polish the ring and your done! :)
Happy Crafting! :)
If you liked this please take a look at my YouTube page. Subscribe to make sure you do not miss any fun projects that I do not post here. It means a lot to me! :)

Participated in the
Makerlympics Contest


