

Introduction: @TechShop Menlo Park: Building a Bicycle Wheel


I worked in bike shops through high school and college. In that time I learned to build bicycle wheels. Some people find the idea of building a wheel intimidating but it isn't that hard. I'm going to show you how to build a wheel that has a radial pattern on one side and a more standard crossing pattern on the other side.
The most important thing is to be certain that your spokes are the correct length for your hub and rim.
I did this at TechShop in Menlo park with regular tools, no special bicycle tools were necessary.
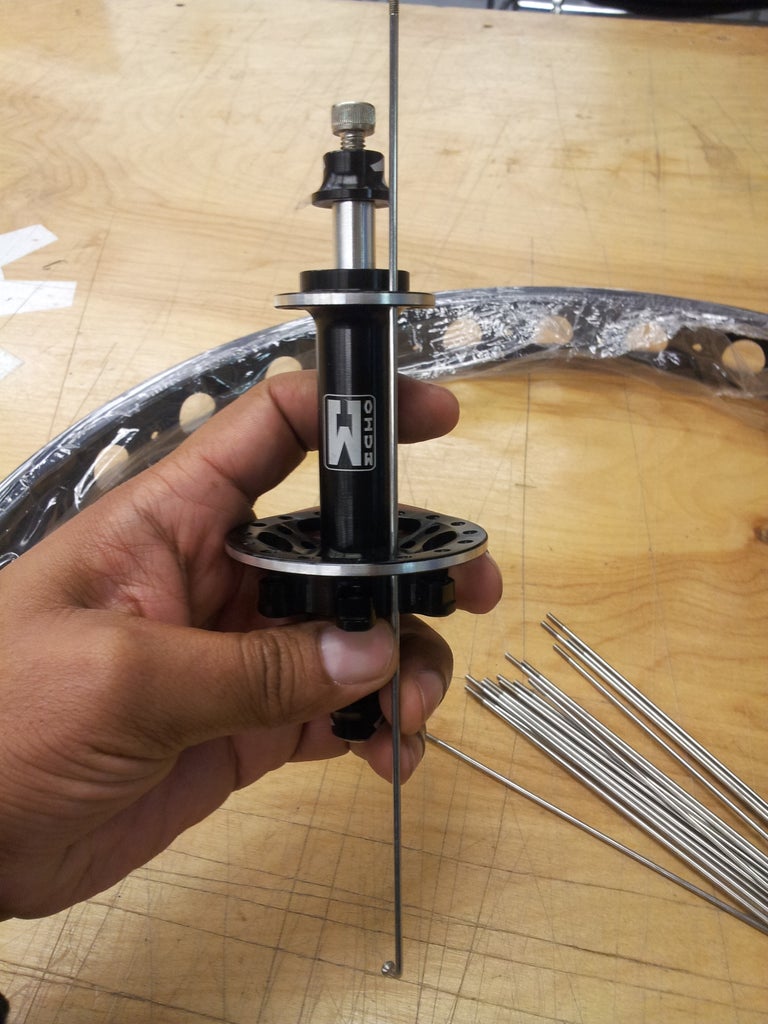
Step 1: Lay Out the Parts


I laid out my parts and tools on the table so I could decide how I was going to approach this build. Since the one side is radial laced and the flange is smaller it is the best side to start with.
Step 2: Insert the Spokes - Side One
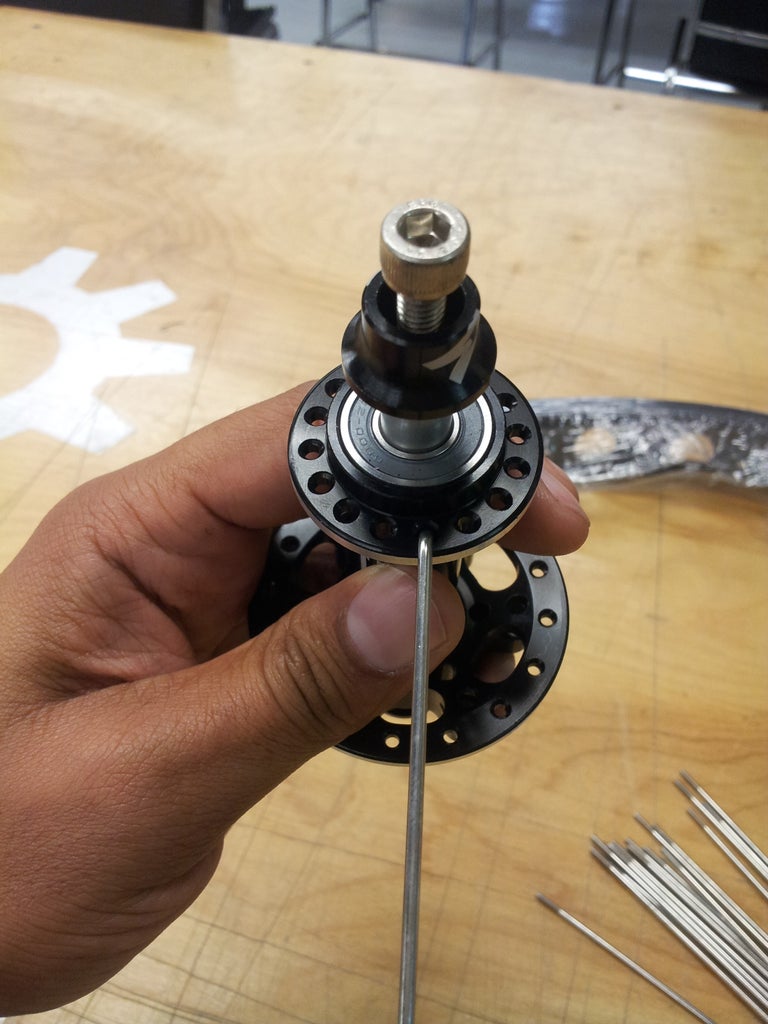


Since the spokes won't cross on this side we will insert them all in the same direction. You might think we would go from inside to outside but you'd be wrong. It would be the easier way but that's not how we will do it. We want to see the spoke heads on the outside so we will insert the spokes from outside in.
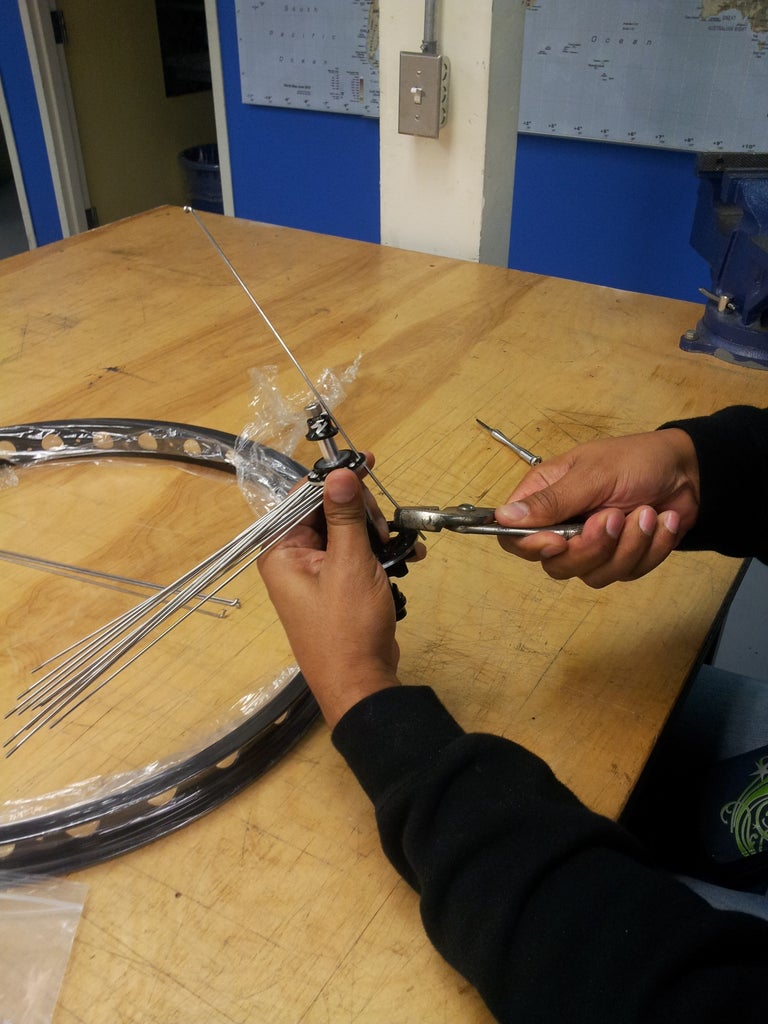
This presents a problem as the spokes will hit the other larger flange. To get around this you can push the spokes with your fingers as you push down or just pull them where you want with a pair of pliers. Do be careful to bend the spokes as little as possible during this step.
In the pictures you can see the different ways of inserting the spoke and how I went about the task.
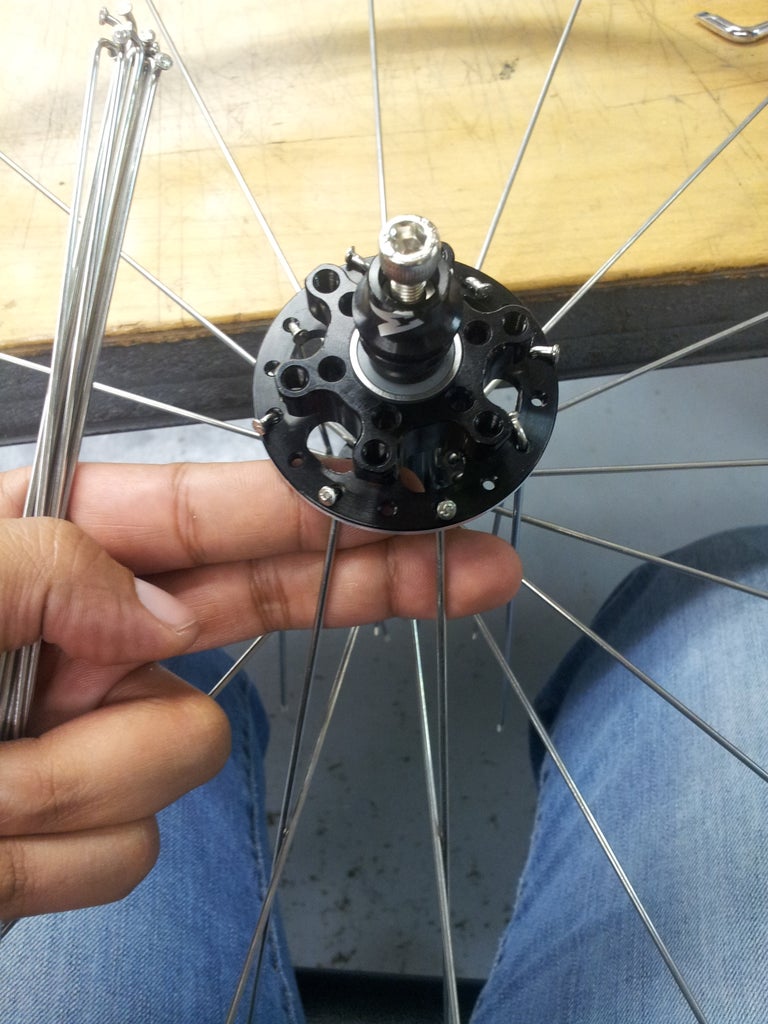
Step 3: Lacing the Wheel - Side One


This is the easiest part. I like to work on a table so I can keep the rim in place while the hub floats over my lap suspended by the spokes as I lock them in place with the nipples.
My rims have off-set holes so it's important to use the holes for the correct side. Since none of the spokes cross just take one and put it into a hole. I like to start with the correct hole closest to the seam in the rim. When building wheels it is best to start at the seam or the hole for the valve stem.
Insert the threaded end of the spoke through the rim and apply a nipple. Tighten the nipple until no threads are showing. If we thread all the nipples the same that ensures that there is even tension on the wheel. It's pretty important.
Continue this process until all the spokes and nipples are in place.
Step 4: Inserting Spokes - Side Two

On this side the spokes will cross, this gives the wheel more strength. This side of the wheel is the side we will mount a disc brake so it needs to be stronger. Since they will cross we will install half of the spokes from inside out and half from outside in.
Drop the spokes in one by one from outside in utilizing every other hole in the hub flange then do the reverse direction with the other holes.
Step 5: Lacing the Wheel - Side Two


And now the fun begins!
The spokes from inside out will go counter-clockwise and the others will go clockwise. This makes a general crossing pattern and we will add a specific cross. In my hand I'll take two spokes that will cross, they will be spokes fro opposite sides. In this particular pattern there will be two spokes in between the ones that cross, sometimes we will have four spokes in between. The more spokes in between the greater the number of crosses and the stronger the wheel.
With the two crossing spokes in my hand I see where they line up on the rim and when i find the place the lines up the best I insert the upper one into the hole and add a nipple. Again I will thread the nipple until no threads are showing on the fork. Next I'll insert the lower spoke and tighten it's nipple.
I like to go counter-clockwise when building so I will turn the wheel a little clockwise and take the next spoke from each side then cross them and insert them into the rim. I will repeat this pattern until the rim is fully laced.
VOILA! We built a rim! Now we need to add tension and true it but we will do that another day.
Thanks for reading.


