

Introduction: The Legend of Zelda: Link's Hat + Pattern


I needed an "elf" hat for this upcoming holiday season, and I thought to myself, "why not make it multifunctional?" So, not only can you use this toasty warm hat as an elf, but you can use it as Link from The Legend of Zelda, because it's based off his.
The whole process, from design to creation, took me 3 hours.
Step 1: Materials and Pattern


The pattern is attached in PDFs below, and it should be pretty easy to print out and assemble. It's bigger than an 8 1/2 by 11 page of paper, so there are corresponding letters which line up to the different pieces you'll need to tape together.
The only other thing you'll need to take note of is the large triangle piece, which technically needs to be twice as large when you cut out a the fleece.
For materials:
- 1 yard of fleece (Fabric NEEDS to be stretchy)
- Fabric scissors
- Appropriate colored thread
- Needle
- Pins
- Sewing machine
- Measuring tape
If you find yourself having an abnormally sized head, you may want to change the size of the pattern, so the hat doesn't fit too tight/loose. I have a 22 and 1/2 inch head, and that corresponds to the smallest side of the main triangle being 12 inches long (x2 which makes it 24 inches), and once that get's sewn together with the seam the hat size goes back down to about 23 inches. So, if you find yourself with a need to make the hat bigger/smaller, change the size of the smallest side of the triangle accordingly, and change the length of the "brim" rectangle to match.

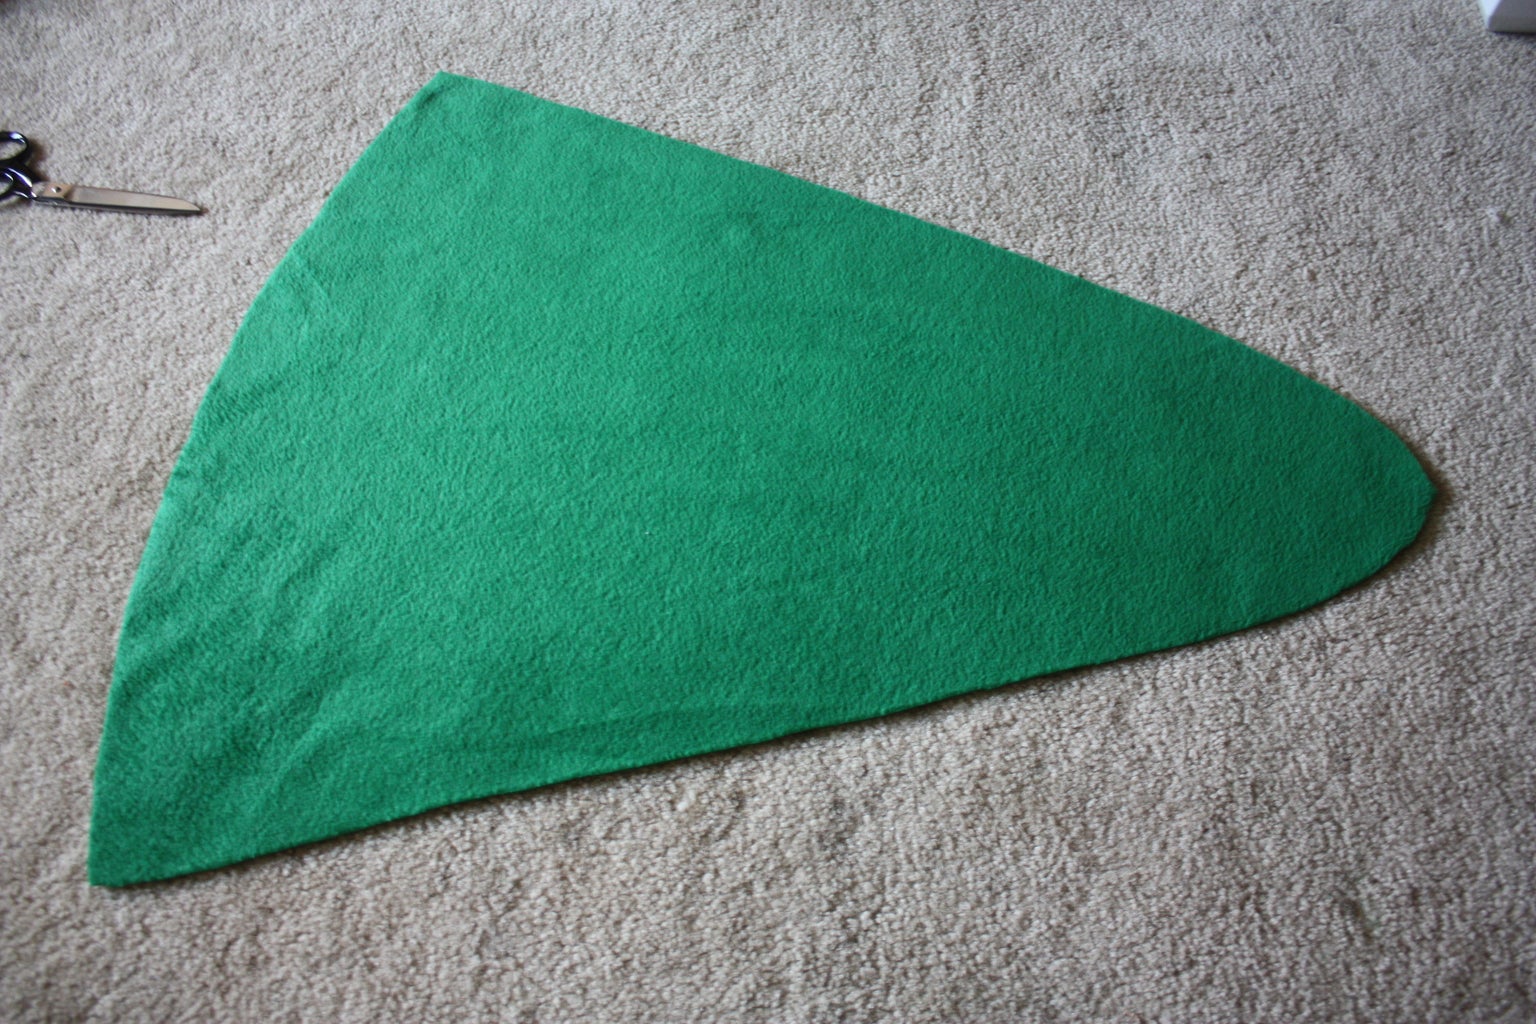
Step 2: Cut Out the Pieces


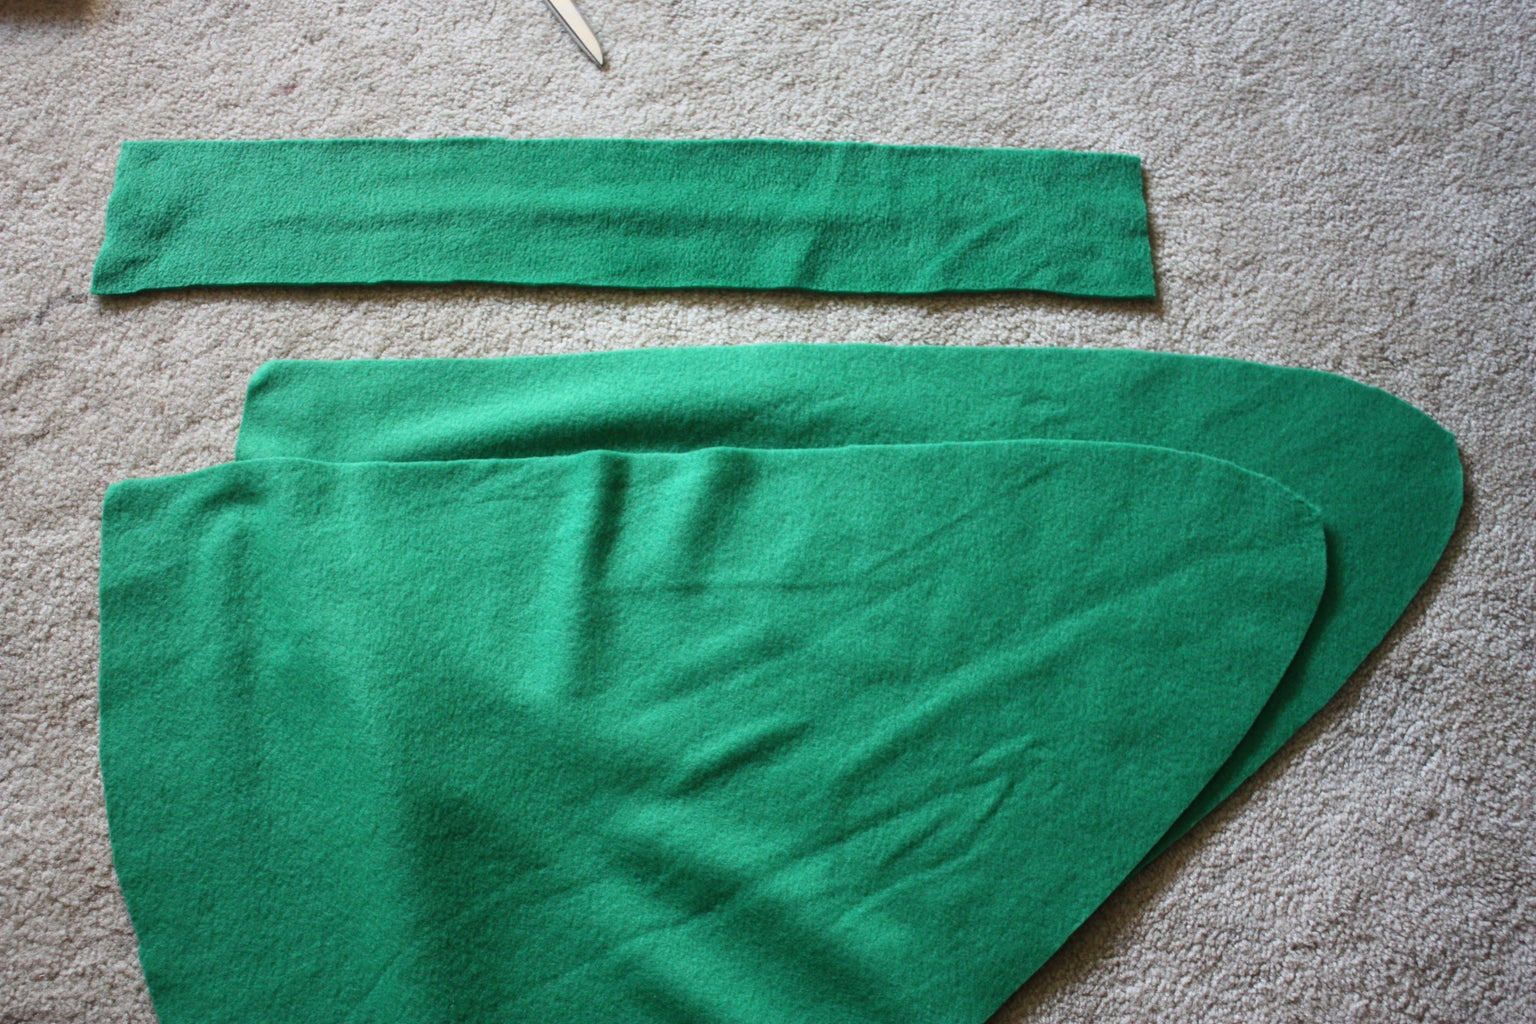
Once you have the pattern cut out and assembled, lay it out on the fleece. When you cut out the main pieces for the hat, you'll need to flip the pattern on the straight side to complete the piece. It's explained very easily through the pictures.
Cut out two of the main hat pieces, and then find some room to cut out the "brim" rectangle.
Step 3: Pin and Sew Main Body


Fold the main hat piece in half symmetrically, and pin it along the long side. Do the same for the other main hat piece. Once you the have them both thoroughly pinned, sew along the long side.
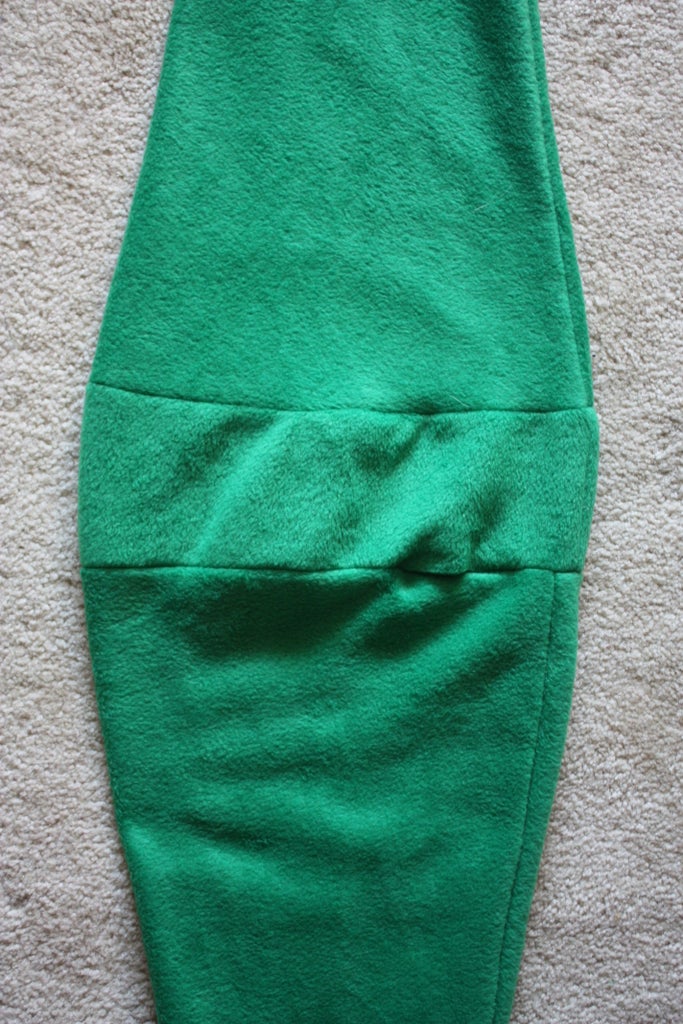
Step 4: Attaching the Brim


Start by folding the hat "brim" rectangle in half so the two shortest pieces meet. Pin and sew the short side.
Next, we need to pin the "brim" rectangle to one of the main hat pieces. I did this by flipping the "brim" rectangle, so it was right side out, then placed it inside the (inside out) main hat piece. Be sure to line up the seams when you place it inside. Once you arrange both of the edges, pin around the circle, and sew it.
Take the other main hat piece and flip it, so it's right side out. We'll be placing it inside the other piece which we just attached the brim to. Line up the seams so they're on the same side, and pin the remaining main hat piece to the only edge left on the "brim" rectangle. When sew this part you need to be sure to leave about a 2 inch gap, so we can flip the entire hat right side out when it's done.
Step 5: Finishing


Pull the entire hat through the tiny hole we left. Sew the remaining hole closed with a ladder stitch.
To complete the hat you'll need to push half of the hat into the other half.
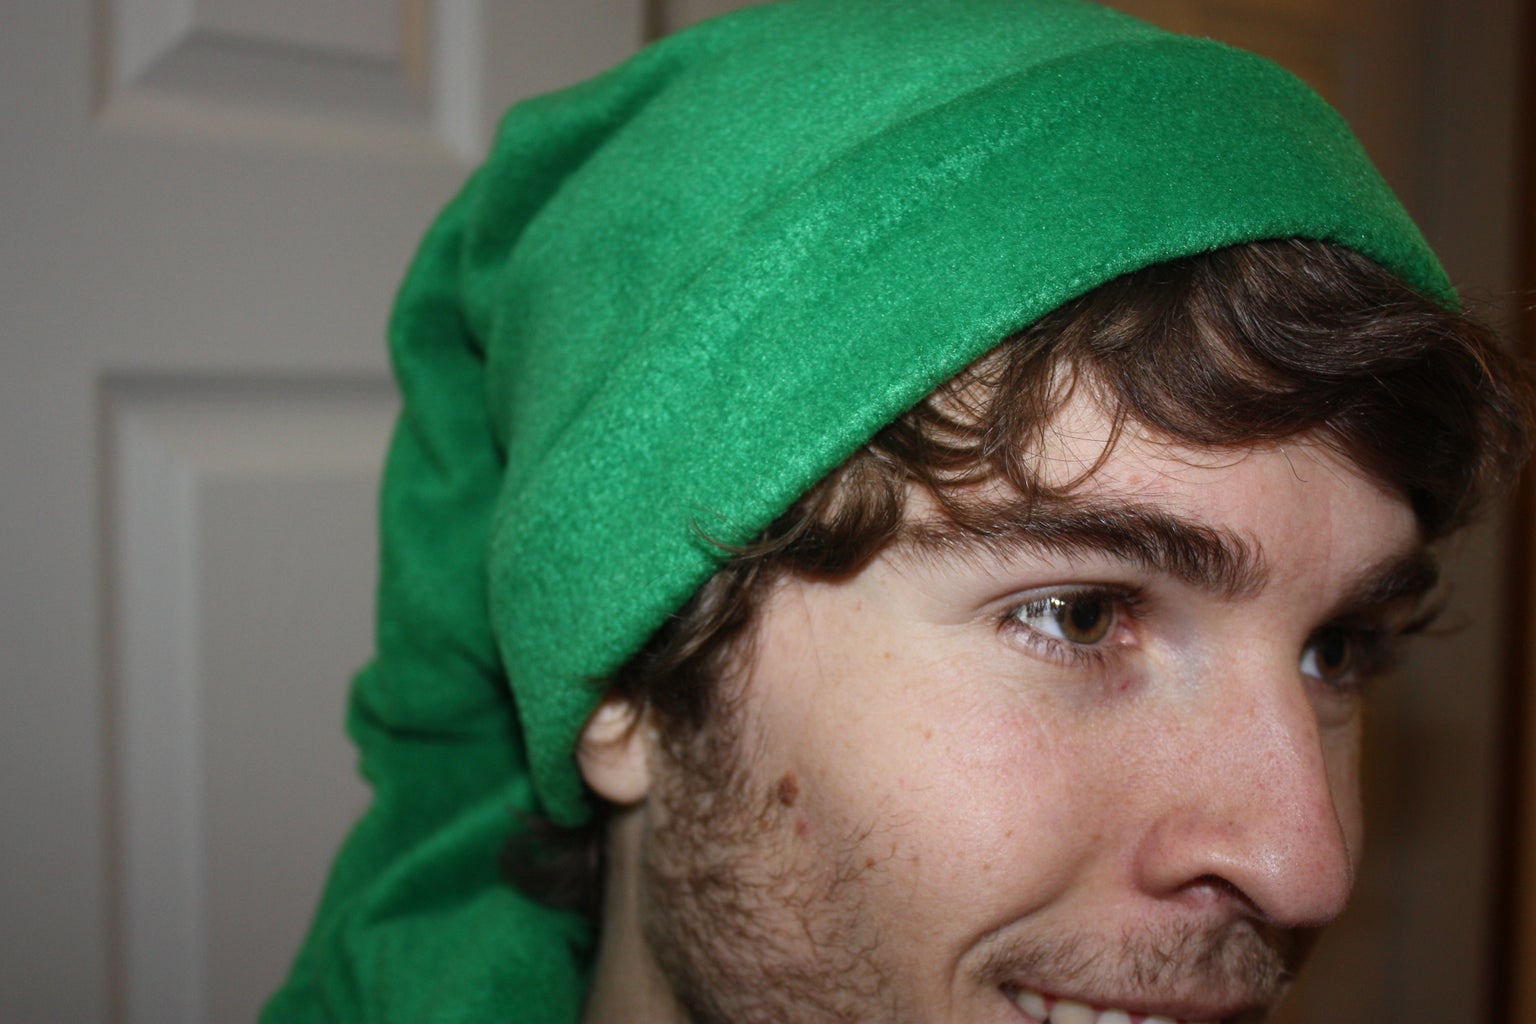
Step 6: Warm and Fuzzy!

You're all ready to take on the evil Ganondorf, rescue Princess Zelda, save the world, etc.

Participated in the
Halloween Props Contest


