

Introduction: Tighten a Leather Holster


Back when I had more money than time, I bought a nice Galco Combat Master holster for my XD-9.
Later, I switched to a Glock, and bought a Tagua holster that was half as much and half as nice.
The Glock fit into the nice XD-9 holster, but it was a little loose, and didn't have enough draw angle retention for open carry. Also, the looseness negated the best thing about the Combat Master holster; the resting angle pulling the butt of the gun against your ribs and maximizing concealment of the most difficult-to-conceal part of the gun.
I had read about wet-forming leather, but could it be done with a premium "manufacturer finished" holster?
Lets find out!
Step 1: SOH-CAH-holsta

DISCLAIMER: OBVIOUSLY the manufacturer doesn't want you wet-forming their "professionally made" holsters, and will warn you'll likely destroy your holster, void your warranty, give your children scurvy, and wash away that magical manufacture-made fairy dust that makes everything better than when you DIY, but we know better than that!
The outer finish on the Galco is very watertight and slick, but the inside is soft exposed leather, that's primarily what we want to get wet.
Turn your tap to hot (and I mean HOT) and run the water into both openings of the holster, rotating it and switching sides until the holster starts to feel flimsy
Step 2: Insert the Mold
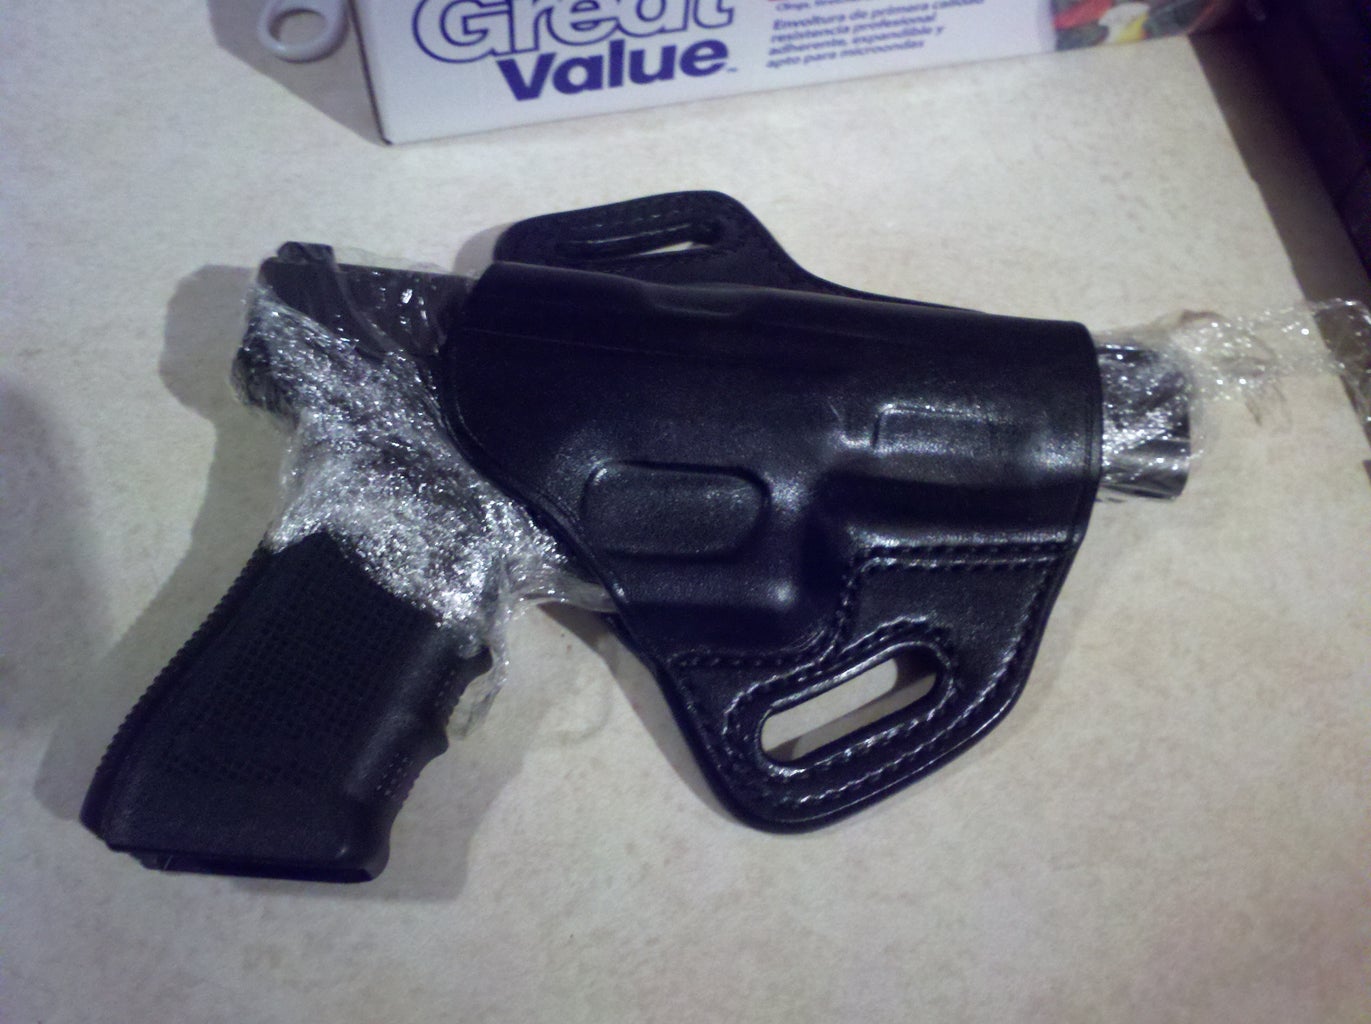
After you insert new pistol wobble it around, and see where there is looseness.
You likely want to shift the pistol so it's pressed against the trigger guard portion because that's where the definition and tight fit are most important.
This may leave you with some "excess" leather on the opposite end (along the top of the slide), that's fine, this is the leather we want to shrink.
If your new pistol is larger than the original, you might need to heat it up significantly to get the leather to stretch enough to fit the larger pistol.
Step 3: SQUISH!

Making sure you've positioned the pistol correctly in the holster, put a heavy box on top of it.
You don't really have to do this, as the leather should shrink where there is excess, but I wanted to apply constant pressure along the top slide portion.
This has an added benefit for a holster with belt loops that bend inward to match the contour of your side. Because you're squishing these flat, and the leather is shrinking to this position, you'll get your holster extra tight when those belt loops are re-bent when you put it on.
For the same reason, if your new pistol is larger than the original, you will NOT NEED to do this step. Just try to maintain the original contour as the leather dries.
Step 4: Re-contour (if Needed)

After 15 minutes or so, when the leather has cooled, you can retrieve it and re-shape the original contour.
If the leather resists your reshaping attempts, you may put it in a vice or use weights to hold it in place for a while.
If the contour keeps bouncing back, you may need to reheat slightly.
Step 5: Dry It Out!

After the leather starts to stiffen, you need to dry it out.
Normally you would just set it in the sun, but it was night for me, so I just used a hair drier on cold to reduce the moisture.
I used hot blasts on the sections that still felt wet, but not for too long, and always followed up with a cold blast.
I entertained the idea of putting it in the oven, or the microwave, but I figured this project had been going so well, I probably shouldn't press my luck :)
Step 6: Try It Out!

When the holster was dry and on my belt, it was such a tight fit that my Glock would go slightly out of battery when pushed into place, which is perfect!
The draw angle retention was much better, which again is very important for open carry, and most importantly, it tucked the butt in against my ribs just like it did with the XD-9!
So far, this refitting has been a total success!
I'll try to update after I've carried with it for a few weeks.


