

Introduction: Tiny Simple Running Robot_part_3


1.easy ,
2.AAA batt.
3. homemade,
4.electronic toy,
5. DIY.
maybe there is someone wondering about the Cotton swabs
(part_2) that is not strong enough.
and then the more robust one is here now!
in order to change direction(part_4), i use wheels.
Step 1: Material


MATERIAL :
aluminum-foil roller * 1
rubber band * 1
foam * 1
dc-motor * 1
AAA battery * 3 (or 18650 * 1)
AAA battery holder * 1
3 v Li battery * 1
3 v battery holder * 1
propeller * 1
IR rcvr (arduino module) * 1
any IR remoter(arduino module as well)* 1
RY1 : Solid State Relay * 1
D1 : IN 60 * 1
C1 : 100 uF * 1
R1 : 2.2 M OHM * 1
PCB * 1
breadboard * 1
TOOLS: cutter * 1
soldering iron * 1
Step 2: Schematic


Schematic 1 : part 3 of running robot .
Schematic 2 : detail of control circuit.
RY1 : Solid State Relay ,
D1 : IN 60 ,
C1 : 100 uF ,
R1 : 2.2 M OHM .
IR receiver
IR remoter
Step 3: Cutout the Aluminum Foil Roller

use cutter to cut out a 10 cm small roller as the robot body.
Step 4: Prototype Control Circuit With Breadboard
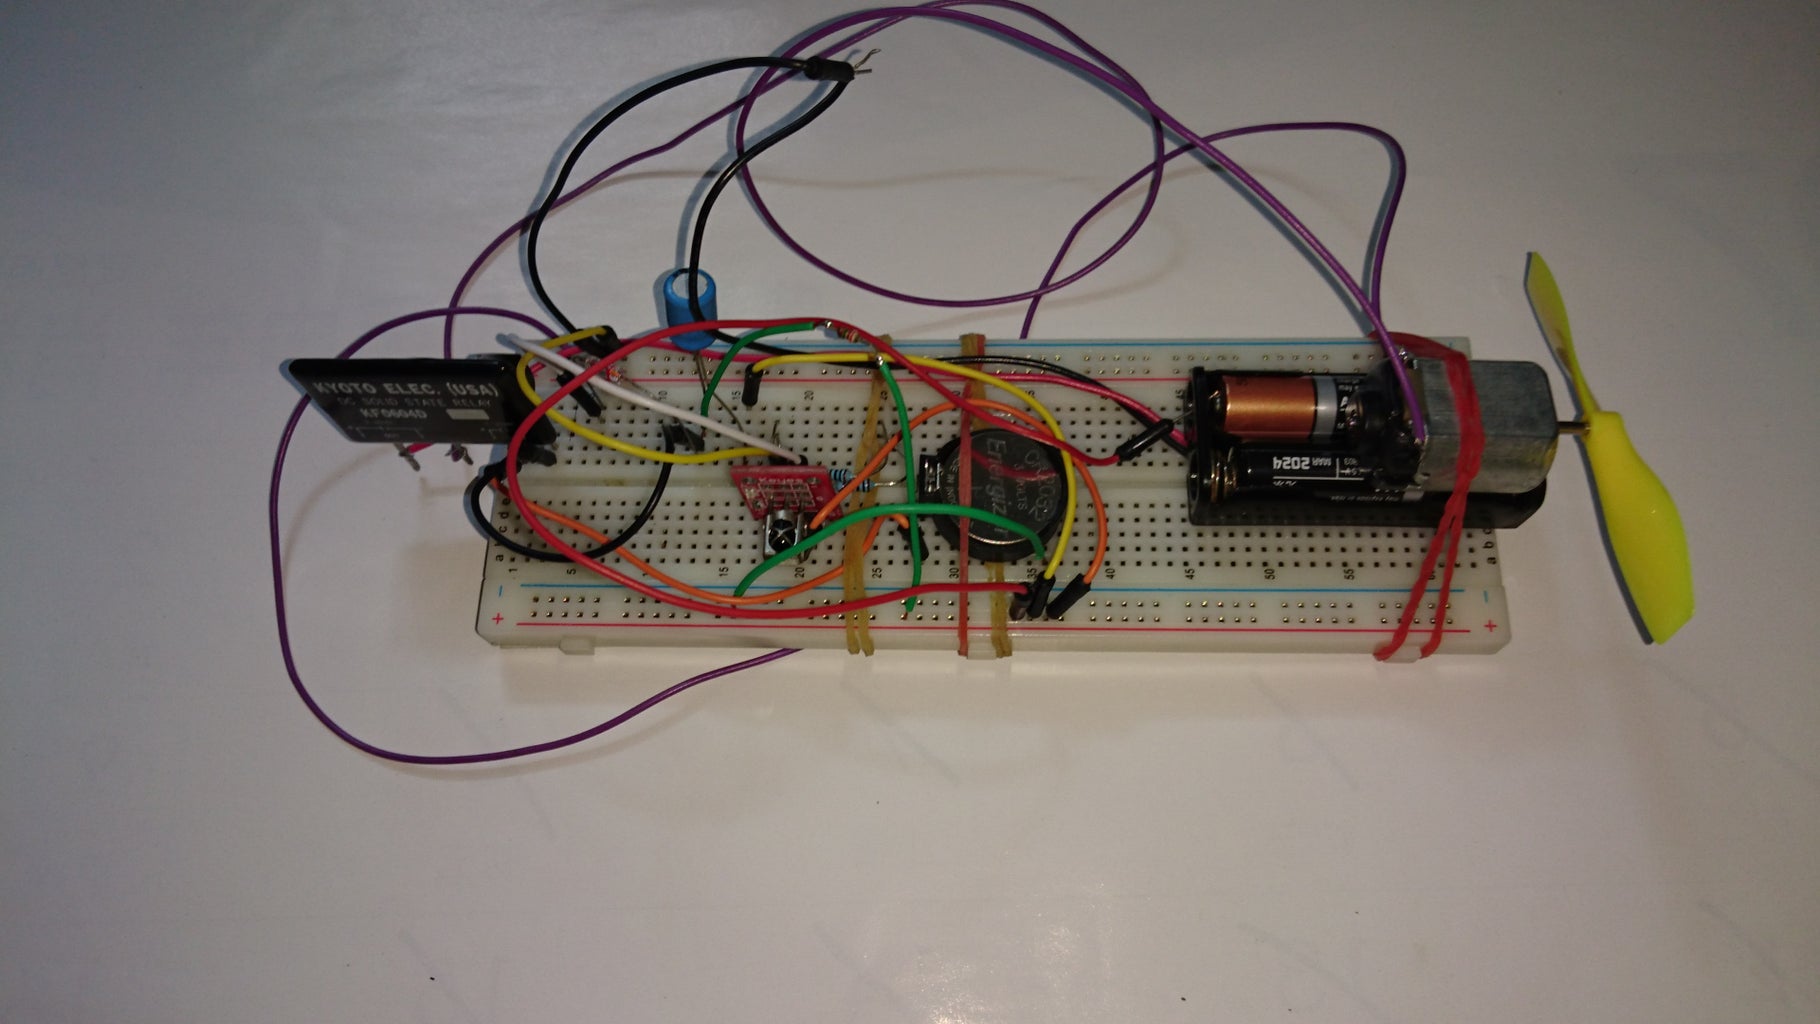

Because of the SSR SPEC is 3v.
To avoid the battery dropped under 3v
from the circuit be cut off by SSR.
I use 3 AAA battery instead. or
you could use 18650 battery instead.
video 1:
testing the IR and motor with UNO without remoter.
*** this control circuit maybe could use monitoring drones !
when the battery comes low or the drones out of control.
And then fly it back or release the parachute ! ***
Step 5: Soldering All the Elements on the PCB


maybe there are someone wondering about......
how does it work?
the IR remoter emit the code out. ...and travel ....
and then IR receiver get reception and output the waves.
the R1, C1, D1 construct a DET circuit.
therefor the waves after DET circuit become "HIGH" level.
something like
Vin = 2.8v + 0.5v
because Vin > 3v triggering the SSR active
and then the motor runs.
Step 6: Assemble All Parts Together

use a rubber band connect between the car chassis and roller bot.
And then connect the propeller to the shaft.
Step 7: Test Run
HAVE FUN !

Participated in the
Drones Contest 2016


