

Introduction: Tools and Materials for Embroidery


I've split these into categories - required and optional! The required lists are the basics you need to complete the embroidery projects in the class. The optional lists concern tools and materials that are nice to have, or for patternmaking and finishing your embroideries, but they are not necessary.
Required Tools Needed:
- 6 inch plastic embroidery hoop
- 6 inch wooden embroidery hoops (depending on how many of the patterns you want to frame - for all 3 projects you'll need 3 wooden hoops)
- A pack of embroidery needles- I love these gold ones by Clover
- A water soluble pen
- Pinking shears
- Embroidery scissors - there are tons of them on Amazon
- Fabri-Tac fabric glue
- Thread Heaven
- Steam iron
- Ironing board
- Light tablet or light box of some sort - this can even be a window
- A printer/scanner to print and design patterns - I have the HP 4500 and I love it
Required Materials Needed:
- Six stranded embroidery floss - you can either buy this set and a few skeins of black floss, or go to your local craft store and pick out colors you like
- One yard cotton or linen fabric to embroider on - my favorite is a linen/rayon blend found here
Optional Tools and Materials:
- Unscented castile or laundry soap (used while washing embroideries)
- A cork board and pushpins OR
- A piece of heavy canvas larger than your embroidery, clothespins, sewing pins and an ironing board (this is used for blocking embroideries)
- Spray bottle filled with water
- Embroidery hoops in 3, 4, and 5 inch sizes for help with drawing borders on patterns
- Clear sewing rulers for drafting patterns
- Embroidery floss bobbins
- Floss storage containers
Step 1: Understanding the Tools
In this section, I'll briefly go over each of the major tools and tell you why we'll be using them.
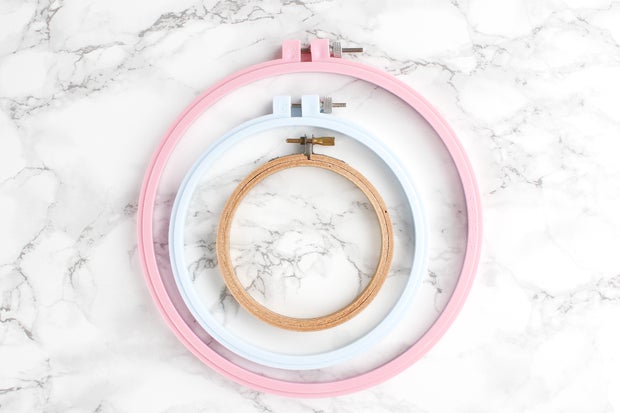
Embroidery hoops are used to hold fabric taut while stitching. We use plastic ones for stitching and wooden ones for framing embroideries.

Embroidery scissors are small and sharp, perfect for trimming floss cleanly and closely. They're essential. I like to make "necklaces" out of mine so I don't misplace them.
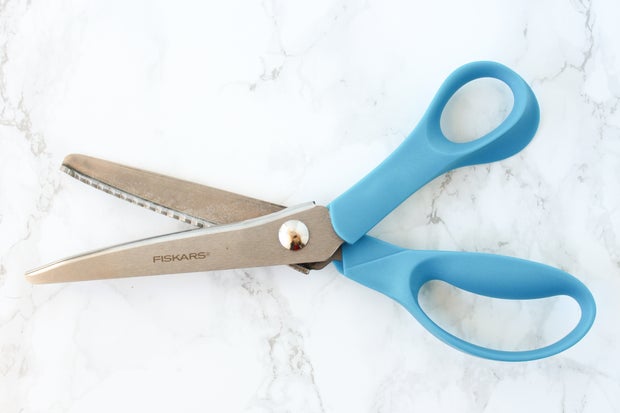
Pinking shears cut fabric so that it has a jagged edge. This keeps the edges of your fabric from unravelling as you work with it.
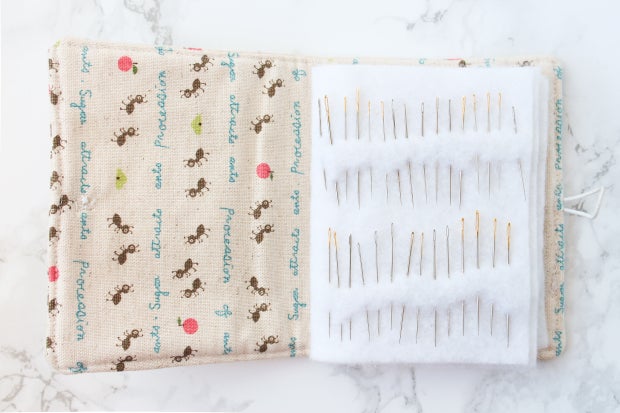
Embroidery needles vary wildly in size - I recommend buying a variety pack to find the size you like the most for each project.
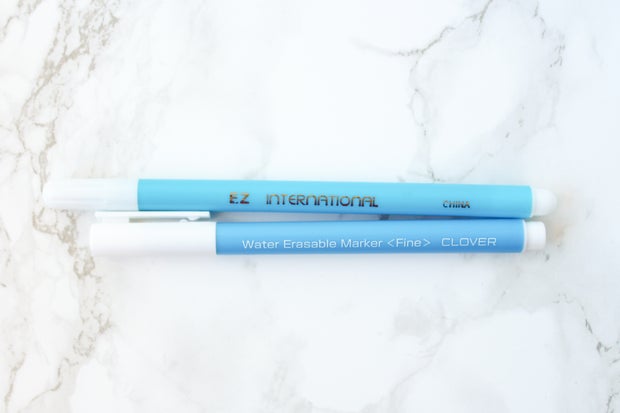
Water soluble pens are my preferred method of embroidery transfer. They're easy to use, come in a variety of thicknesses, and wash out easily with cool water.
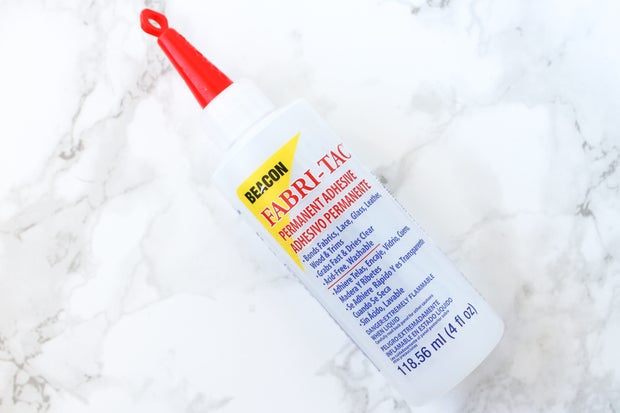
Fabri-Tac Glue is the only glue I trust to finish my embroideries! It adheres permanently to wood and fabric, and dries clear and fast. Also great for securing knots or loose thread ends.
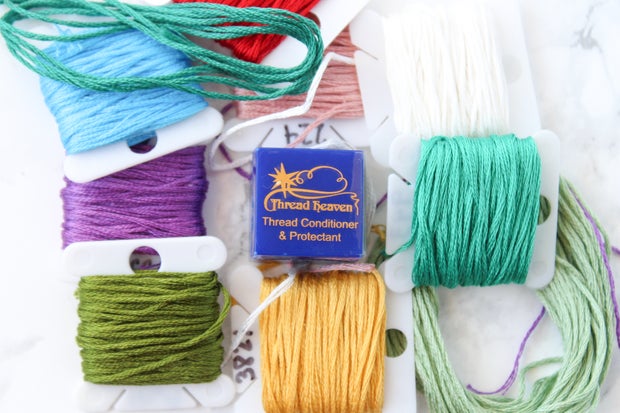
Thread Heaven is a a thread conditioner. It will make your floss pull through the fabric much more easily, and can also help you thread a needle with stubborn floss. One container of this will last you a very long time!
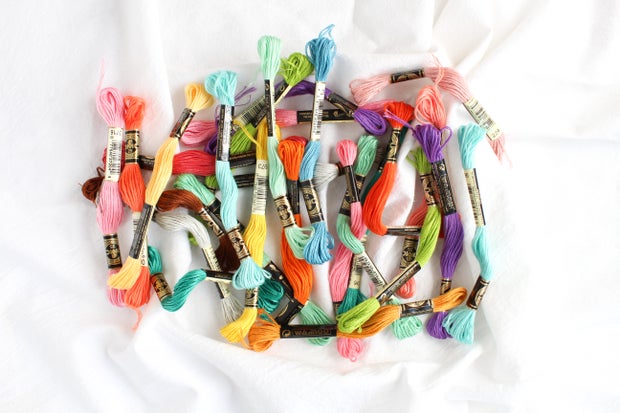
Embroidery floss comes in a few flavors, but we'll be using six-stranded floss for this class. My favorite brand is DMC, which can be found at nearly any craft store.
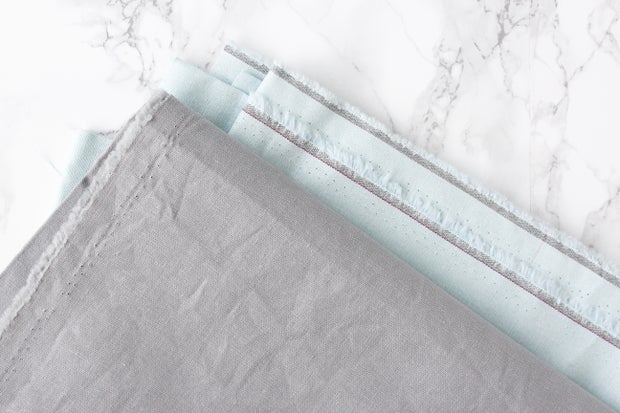
Embroidery fabric can be almost any type of fabric! However - linen, quilting cotton and muslin are all great beginner embroidery fabrics because they're easy to work with. Linen is my favorite!
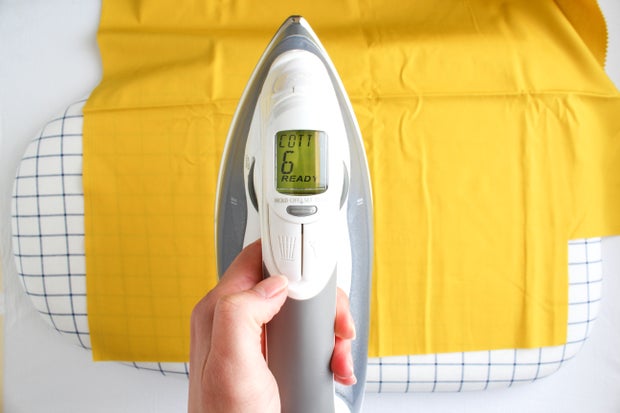
An iron and ironing board are extremely important to press fabric before you embroider. Any ironing board will do, but I recommend a steam iron with multiple temperature settings for best results.
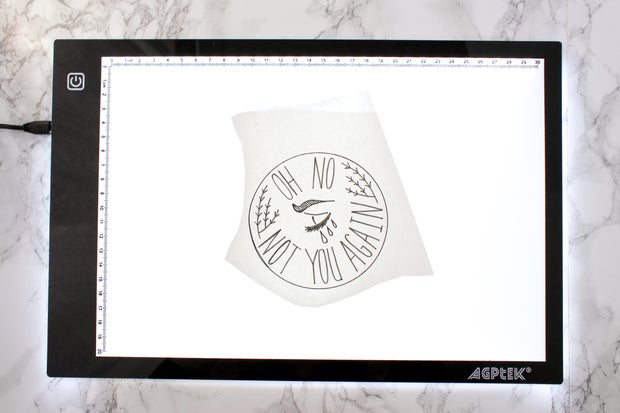
Light tablets are my preferred method of transferring embroidery patterns. They allow for much more accurate drawing than you get from a sunny window or homemade light box.
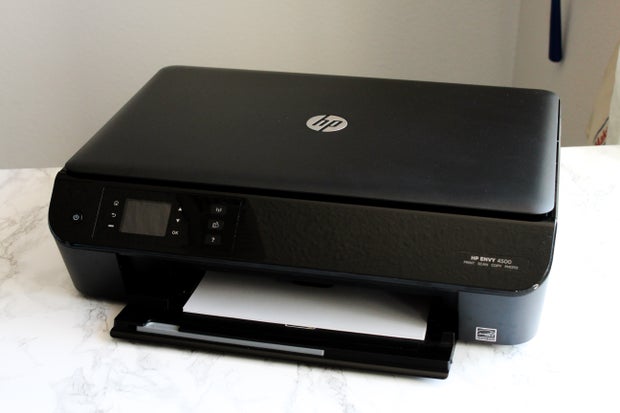
You'll need a printer to print off the PDF patterns, and a scanner will come in amazingly handy if you decide you like to make your own patterns.
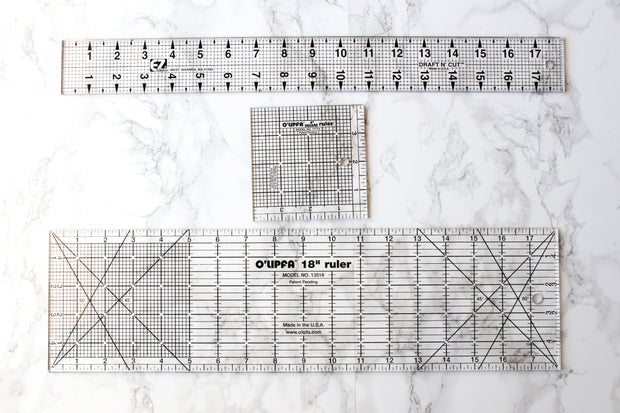
Clear quilting rulers come in very handy when it comes to patternmaking! These help you ensure that you're laying out text and drawings with consistency and efficency. :)


