

Introduction: Toothpick Bridge


This is a cheap and easy project that only requires a small amount of materials. The Toothpick Bridge requires a lot of thinking and a good amount of construction.
Step 1: Gathering Your Materials

You will not need a lot of materials and they are all super cheap and easy to find.
- Graph Paper
- Markers
- Pencil
- Bottle Cap
- Multi Purpose Glue
- Plastic Wrap
- Toothpicks
Step 2: Drawing the Design


- Tape two pieces of graph paper together.
- Sketch the bridge on to the paper with the pencil.
- With different colored makers draw the Bridge showing the order you will glue the toothpicks.
Step 3: Placing the Plastic Wrap


- Put the drawing of the bridge on a flat smooth surface.
- Then lay the plastic wrap over it and tape it down you want the plastic wrap to be perfectly smooth.
Step 4: Making the Basic Structure


- Cut the toothpicks to the right size.
- Lay down all the toothpicks that are supposed to be vertical.
- Put glue on the toothpicks.
- Put the horizontal toothpicks that are on the basic structure.
- Glue every thing together.
Step 5: Making the Secondary Structure

- Place all the toothpicks on the secondary structure
- Glue them all down.
Step 6: Making the Final Structure


- Place all the toothpicks on the Final structure except for the long piece on the sides.
- Glue them all down.
- Make the two long pieces aside.
- Let the bridge dry for at least 12 hours.
Step 7: Placing the Side Pieces

- Place them on the side of the bridge.
- Glue them down.
- Let it dry for another 12 hours.
Step 8: Taking the Bridge Off From the Plastic Wrap


- Take the bridge off from the plastic wrap carefully.
- Take of all the pieces of exes glue from the bridge.
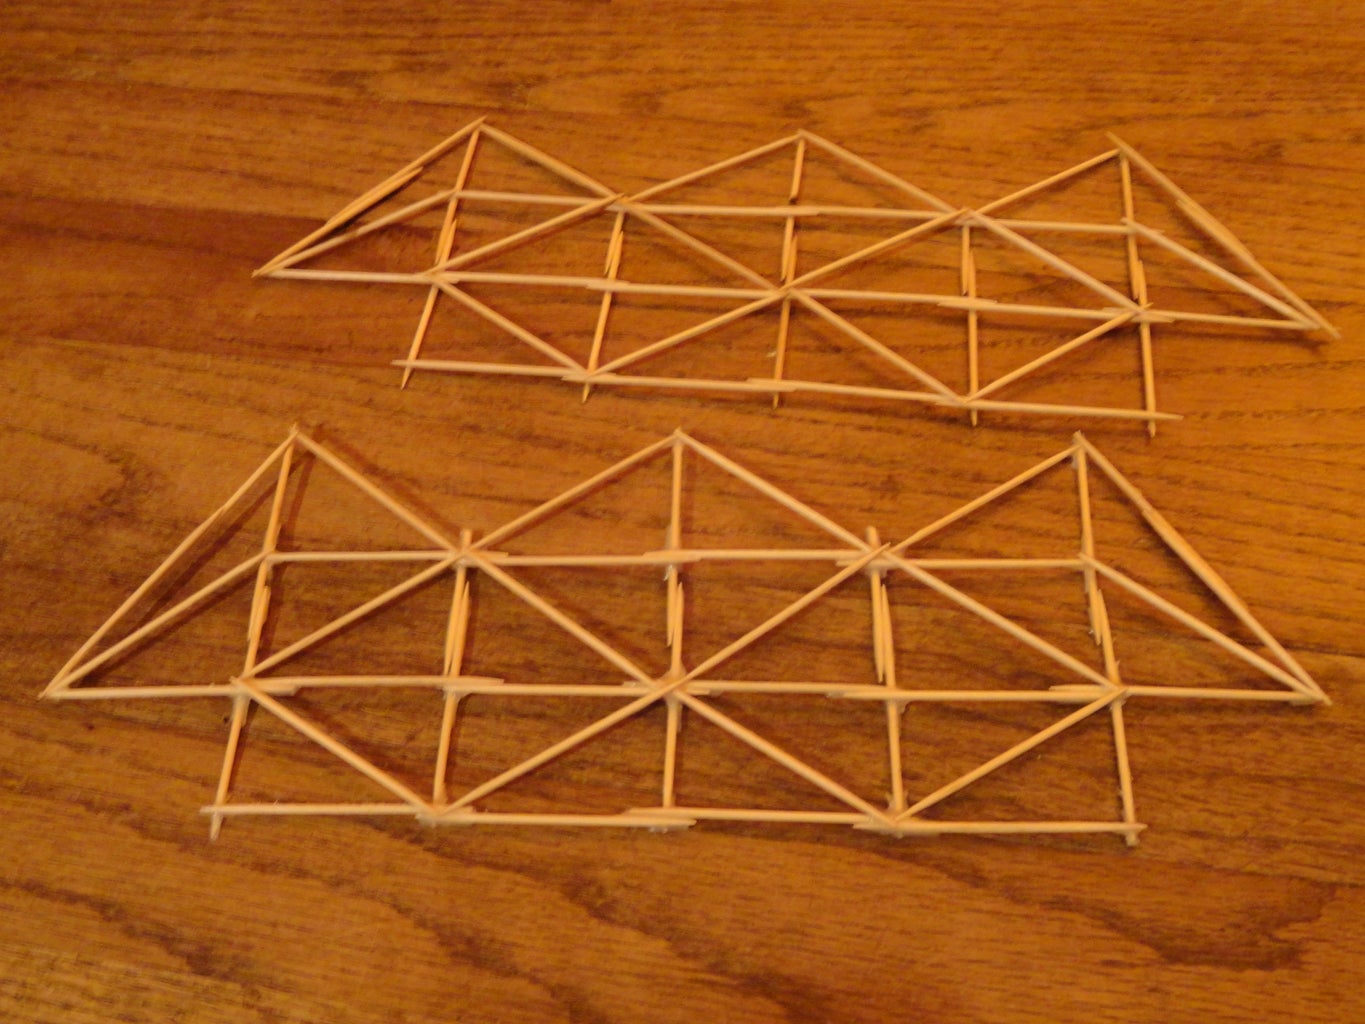
- Repeat steps 3-8 to make the other side of the bridge.
Step 9: Assembling the Bridge


- Place the two bridge pieces parallel to each other one toothpick length from each other.
- Place toothpicks between the two parts of the bridge.
- Glue the toothpicks.
- Let the Bridge dry for 12 hours.
- Bridge Finished.
Step 10: Conclusion

This is a challenging and interesting project if you are looking for a more challenging and fun project this is perfect. I hope you liked it, Happy Building.

Participated in the
Glue Challenge 2016

Participated in the
Epilog Contest 8


