

Introduction: Tuna Rose, From Tuna Can Lids


Update: I just finished uploading a YouTube video I took when I made my last rose. It shows a new process I use for making the stem. I now use a longer piece of 14 or 12 gauge copper wire folded in half. I then twist them together which looks better, is stiffer, and provides a much more integrated look to the leaves. https://www.youtube.com/watch?v=G3BZb2C8UwI
I was browsing the web looking for a quiet project to do while the kids were sleeping. I came across someone who made a metal rose using a Forge, anvil and hammer. This was intended for blacksmiths so it didn't fit my Quiet need but when looking at the included template I noticed it was the same size as the Tuna lids I had just removed for lunch. hmm.... Here is the link to the original blacksmith post: http://www.anvilfire.com/iForge/tutor/rose/top_index.htm I can't seem to find the template on that site anymore so i have attached the image I had saved a while ago. If it doesn't print properly, the largest piece #2 is the same size as the top of a tuna can.
List of tools needed.
Scissors to cut out the template
Scotch tape
Aviation snips or other tin-snips
long nose pliers
Hammer and small nail "same thickness as your wire"
List of materials needed
Printed Template
7 lids to tuna cans or other cans as long as they are all the same color.
12 gauge copper wire "i used a little extra I had from a wiring job I recently did."
Step 1: Cutout the Pieces


Cut out the template but ensure you leave the line to follow later.
Center the templates on the lids and tape them on with Scotch tape so you can see the lines.
I had to tape them on the outside of the lid since the tape wouldn't stick to the inside.
I first tried using some old tin-snips I had but it left some ragged edges and made my hands pretty sore. I finally spent some time digging around in my shed and found my Aviation shears. these work SOOOO much better and you don't even have to file/sand the edges when you use these.
After you have all your pieces cutout, you need to punch a hole in the center of each with a nail.
Step 2: Prep the Stem and Put on the Pieces


I used some leftover 12 gauge ground wire but if yours has the insulation on it you'll need to remove that. About 2" from one end make a tight loop and pinch it tightly closed. This will support all the rose pieces. Slide each piece onto the top starting with #1 through #6 and then make another tight loop on the stem to hold the pedal pieces on as tightly as possible. You should just barely be able to turn the individual pedals to align them later on.
Step 3: Start to Form the Pedals


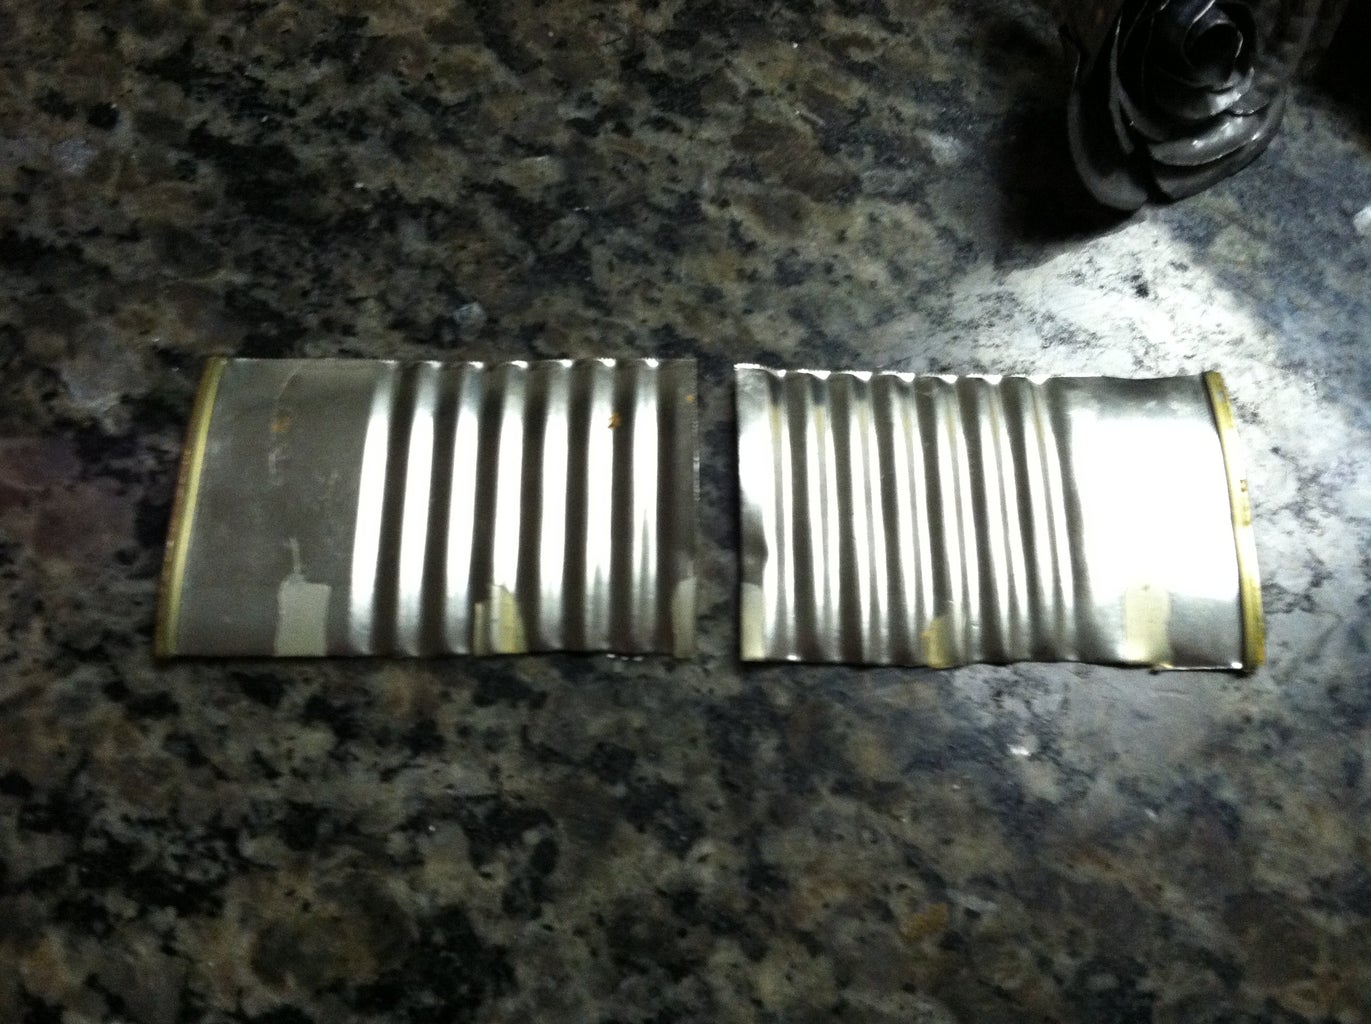
Starting with the top rose pedals #6 piece use your long nose pliers to form a tightly wound center.
Go around in a circle ensuring the pieces overlap on the edges
Then move to the #5 piece and again use your long nose pliers to start shaping the rose pedals but this one does not get formed quite as tightly.
Continue with this until all the rose pedals are formed.
The #1 piece is different as it's 5 legs are bent down toward the stem.
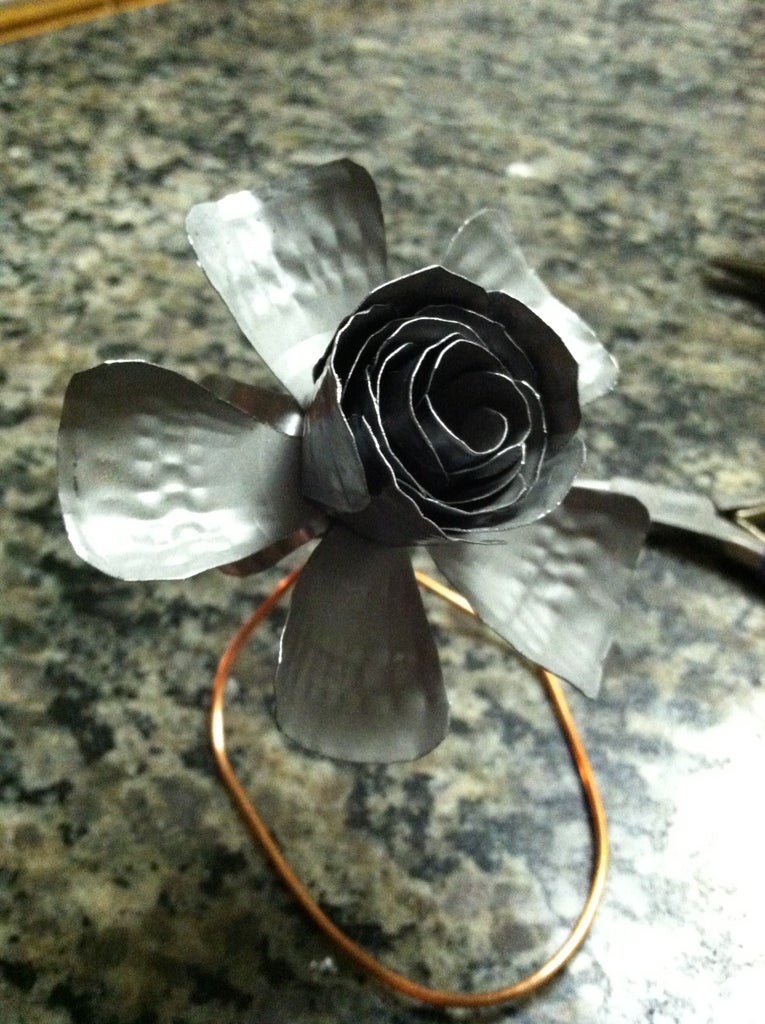
Step 4: Finish Forming the Rose


Now for the hard part. You have the main part of the rose formed but it doesn't look quite right huh. Starting on the #5 piece you have to grab just the tips of each pedal and ever so carefully start bending them outwards. I found that where the pedals overlap it's best to try and grab both pedals with your pliers and bend them at the same time, this keeps them together better. Try to ensure you keep the rounded shape while bending them outwards. Continue doing this with pieces #4 through #2 Once completed, you may have to squish the outside base of the rose to get it a little tighter and adjust individual pedals as needed.
Step 5: Leaves

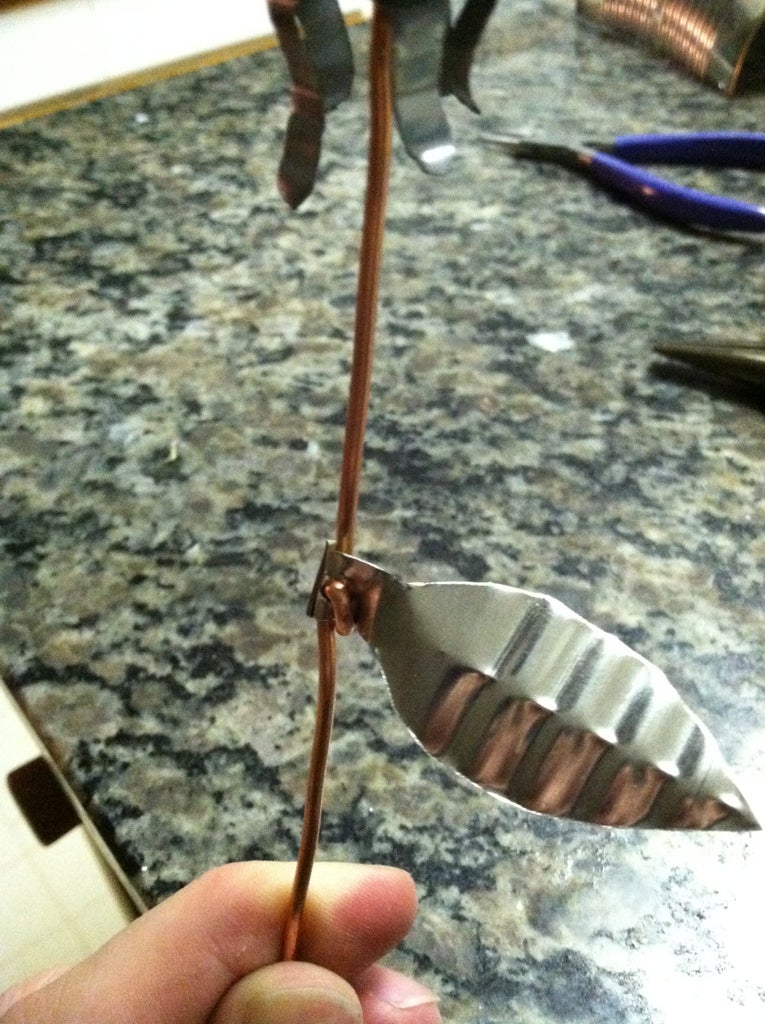

The leaves are not part of the pattern as they were intended to be forged from the stem. I just cut out some leaves from the side of a can and shaped them so they looked right and made the stems a little wider than the wire. I then punched a hole in the stem with the nail and inserted them onto the stem. I then used the long nose pliers to make a tight loop around the stem locking it in place and pinching it tight. Use the piers to then make bends along the leaves and down the center to give them a pit of a pattern. I initially did this with 3 leaves but I think it looks better with just 2. That's it.


