

Introduction: Turkey Recipe


This is the turkey recipe you have been searching for! We've got you covered with instructions on how to cook your Thanksgiving turkey, because you have arrived at the #1 turkey roasting how to guide on the internet!
The technique described in this Instructable resulted in the beautiful 15 pound bird pictured below. It turned out to be one of the juiciest, most delicious turkeys to ever grace the delicate taste buds of Noah's family and friends since the pilgrims got all antsy in the pantsy more than 500 years ago.
This method has been thoroughly tested year after year at Thanksgiving dinners everywhere. Following the tips in this Instructable, you can make one that's just as good, if not better!
Step 1: Gather Materials

With that in mind, gather the following ingredients, and don't skimp on quality if you can.
- A 15 - 25 lb turkey depending on how many people you'd like to feed. Figure on 1 to 1 1/2 lbs. of the whole turkey per person.
- 1 stick of butter
- 2-3 stalks of celery
- 2-3 carrots
- 1 onion
- fresh thyme
- fresh sage
- fresh parsley
- chicken stock
- meat thermometer (this is the key to telling when your turkey is done cooking. I don't trust the red pop-up dot)
- turkey baster
- butchers string (cotton string safe for cooking with)
- kosher salt
- fresh ground pepper
- suitably sized roasting pan with a rack
Step 2: Wash Sink and Pull Out Bag of Organs
Once you've gathered everything you'll need to roast the perfect turkey, it's time to start working.
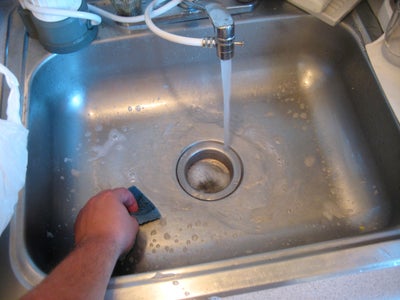
The whole turkey is going to need to be rinsed, rubbed down with kosher salt, and then rinsed again in cool water. The best place to do this is in the sink, so I did all my dishes and then washed the inside of my sink with soap and water to make it food safe.
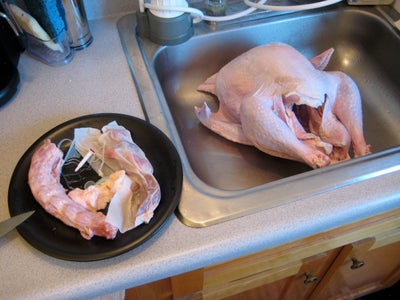
The turkey will likely come with the neck, liver, kidneys and heart wrapped up in a bag or piece of paper, or plastic bag stuffed inside the body cavity. You can use these to make stock, feed to your pet, or simply throw them away, but whatever you decide, we won't be using them in the roasting process so set them aside.
Some factory farmed turkeys are sold with piece of plastic holding the legs in place. Cut this off with a knife or scissors and throw it away.
I also throw away the red pop up thing because they can be inaccurate from time to time and are not nearly as helpful as an actual meat thermometer.
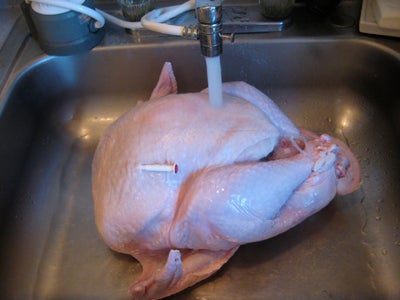
Step 3: Rinse the Turkey, Rub With Salt, and Re-rinse


Then, take a copious amount of kosher salt and rub the whole turkey down. This step helps to flavor the turkey initially and helps clean out any turkey juices that may have accumulated during the defrosting process.
- Some may feel that the salt dehydrates and toughens the meat ever so slightly, however I have never found this to be the case. My grandmother always gave a quick salt rub to fowl while rinsing them and she cooks a mean bird.
Step 4: Prep Ingredients and Stuff Bird
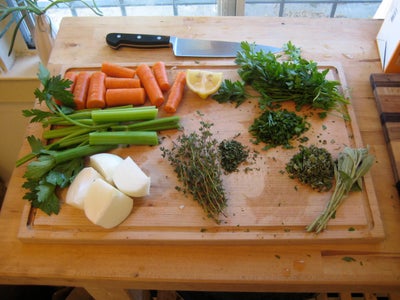
Cut the carrots, onions and celery into large chunks. Chop 1/2 of the sage, 1/2 of the parsley and 1/2 of the thyme, leaving the rest of the bunches intact.
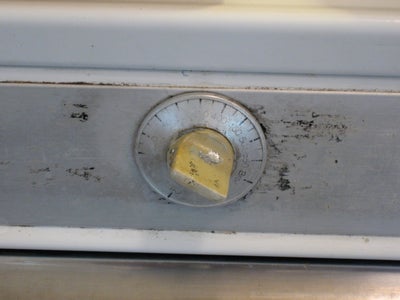
Preheat the oven to 375 degrees F. As you can see from my picture, setting my oven temperature is a bit of a guessing game at my house. I use a thermometer that lives inside the oven to know how hot is in there for sure. This is a good idea for anyone, since many ovens don't have the best thermostats.
With the oven pre-heating and ingredients chopped, it's time to stuff the turkey.
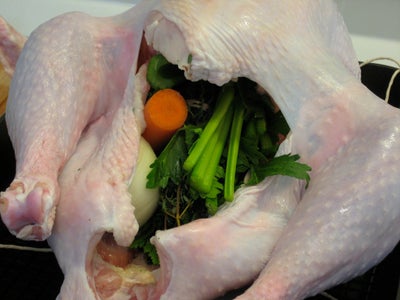
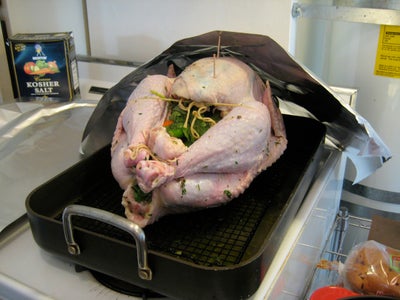
Start by taking one quarter of an onion, a piece of celery and a chunk of carrot and stuff them inside the body cavity. Continue stuffing some of each items inside the turkey until the turkey is full. Don't jam too much in there. A stuffed turkey will quickly give you diminishing returns since the more you put inside, the longer the turkey will need to cook for, and the dryer it will be.
Tie the remaining bunches of parsley, sage and thyme together using a piece of butchers string and place them inside the turkey with the rest of the stuffing.
I've moved away from stuffing turkeys with an actual bread based stuffing. The increase in mass slows the cooking process down, forcing the turkey to cook for too long, and thus dry it out. The onions, carrots and celery are just really there to impart flavor to the meat and drippings, not to be eaten as your typical Thanksgiving stuffing. To learn how to make a great stuffing that's prepared entirely outside of the turkey, check out scoochmaroo's Stuffing.
Step 5: Melt Butter and Herbs and Rub the Turkey Down


Once the butter has melted, turn off the heat and add in in the chopped thyme, parsley and sage. Then add a generous amount of salt and pepper, and mix well.
Pour the butter mixture over the entire turkey, rubbing it all over the turkey's skin and body cavity.
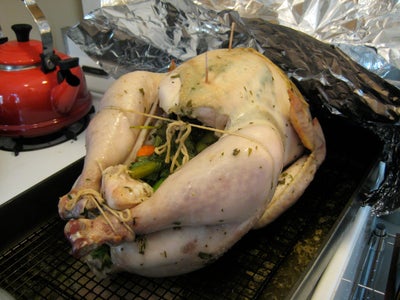
Step 6: Tie It Up
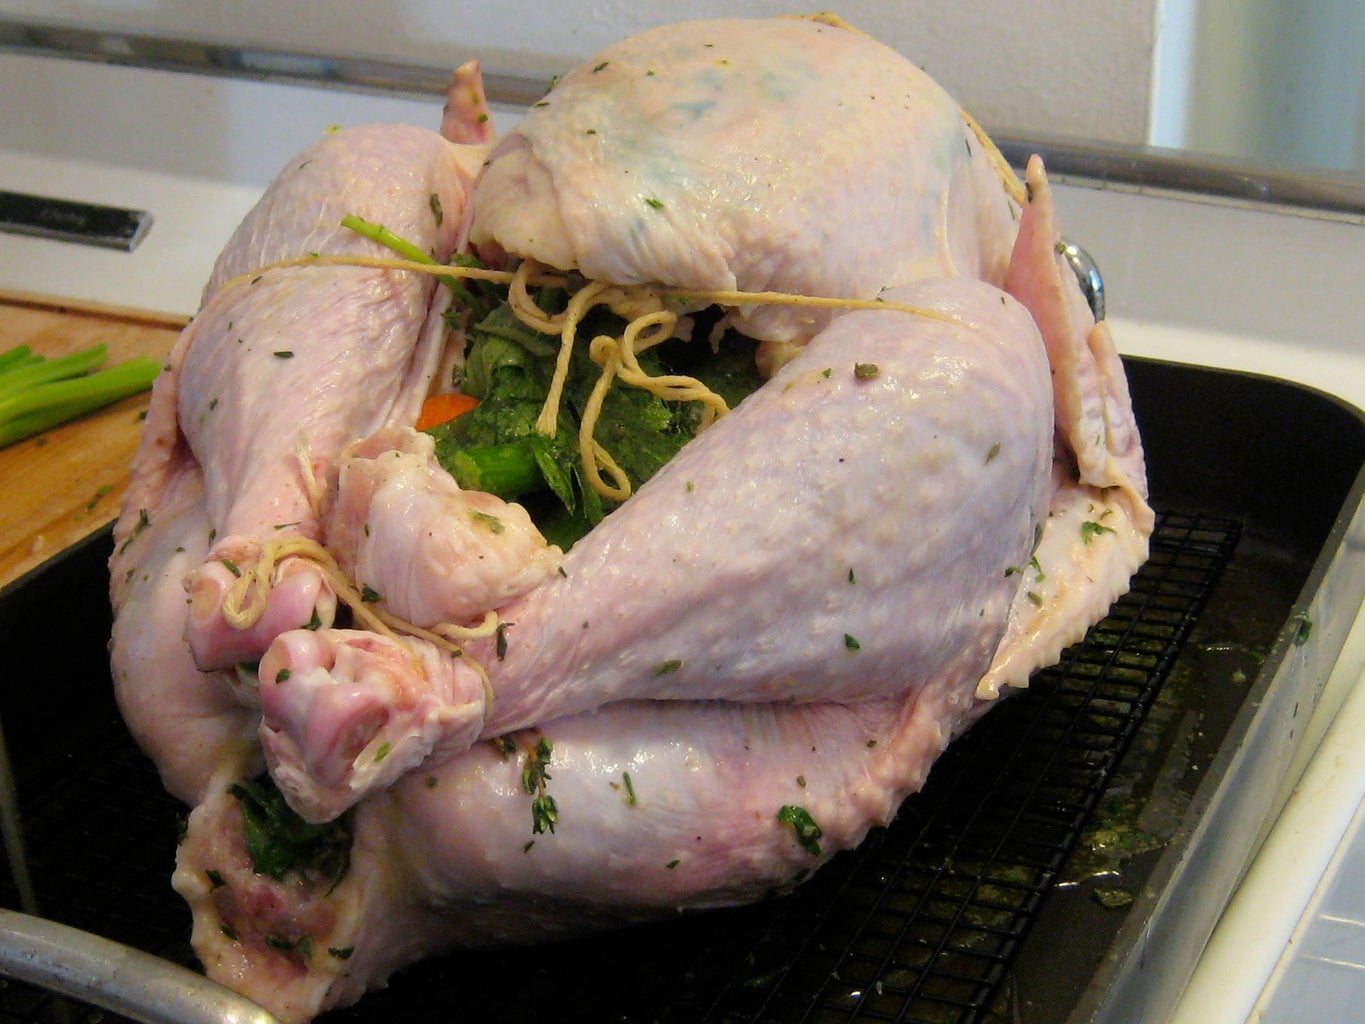
Wiggle one piece of it under the back of the turkey between the turkey and the rack on the roasting pan. Take the ends of the string and make a bowtie knot on top of the turkey breast tying the wings to the turkey's sides.
Take the second piece of string and do the same thing, only this time tying the legs in position a bit lower down on the turkey.
Finally, take the third piece of string a tie the ends of the turkey legs together, tucking the flap of extra skin and fat underneath the legs, thus holding it in the position seen below.
Some turkey roasters suggest tying, or sewing the entire body cavity shut. This seems unnecessary to me and even undesirable since it will impede the flow of juices and drippings into the pan.
Step 7: Add Stock, Cover in Foil and Roast
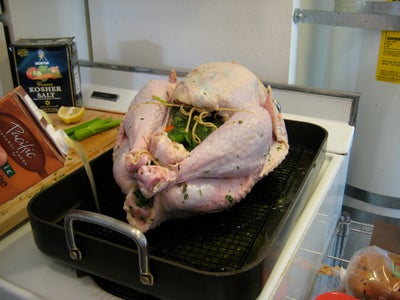
Pour in a bit of stock, 1 or 2 cups depending on the size of your roasting pan, to keep the drippings from burning on the bottom of the pan.
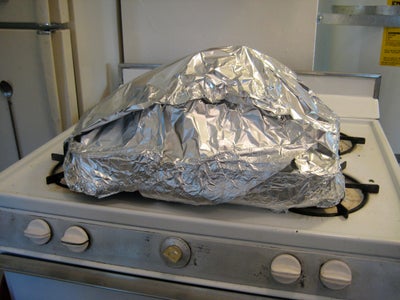
Then, cover the entire pan in heavy aluminum foil enclosing the turkey inside, with as few seams in the foil as possible.
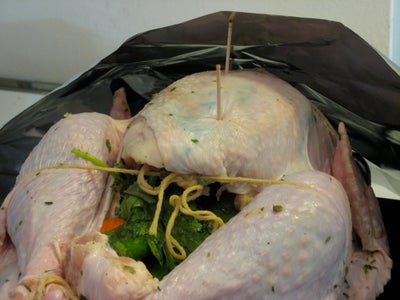
I use toothpicks to keep some space between the aluminum foil and the turkey so that the foil doesn't get cooked on to the turkey breast and rip off some of the delicious crispy skin when the foil is removed later on.
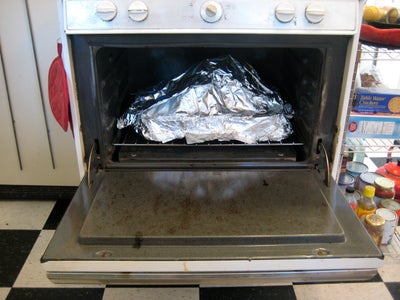
Your oven should have reached the correct temperature by now, so make note of the time, and put your turkey in to roast.
Alternative Method:
There's another method to consider at this point.
Many people support cooking the turkey breast side down for the first hour or two of cook time, and then flip the breast up for the remainder of the roasting. I like this idea in principle, but not actually in practice.
First of all, flipping a 15 pound 350 degree turkey is a real challenge. Second, from the times I've experimented with this method, I haven't really been convinced that it results in a juicier turkey breast. The juices from the turkey don't really begin flowing heavily during the first hour of cook time anyway, so the turkey breast doesn't receive as much extra basting in this position as people believe. Plus, turkey basters aren't just for artificial insemination - we've got those things in the kitchen for a reason, so grab it and do some basting of your own.
If you'd like to experiment, cook your turkey breast side down to start and find out for yourself. But, be warned, the breast will have the imprint of the rack on it when you turn it face up again. So, if you're planning on having your turkey ogled at before it's carved, be aware that the breast might have some cosmetic damage.
Step 8: After 2 Hours
The first two hours of cooking are the easiest, and also the hardest. It's easy because you don't have to do anything, and hard because you'll need to resist the urge to look. It's not like there's a party going on in there, so just let it be.
After 2 hours you can take a peak and make sure that everything is going to plan. Peek inside, do some initial basting, if any juices have collected, re-wrap the aluminum foil and put the turkey back in the oven to continue roasting.
If you really want to know what the turkey looks like during the first two hours of cooking, check out the pictures below and spare your own turkey the disruptions.
Step 9: After 3 Hours, Check and Baste


Different size turkeys cook for different amounts of time. After 3 hours at 375 degrees, my 15 lb. turkey looked as pictured below. Now's the time to do some serious basting and ready the turkey for it's final phase of roasting.
During this final phase, you'll have some decisions to make, and what you decide will determine just how amazing your turkey will come out. I'd have to say it's the most influential part of the whole process.
So, take a deep breath, remove the foil completely, put the turkey back in the oven, and read on.
Step 10: Cook Until Meat Is 165 Degrees


This is the final and most important phase of roasting. The whole house will be smelling like glorious juicy turkey, family members that you haven't seen since last year will be chewing your ear off, there'll be 15 other dishes being cooked at the same time, and so it's easy to get distracted. If you take the bird out too soon, you'll be serving undercooked turkey. Take it out too late, and everything will be dry and tough.
In order to hit it just right, get yourself a meat thermometer and check the temperature of the turkey every 15 minutes during the final phase of cooking.
The goal is to get the turkey to reach 165 degrees in the thickest section of the thigh. Plunge the meat thermometer into the thickest part of the thigh and take a temperature reading. Try not to have the tip of the thermometer touching the turkey bone, but just nestled deep inside the meet.
While you're getting the temperature of the turkey to hit its mark, you're also trying to brown and crisp the skin. With the foil removed, this will happen rather quickly. You've got only a few variables to manipulate. Basically, there's the foil covering, the temperature of the oven and the time you cook the turkey for. Thus, it becomes a balancing act between these three things in order to reach the final perfectly cooked turkey.
If the skin is browning too quickly, but the meat is still less than 165 degrees, cover the turkey in foil to slow the crisping process.
If the meat reaches 165 degrees before the skin crisps to your liking, remove the foil, crank the oven up to 400 degrees, and take the turkey out as soon as the skin crisps up, so as not to overcook the turkey.
If all has gone to plan, after 3 hours of cooking, the turkey should be fairly close to 165 degrees in the thigh already, and so that final 30 - 45 minutes of foil-less roasting should really just be to crisp the skin, baste the bird more often, and impart that final savory roasted flavor onto the flavor profile.
Step 11: Eat the Tastiest Turkey Ever


Once the turkey reaches 165 degrees at the thickest section of the thigh, and the skin has thoroughly browned crisped to your liking, remove it from the oven and simply let it sit.
The turkey will need to cool for at least 20 minutes before carving and serving.
Remember, don't throw away those great pan drippings, use them to make some delicious Gravy.
Marvel at the wonderfully roasted turkey you've just prepared, share it with your family and friends, and reward yourself as the turkey roasting hero that you are!


