

Introduction: Unusual Uses for Magnets


I love magnets!
There are many practical uses for magnets that we see everyday, but there are so many more ways to use magnets that the maker nerd in all of us will appreciate. Though there are a few types of magnets on the market, for almost every application I prefer neodymium magnets (also known as rare-earth magnets) as they are the best choice - They are small, very powerful, and come in a wide variety of shapes and sizes.
From the workshop to the kitchen, there's plenty of unusual uses for magnets. Let's explore!
Step 1: Hammer Helper

If you've ever used a hammer you've probably kept a few nails in your mouth to keep yourself productive. While this is an effective method, it can be cumbersome if you've got a few types of nails in use. Modify your hammer to do double duty and carry some nails with a small magnet!
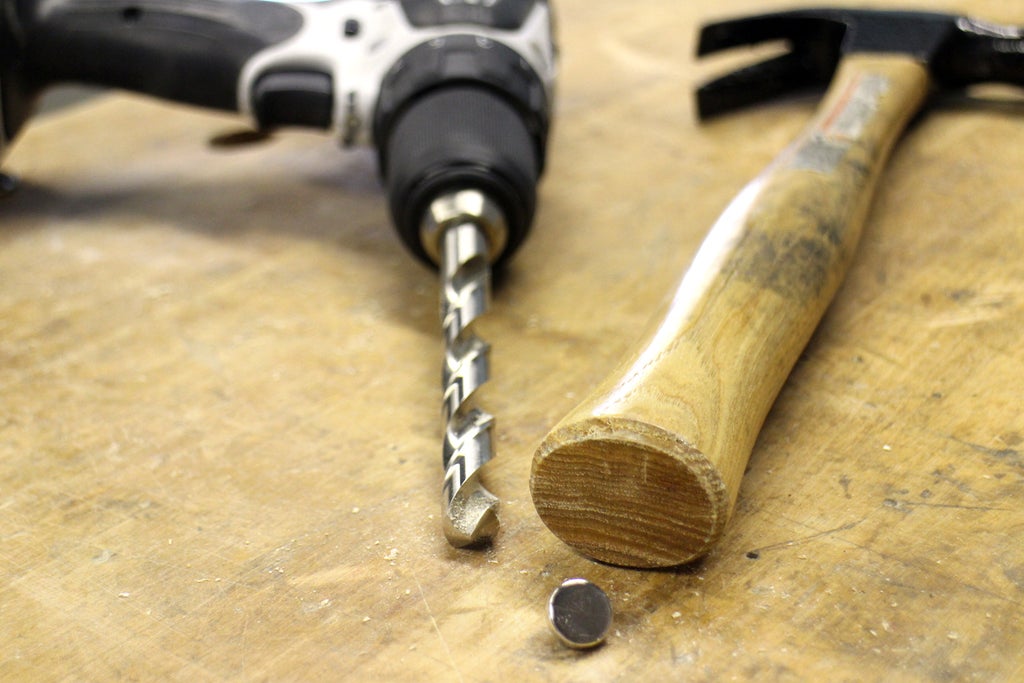
Wood handled hammers are perfect for including a small magnet in the flat bottom. I found a drill pit with a matching diameter to the magnet I wanted to use.
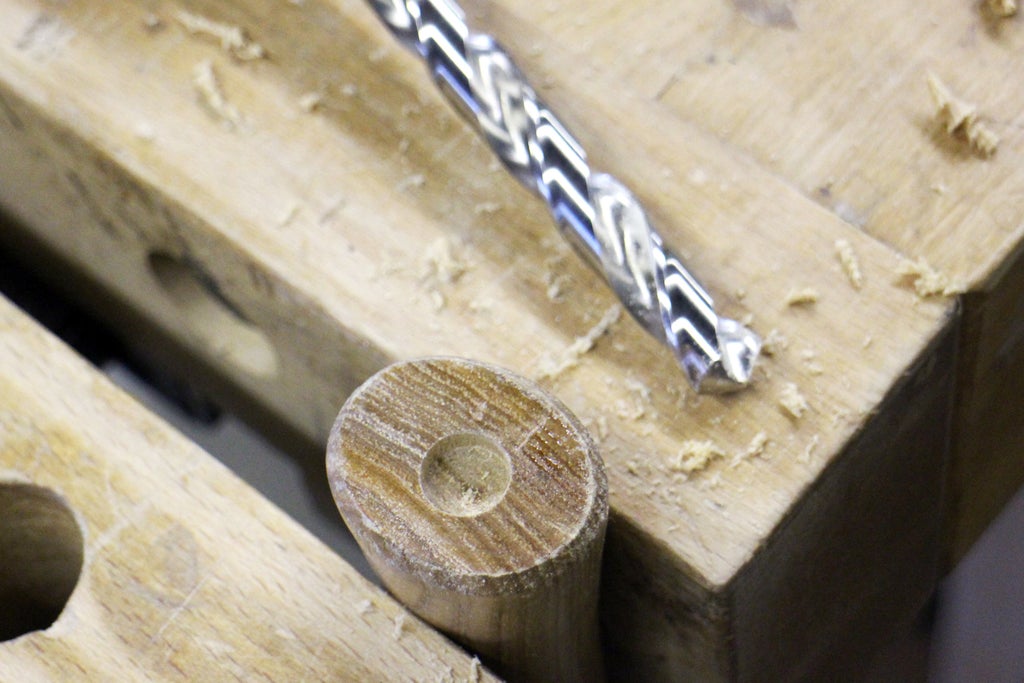
Secure the hammer so the location for the magnet is facing upwards, then drill into the bottom of the handle as deep as required to contain your magnet.
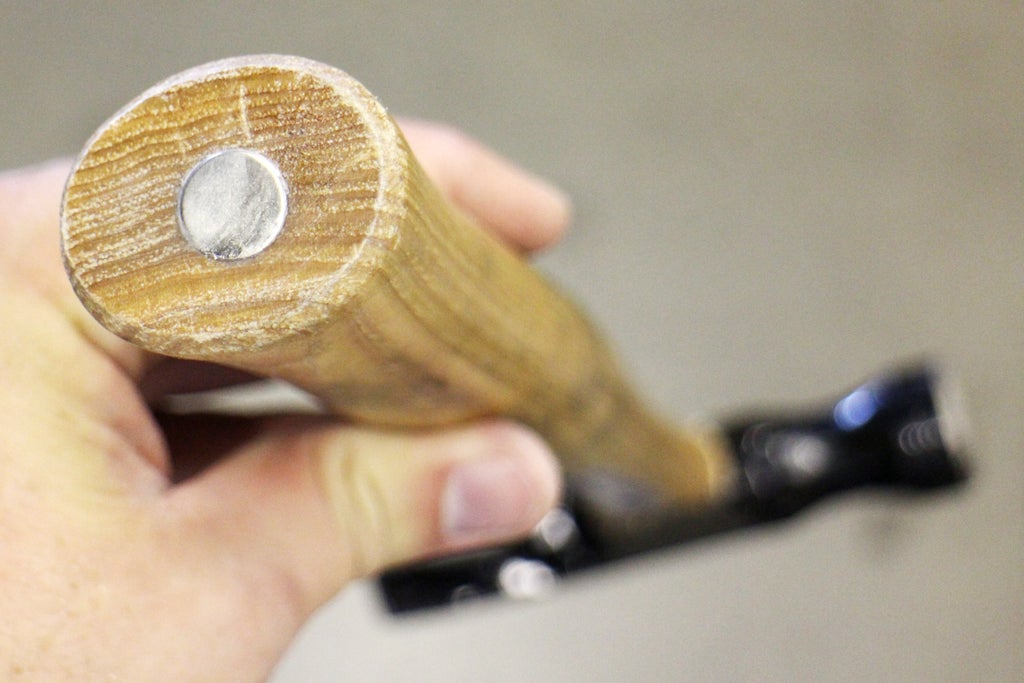
Add a small dab of epoxy into the cavity and then insert the magnet until fully seated. Allow the epoxy to cure and you're good to go!
Step 2: Magnetize Screwdrivers

Staying in the workshop: magnets also work great to polarize your screwdrivers, allowing you to pick up a screw with the tip of the screwdriver. This is especially helpful to keep a screw seated on the end of the driver as you start screwing it into the opening - the time when most screws can fall off the end of the driver.
To magnetize screwdrivers stroke the magnet along the shaft of the screwdriver from handle to tip a few times. That's all that's needed to polarize the screwdriver and allow it to be magnetized.
To remove the magnetic properties just stroke the magnet in the reverse direction and the screwdriver will be demagnetized.
Step 3: Nail + Screw Finder

Maybe you're working outside and drop a nail or screw, finding it in the dirt or grass can be a laborious task. Whether finding fasteners, earrings, or cleaning up steel shavings, a small magnet on a stick will make your life a lot easier.
I made this handy pick-up tool by just gluing a strong magnet on the end of a dowel. There's plenty of ways to make this a more robust tool for you needs, like adding wheels to the dowel which would allow you to roll it around on the ground at a consistent height. What other ways can you think to make this tool better?
Step 4: Stud Finder

Though residential homes have wood studs, a magnet can help you find the stud locations by being attracted to the the drywall screws. In older homes where there's lath and plaster, a magnet can help you locate the nails where the lath is attached to the studs.
By lightly tapping on a wall you can roughly locate where the studs aren't by listening for a hollow sound. Continue tapping until you locate a dense thud sound, there should be a stud in this general location. Use your magnet to hone in on the exact stud location by moving the magnet around the wall until it becomes attracted to the drywall screw or lath nail.
Conventional construction has studs located 16" apart, so once you find one stud you can measure out 16" and use your magnet to locate more studs.
Step 5: Keep Supplies Close By

Crafty makers void warranties and fix all their own stuff. Keep your screws and other bits organized when you're doing your next disassembly with a magnetized dish.
Almost any dish can work for this, but I used a stainless steel container. Since some types of stainless steel aren't magnetic magnetic, I used a strong adhesive (E6000) to bond my large diameter flat magnet to the underside of the dish.
 |  |
Allow the adhesive plenty of time to cure (I left mine overnight), then your dish is ready to be used.
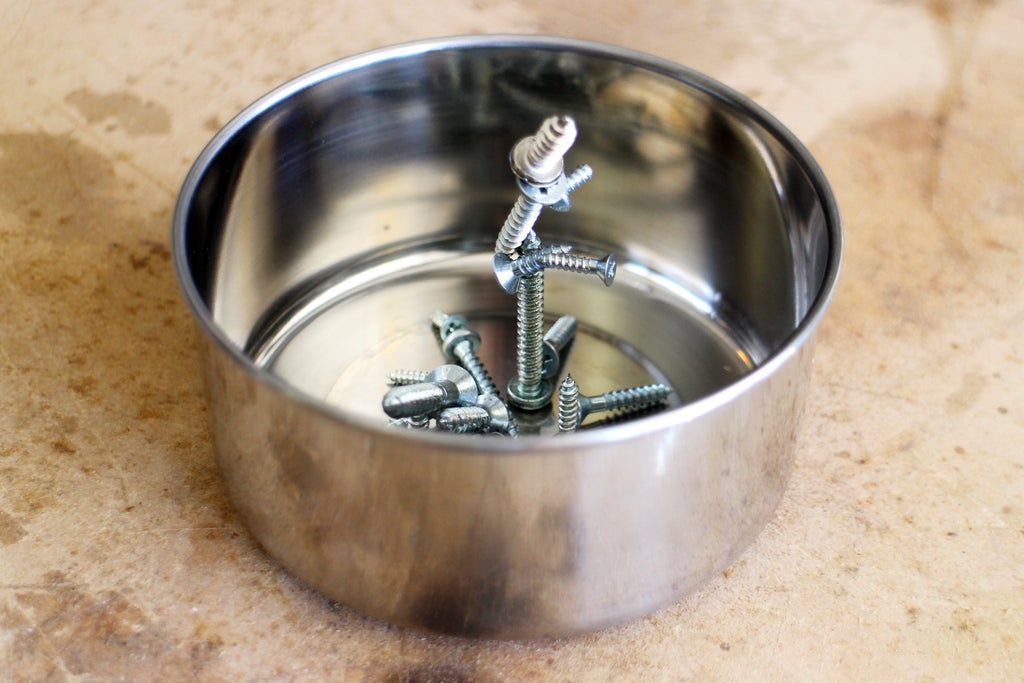
Whether holding sewing needles for your textiles, or screws for your repair job, a magnetic dish will make your live easier and more organized!
Step 6: Visual Shopping List

I'm a visual person, I'm also a creature of habit and usually get the same staples at the grocery store. Combining these two traits lead me to making a visual grocery list, a quick way to remind myself what I need at the store at a glance, and without opening up the fridge.
When I'm in the fridge and use the last of the milk, I just slide the milk magnet over to the grocery list. Now I know that I'm out of milk and need to grab some next time I'm out.
This easy visual style can be used for all kinds of applications outside of the kitchen. All you need is a sheet magnet and a printer to make your own.
Step 7: Magnetic Silly Putty

Magnetic Silly Putty is super easy to make, and displays some curious properties when a strong magnet is placed nearby. Making your own is easy, you just need some silly putty, a little black iron oxide powder, and a powerful rare earth magnet.
Magnetic silly putty is a great teaching tool, as well as a fun science toy for kids of all ages.
Step 8: Ferromagnetic Fluid

Magnetic putty isn't the only science toy to make with magnets, there's also ferromagnetic fluid! This simple project uses the same black iron oxide powder suspended in a water solution and all contained in a small jar. The jar is then sealed up to keep the contents from spilling out.
When a magnet is introduced to the side of the jar you will be able to see the magnetic fields action on the iron oxide powder inside the jar. Remove the magnet and watch the powder drop to the bottom of the jar.
This simple project is fun to play with and visually demonstrates how a magnetic works.
Step 9: Emergency Keys

Hide your keys somewhere safe in case you get locked out.
Some keys are brass, and not magnetic. An easy way to use this trick with brass keys is to use key rings, which are steel. Place a key ring onto your key, then use a small neodymium magnet to hide the key somewhere inconspicuous, like under a table or inside a drawer.
Step 10: Magnetic Fidget Spinner

The fidget spinner fad is still in full effect, with all kinds of new ways to modify and customize your favorite toy. There's an unwritten competition among spinner to see who's can go the fastest. While air compressors seem like the easiest way to achieve maximum RPM, brainy Instructables member tanner_tech shows us a new spin on accelerating with his Electromagnetic Fidget Spinner Accelerator.
From the Instructable:
The magnets on the fidget spinner are mounted so that all the magnets have their north pole facing outwards. The electromagnet is wired so that the side that is closest to the spinner will have a north polarity when it is powered. As the magnet on one side of the spinner passes the electromagnet it will trigger the reed switch, activating the electromagnet [and] that arm of the spinner will be pushed away from the electromagnet.
Step 11: Craving More?

Can't get enough magnets? Me neither! That's why I made a collection of magnetic projects I've made over the years. They are sure to get your creative juices flowing, and I hope you find them attractive :)
Do you have your own unusual use for a magnet? I want to see it!
Happy making :)


