

Introduction: Using a Linear Actuator With Arduino and Photoresistor


In this Instructable, I'm going to show you how to control a linear actuator using arduino and a photoresistor. I'm using a 6V Actuonix micro linear actuator. Because the actuator is 6V, it's not necessary to provide power from an external source. The actuator can be driven directly off of the board making it an incredibly simple setup, even for an arduino rookie.
There are many potential applications for this from a simple automated chicken coop door, self-closing roof vents or windows, animatronic displays for Christmas or Halloween etc. You get the point.
Step 1: Materials Required

This is a fairly simple setup. Materials required are listed below:
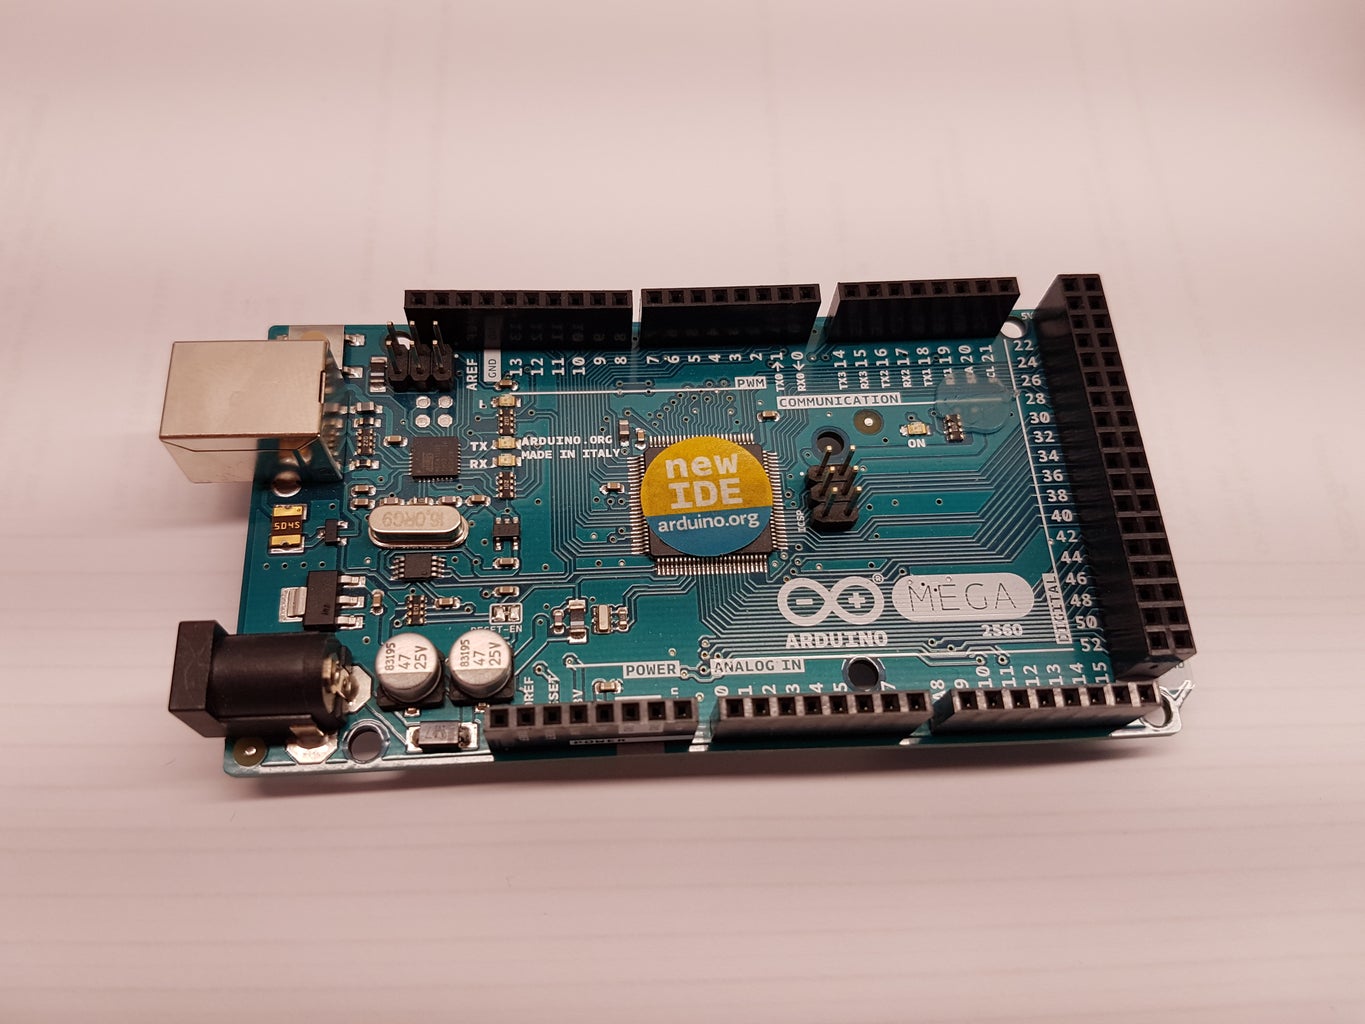
- Arduino Board - I'm using an Arduino Mego 2560 but most arduino boards should work
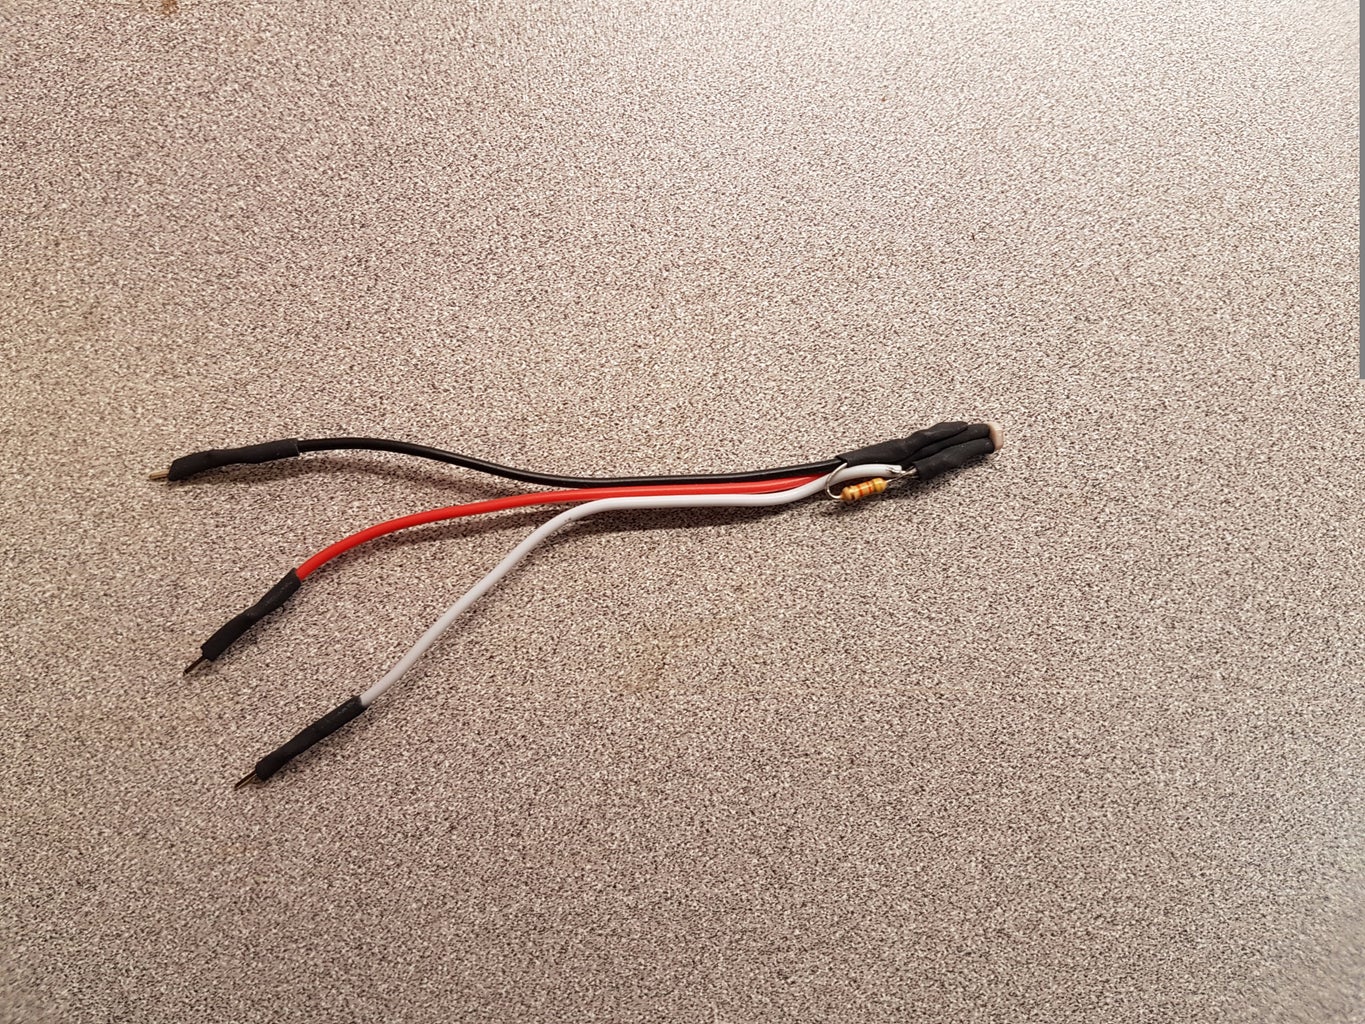
- Photoresistor - Also called a light-sensing module. .
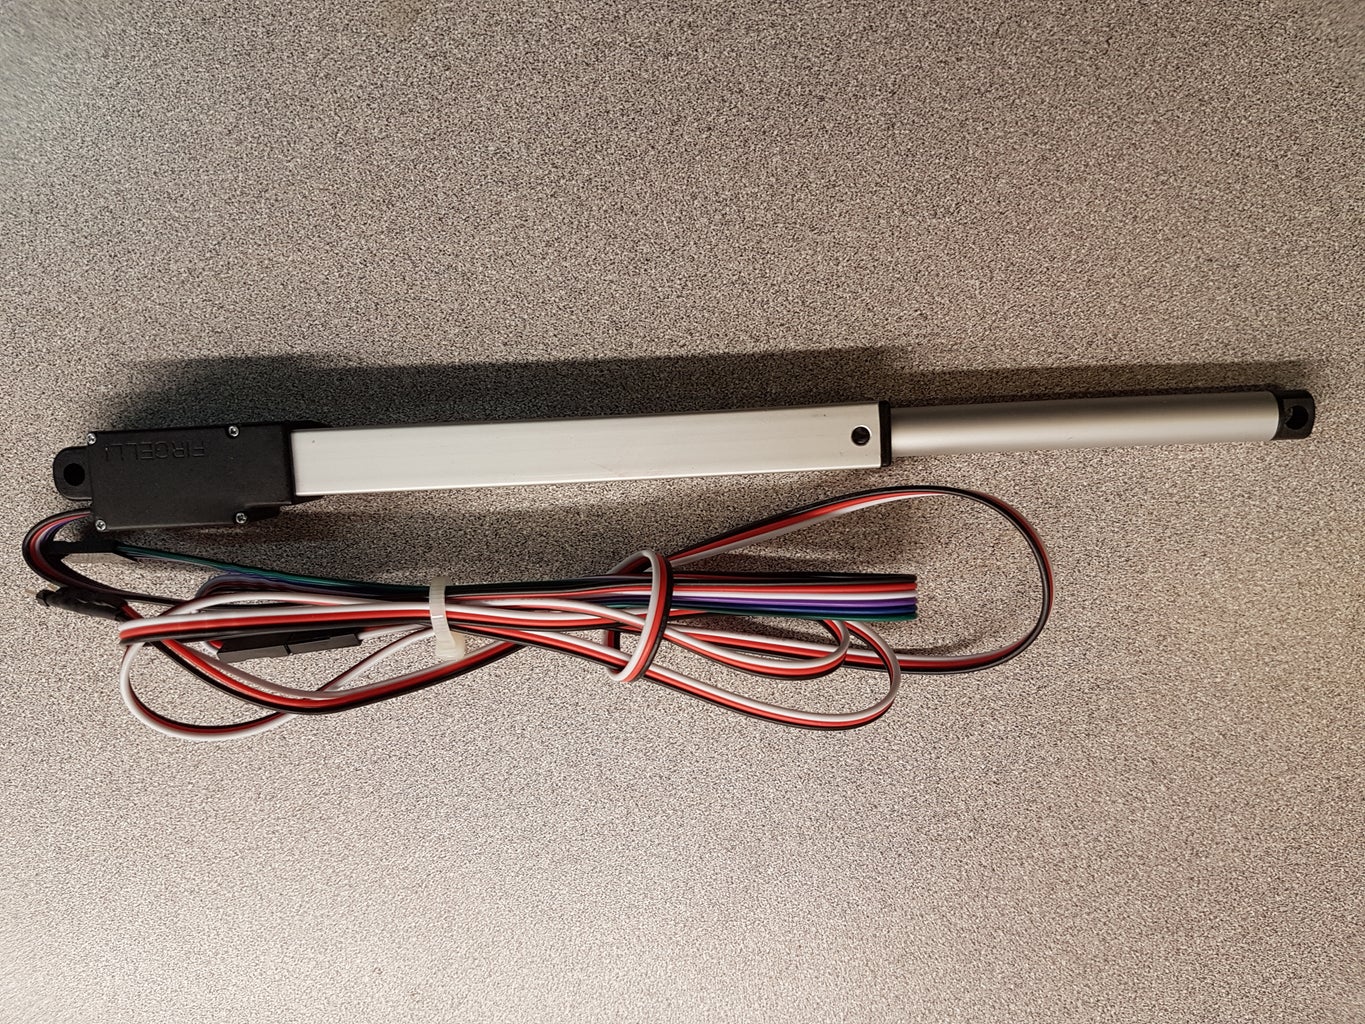
- Micro Linear Actuator - In order to run it directly from the board, you need a 6V actuator.
- Power Source - I've used a usb cable. Check the instructions for your board.
Step 2: Wiring

This wiring example will work with the code in the next step. If you change the code, you will need to adjust your wiring and vice-versa.
I've included a basic picture diagram to show how i have my board wired. The red wires on both the actuator and the photoresistor represent white wires. Wouldn't show properly on a white background.
Actuator
Red wire - 5V
Black wire - Ground
White wire - Pin 3
Photoresistor (The color of your wires may vary)
Red wire (Power Source) - 3.3V
Black wire (Ground) - Ground
White wire (Voltage Output) - A0
Step 3: Code
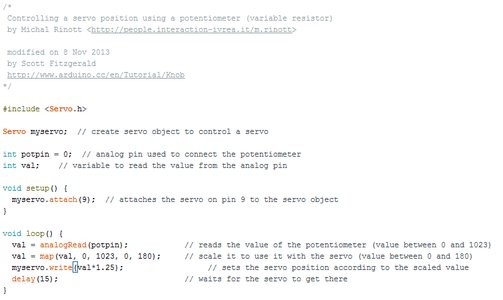
I am not a coder. This code is a slightly modified version of the "servo>knob example found under the file menu of the arduino software. Adjust as necessary for your application.
Upload the code to your arduino using the upload button the software.
That's it! You should now have a functioning photoresistor-controlled linear actuator for your next project!


