

Introduction: Voice Control Obstacle Avoidance Arduino Robot Car

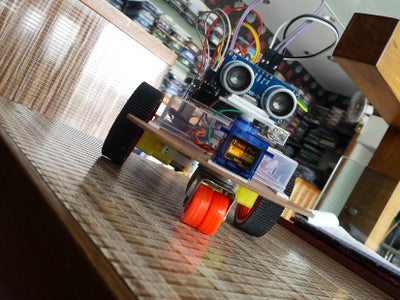


I have made my first Arduino robot. It is a voice control with obstacle avoidance feature robot. Most of the parts were bought from Aliexpress. I did lot of work on the code and still working on code.
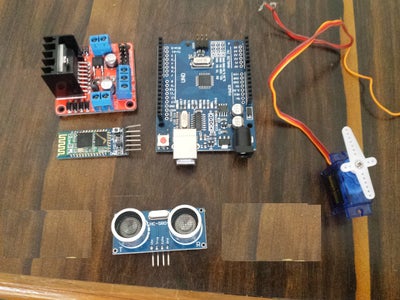
Things Required-
1. Arduino Uno
2. H Bridge
3. Bluetooth Module
4. Ultrasonic SR04 sensor
5. SG90 servo
6. 2 Pcs.Geared motors With Wheels
7. 1 Pc. Caster Wheel
8. Jumper Wires
9. Battery (i used 2 3.7v mobile battery in series)
Step 1: Update
Now I upgraded my arduino robot. It has a new code and new app for control.Download from here.

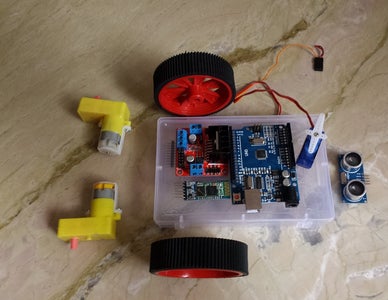
Step 2: Make Chessis


we can buy ready chassis from online. But i decided to make chassis my self.I made chassis from frame play and with a plastic box.
I bought 2 of the cheapest geared motors with wheels on Ebay India. You can easily find them on Ebay.These are DC motors with small gears to reduce the speed. The motors come without wires, so I soldered some wires to the terminals. These motors draw very little current so you don't need to use thick wire. Then stuck the motors to the chassis with some double sided tape. I bought a small castor wheel from local market and attach it to the chassis with help of some screw. By using a castor wheel the robot can almost turn around it's own radius.
Step 3: Connect Motor to H Bridge Module
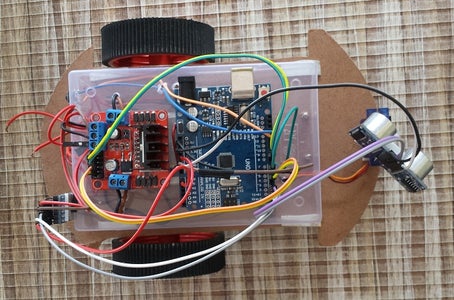
To control the motors I use H-bridge module. By using of H bridge the whole project became very easy.
H bridge module connection to Arduino
Vcc to Battery +
Gnd to Gnd
5v to 5v pin on Arduino
Left Motor + to Ardino 6 pin
Left Motor - to Arduino 5 pin
Right Motor + to Arduino 10 pin
Right Motor - to Arduino 9 pin
Note : If your motor run in wrong direction try to swap arduino pin
Step 4: Setup Bluetooth Module
Now connect Bluetooth module to Arduino
Vcc to 5v
Gnd to Gnd
Tx to Rx
Rx to Tx
State to A0 pin
Note: unplug Tx Rx connections when programmig Arduino board.
Step 5: Ultrasonic Sensor

To detect obstacles I used an ultrasonic SR04 sensor. These sensors only cost Rs.90 on Ebay India. This sensor is well supported by Arduino. Mount the servo on the chassis with double sided tape and mount sensor on servo angle also with double sided tape.
Servo Connection:
Vcc to Arduino 5v pin
Gnd to Gnd
Signal Pin to Arduino 7 pin
Ultrsonic Sensor Connection :
Vcc to 5v
Gnd to Gnd
Tring to Arduino 3 pin
Echo to Arduino 2 pin
Step 6: Programming
I did lot of experiment with code. Finally i assembled this code.You can change voice commands in code.
Download Code Here
Attachments
Step 7: App for Controlling Robot
I download app from play store to control robot. The link is here


