

Introduction: Waterproof Boots


My leather work boots have gotten a bit worn over the years and fail to repel water like they did when new. They were starting to absorb more water than they repelled when worn in wet conditions. With the rainy season right around the corner, I figured it was time to do something about it...and cheaply to boot. This is a quick process that can be done on a vast number of items, and it only requires a few things to achieve a very water repellent treatment. This can be used in survival situations as well. You will need
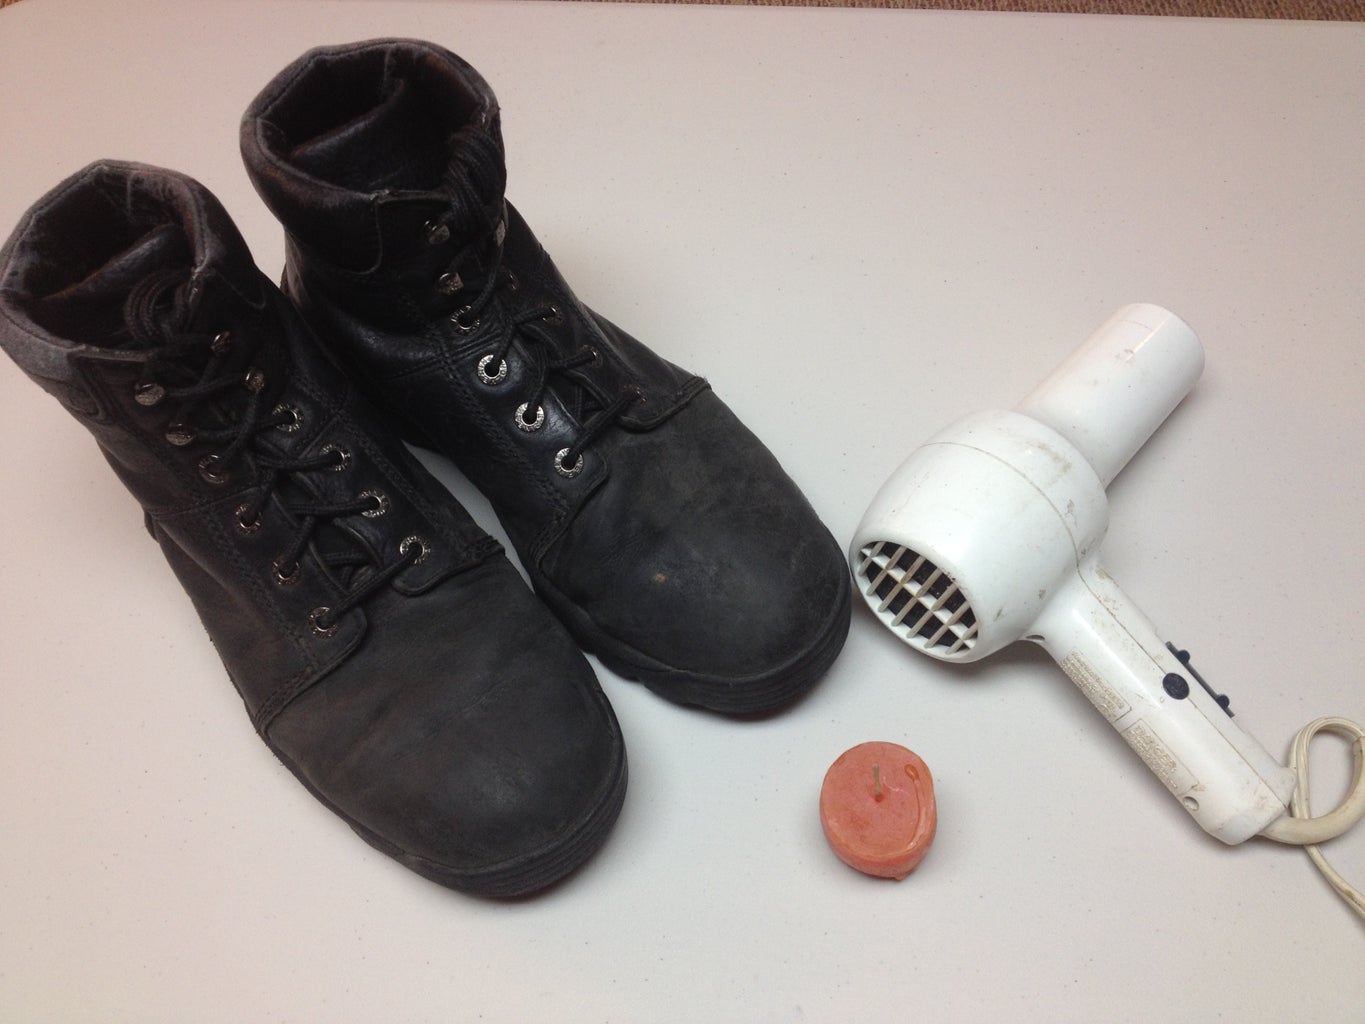
- the item to be waterproofed
- candle (or other chunk of wax)
- a heat source (hair dryer, sunny day, camp fire, etc.)
These boots are real leather, but this process can be applied to just about any surface or material that is porous (cotton, canvas, nylon, wood, etc). I used a small votive candle that I found in my house. For the heat source, I used a standard hair dryer since most people have one in the house. I also tried using a 1500W heat gun, which worked much faster, but the hair dryer got the job done too.
Step 1: Start Rubbing


Just rub the candle on the boot to coat it evenly. In the first pic, you can see that I started with a relatively clean and dry boot. The second pic shows that I have covered just the toe of the boot. I began to rub the candle a bit more aggressively and covered all areas that I wanted treated.
NOTE: These boots were not designed to be waterproof. Real waterproof boots have gussets sewn between the tongue and the sides of the boot to block water from coming in through the laces. These boots don't have that, so it was really only necessary to wax up to the bottom of the tongue, but I did the whole boot regardless. It'll still provide some splash protection.
Step 2: Heat It Up

Once the boot was completely covered, I turned the hairdryer on its hottest setting and aimed it at the boot. You will see the wax begin to melt and absorb into the leather. Continue heating the entire boot, ensuring that all the wax has melted. The melted wax provides a water repellent coating to the leather.
Step 3: Test It Out


I wanted to get a before and after test, so I only treated one boot at a time. I think the results speak for themselves.
I put 2-3 more layers of wax on each boot, melting each layer as I went. This ensures that I got a good even coverage and didn't miss any spots. I did find that applying the wax to a warm boot was much easier and faster than the original application, so you might consider pre-heating your boots before you start.
In the final pic you can see that the boots have a bit more shine to them. When the boots were warm, the leather was very soft and supple. Once they cooled, they stiffened up a bit, but that is to be expected with leather. Keep this in mind if stiffness will affect the item you are applying wax to.
Thanks for reading. If you have any questions, comments, or suggestions on other applications of this technique, please post them below. As always, I'd appreciate your vote, but even if you don't vote for me make sure you vote for somebody in the contests.

Second Prize in the
On a Budget Contest

Runner Up in the
Protected Contest

Participated in the
Burn It! Contest


