

Introduction: XYZen Garden Kit


With the XYZen Garden Kit, you can build your own mechanical zen garden with laser cut plywood parts, nuts and bolts, and some tubing. Enjoy a focused, meditative state as you turn the cranks to create your own designs in the sand.
When I made the XYZen Garden earlier this year, it involved some fairly complex woodworking, so I decided to remake this project to be more accessible to more people. You can download the files in the "Design" step, have them laser cut by Ponoko or another laser cutting service, and put the piece together with nothing but a screwdriver.
Step 1: Design & Parts

I designed this piece by using the original XYZen Garden as a template, and reducing all the parts to interlocking plywood pieces. I planned everything out so that it could be assembled with a handful of parts you can get at McMaster Carr. See below-
- Thumb Screw (1 pack)
- Tapping Insert (4)
- Binding Head Slotted Machine Screw (7/16" long) (1 pack)
- Binding Head Slotted Machine Screw (1/2" long) (1 pack)
- Square Nut (2 packs)
- .125" Carbon Fiber Tube (29" total)
- .25" Carbon Fiber Tube (3" total)
- .375" Carbon Fiber Tube (22" total)
- .5" Carbon Fiber Tube (6" total)
- 1/4" Plywood- plywood varies in thickness widely. This piece is designed for 1/4" ply that's measured at .23".
- 1/8" plywood (one small piece for the stylus point).
- Braided heavy duty fishing line
The DWG file in this step has all the pieces for laser cutting. If you don't have access to one, I suggest going with Ponoko or another similar service. They have reasonable prices.
Fusion 360 is free for students and hobbyists, and there's a ton of educational support on it. If you want to learn to 3D model the kind of work I do, I think this is the best choice on the market. Click the links below to sign up:


Step 2: Assemble the Base

The assembly diagrams should have all the description you need to get the piece together. A helpful tip on this step is to start with one flexible edge piece, get it attached to both the top and bottom of the base, then add the adjacent pieces going around the edge.
Step 3: Add the Stiffeners

The whole thing goes together using T-slots (built into the geometry of the laser cut pieces), square nuts, and screws. I chose screws and nuts that would fit within the thickness of the plywood, which makes for a clean aesthetic.
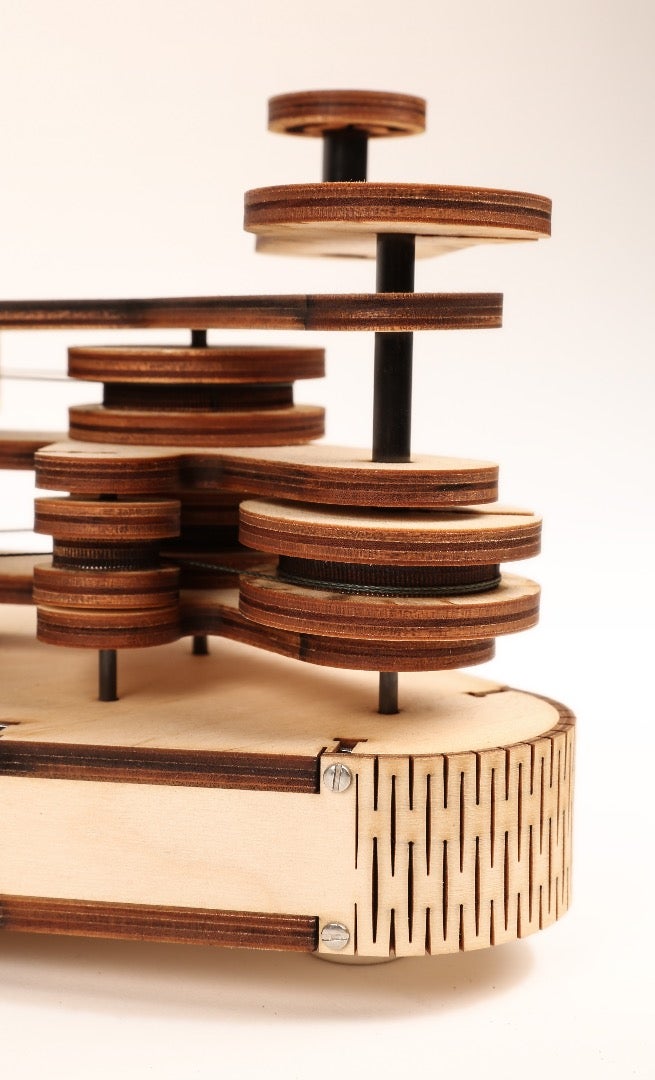
Step 4: Place the Pulleys

It's important to get the pulley layout exactly right. You'll see a lot of circular pieces in the laser cut layout, but here's the gist:
- The circles with the serrated edges are the centers of the pulleys.
- The circles (both serrated and smooth) that have smaller holes are meant to move freely on their axles.
- The circles with the larger holes are for the driver pulleys.
To assemble the pulleys, take two ends and one center and glue them together making sure the holes line up. The holes of all three circles should be the same diameter on each pulley.
Step 5: Add the Pulley Axles

The tubes that serve as axles for the pulleys fit in place using set screws through T-slots on the stiffeners and cranks, as shown in the diagrams.
Step 6: Assemble the Gantry Ends

The pieces are all reversible and symmetrical, and it's only possible to assemble them in one configuration. I've done my best to catch mistakes before they happen!
Step 7: Assemble the Gantries


The stylus uses a triangular pointer to draw in the sand. Like the gantries, it only fits together in the right configuration.
Figures 17 and 18 show how the cables are routed through the pulleys and tubes.
Step 8: Route the Cables Through the Pulleys and Gantries

Routing the cables is the hardest part, but follow this diagram and don't give up- you'll get there eventually! When the cables are routed correctly, the gantries will need to be tightened from time to time, kind of like a stringed instrument.
Step 9: Add Sand and Start Drawing


As Figure 20 says, about 1/4" of sand to draw in is ideal. To start a new design, just shake the base gently until the sand evens out.
Want to buy one? Check out my online store, Roundhead Design.


