

Introduction: Your Startup Disk Is Full MacBook Fix - How to Add Storage Space
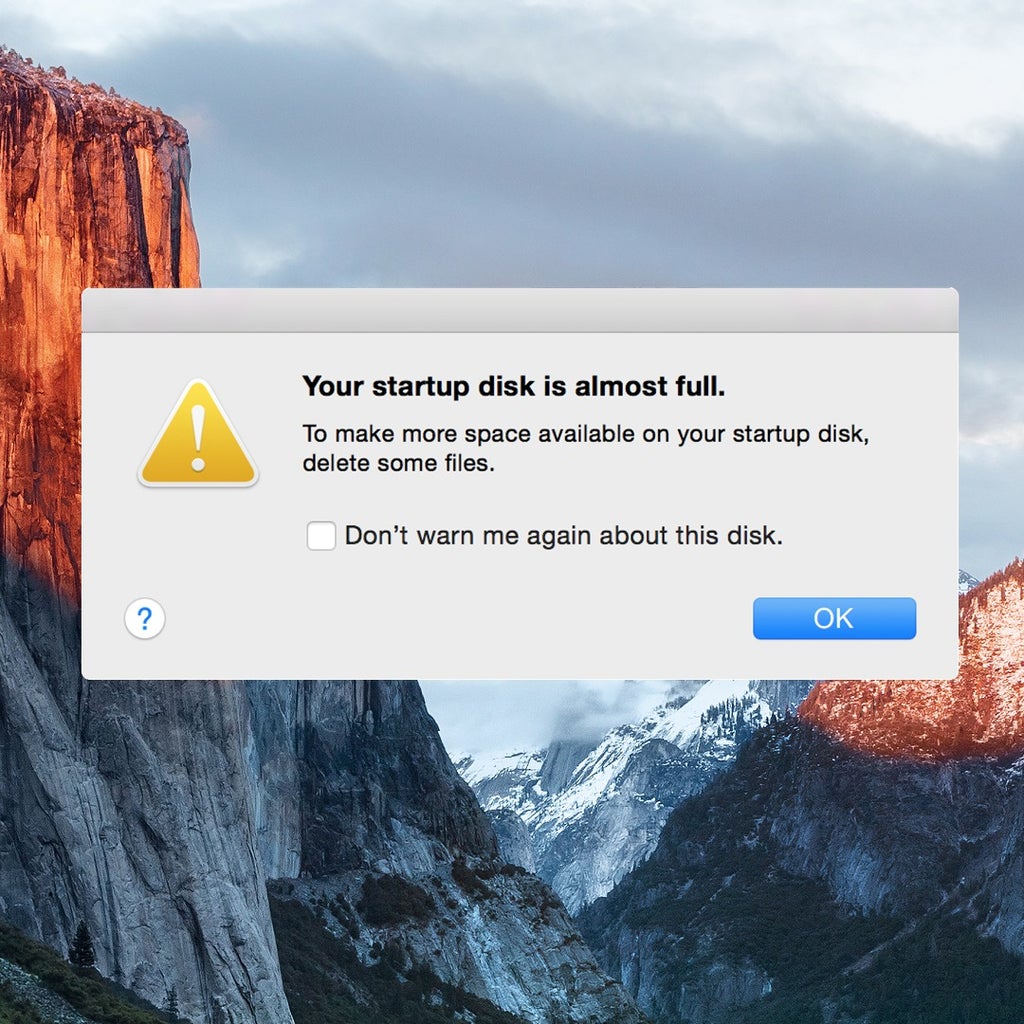


Did you run out of storage? Unfortunately, Apple has made it so that we can no longer just replace/upgrade our hard drives, but other options do exist! This instructable details how to make more space on your MacBook to make it usable again. There are two basic methods of fixing the "Your start up disk is almost full" warning:
- Delete Stuff specific files to free up space (Apps, trash, sleep image etc)
- Add Hybrid storage to your system (e.g. use Tardisk Pear)
- Dump files into external drives. (external HDs)
This instructable will review these options. Steps 1-6 cover how to free up space by deleting stuff and the following steps cover how to add storage. (I wound up adding space with TarDisk Pear as this was the simplest option -- my 256GB MacBook Pro became 512GB!) If you don't want to take the time to go through your MacBook to delete stuff -- you want to keep all your files -- skip to the (Step 7) which is what I eventually did.
~enjoy
Step 1: Delete Unwanted Applications and Games

Over time we inevitably download and try out applications and games that interest us. But often many of these apps are unused and end up taking up space. The best way to handle this problem is to comb through apps every 2-3 months and remove unused ones.
Unlike on windows, to delete an application just locate it in the Applications folder and then drag it to the Trash Bin. Alternatively you could right click the application and click “Move to Trash.” A third option is to use Launch Pad to delete your apps. Similar to the iPhone, Click and hold an app on the Launch Pad — the apps will start to wiggle and a small “X” will appear in the top left corner. Click the X for any apps that you want to delete. All these options will produce the same result; deleted apps.
Sometimes an app may come with a built-in uninstaller. Make sure to use it first before applying the above mentioned methods.
Step 2: Clear Files From Your Downloads Folder

The downloads folder is a prime culprit for excess stuff that can clog up your hard drive. As we download files and apps they land in the Downloads folder but then we copy them or install them into our organization hierarchy without deleting the original files. They remain in our downloads folder taking up space. Navigate to your downloads folder and move the contents into the trash bin.
Step 3: Empty the Trash Bin

On Mac OS X, files that we choose to delete go into the Trash Bin before being permanently deleted. There is no way to delete things immediately without putting them in the trash bin first. You could get around the Trash Bin step by using a custom command. But we won’t recommend it for general users.
The Trash Bin in OS X is not your junk or deleted files’ folder like in Windo=ws. Rather, it is a place for us to put files aside before permanently deleting them. Files in the trash bin still consume HD space, so unless you empty the trash bin, you’re not saving space by storing files here.
Files in the trash bin can be delete individually or all at once by right clicking the Trash Bin icon and clicking “Empty Trash”. But remember: files erased in this manner may still be available unless the pertinent disk sectors are overwritten by other files. In order to completely erase files from your disk drive use the following method:
- First, right click on the Trash Bin icon.
- Now press the “Command” button on your keyboard.
- The “Empty Trash” option will change to a “Secure Empty Trash”.
- Click on it and all the files in your Trash Bin will be erased without leaving behind any traces.
- Keep in mind this trick will empty your entire Trash Bin permanently, and you cannot recover these files.
Step 4: Delete Sleep File Sleepimage

On laptops, space can be limited, especially if you’re using a solid state drive of modest size. For example, wasting 16+ GB of capacity on a 128GB SSD is un appealing.
If you're looking around on your mac for places to save space, you might notice that space equivalent to the amount of memory in your Mac is suddenly missing from your boot drive e.g. if your Mac has 8GB memory, an 8GB sleepimage exists, 32GB memory a 32GB sleepimage, etc.
The missing space can be mysterious, because the file won’t be shown by the Finder, so it’s just space that’s apparently gone missing. To get rid of this gluttonous file, you can use Terminal (found in your Utilities folder). The 'sudo' command allows this protected file to be removed with the rm command. You will be prompted for your password. Type the command shown in bold (copy/paste is best): sudo rm /private/var/vm/sleepimage. You will be prompted for your password. That's it.
Keep in mind that the sleep image will be rebuilt once you put your computer back to sleep. If you want to permanently reclaim that space use this guide to stop the sleepimage from being create again.
Step 5: Clear Cache Space on Your Boot Drive

Various programs store (“cache”) various types of files in order to speed up future operations or activities. Much of the time, the space taken by these caches is small and worthy of no attention. However, some programs can consume a great deal of disk space.
Being aware of the size and location of cache files can help you manage your disk space, especially important if (for example) your system drive is a relatively small one, such as a solid state drive. But enough space can be consumed that even on a larger hard drive it can becomes a concern over time. Caches are helpful for performance, but over time might also contain old and useless junk that just takes up disk space, with no performance benefit.
Do not waste time removing caches on a day-to-day basis, but if space goes missing, caches are a worthwhile area to look into, because they could be consuming storage space. Caches folder in your home directory Your home directory contains a Library folder, and in it can be found a Caches folder. In general, you can throw anything in the Caches folder into the trash (and empty the trash).
Most programs also have a “Purge Cache” button somewhere in their preferences, and that is the preferred way to clean up any given program without any risk at all. For wholesale removal of crud that’s lying around, open up the Caches folder, and trash all folders you find in it. Even if you uninstall a program, whatever artifacts it has generated in the Caches folder typically might not be removed.
Step 6: Clear the Photos App “Recently Deleted”

In the new Photos app, when you delete a photo it goes to a folder called Recently Deleted, just like your iPhone. Each file automatically deletes itself after 30 days, but until then it sits on your HD. If you want these files deleted immediately, click “file” from the menu bar in the photos app, then choose “Show Recently Deleted”. Click the “Delete All” button in the upper righthand corner to delete them all, or you can pick and choose individually by right clicking and selecting “Delete 1 photo.”
Step 7: Use TarDisk Pear to Add GBs to You Macintosh HD.


This is the only permanent portable solution to increase macbook storage that I have found, and it is amazingly simple. My Macintosh HD which was 256GB when I purchased it from Apple, was increased to 512GB. Basicially this is a "hybrid-drive" technology released a few weeks ago. This particular product works with to merge a TarDisk flash storage module with your internal hard disk.
If you're like me and you've already tried deleting all of the files you don't need, but you're still running out of space you may want to try out a TarDisk. Instead of having to move files over to a mounted hard drive, your internal drive becomes larger. Files are automatically allocated to the internal SSD or to the flash memory module depending on how often they are used.
Hybrid-drives merge flash memory mounted in your SDXC port with your internal Macintosh hard disk, actually increasing MacBook storage. TarDisk is the first and currently the only company to release an onboard hybrid-drive, TarDisk Pear.
Check out which model matches your MacBook here.
TarDisk is installs in just a few steps:
- Turn off File Vault
- Unplug all devices
- Stick TarDisk into your SD port
- Click Install
That's it -- 256GB of extra space.
Step 8: Move Files to an External Hard Drive

If you tend to work in one place with your MacBook, an external hard drive can be a great option. There are many brands and sizes to choose from. Cnet offers a great review of different models, but from my experience they are mostly the same. By moving stuff to your external you'll free up space on your MacBook's internal hard drive. Just remember that if you need access to those files, you will need to carry that External hard drive with you.
To use an external hard drive:
- Plug it in to your computer's USB port
- Drag stuff to the drive that you want to store there
If you have a large external you may also consider creating a Time Machine back to keep your whole system safe. See here for a great guide on how to create a Time Machine Back up. It only takes a few steps.
Step 9: Store Your Files in the Cloud

Cloud services are ubiquitous these days and can be a great option if you have regular access to reliable, high speed internet.
Some of the more popular services are Dropbox and iCloud, which allow you to selectively sync certain files from your desktop to the cloud. You can also use it as an "external" by moving files to the cloud off your computer.
Dropbox offers 2.5 GB free with sign up and then 1TB (1000 GB) for $9.99 per month.
iCloud offers 5GB of free storage with sign up and then has offers for 50GB, 200GBm, and 1TB for $.99, $2.99 and $10 respectively.
Step 10: Summary

I've tried and used all of these options at various times over my 10 years as a Mac owner.
From personal experience I would highly recommend the new TarDisk as the simplest and best solution. You can't actually upgrade onboard storage in MacBooks since 2011, so having TarDisk as an internal flash drive that lives in your SD port and actually boosts your onboard storage is exciting.
Let me know if you guys have any more ideas or thoughts! Good luck.


