

Introduction: How to Make a Simple LED Tester


do you want to build something but you don't know if your LEDs work?
use this little LED tester to find out!
Step 1: The Materials!

well,all wou need is:
-some electrical tape
-a button cell battery
-a i/d cable thing with holes in it ( i don't know how it's called)
-an LED for testing...
Step 2: The Tools!
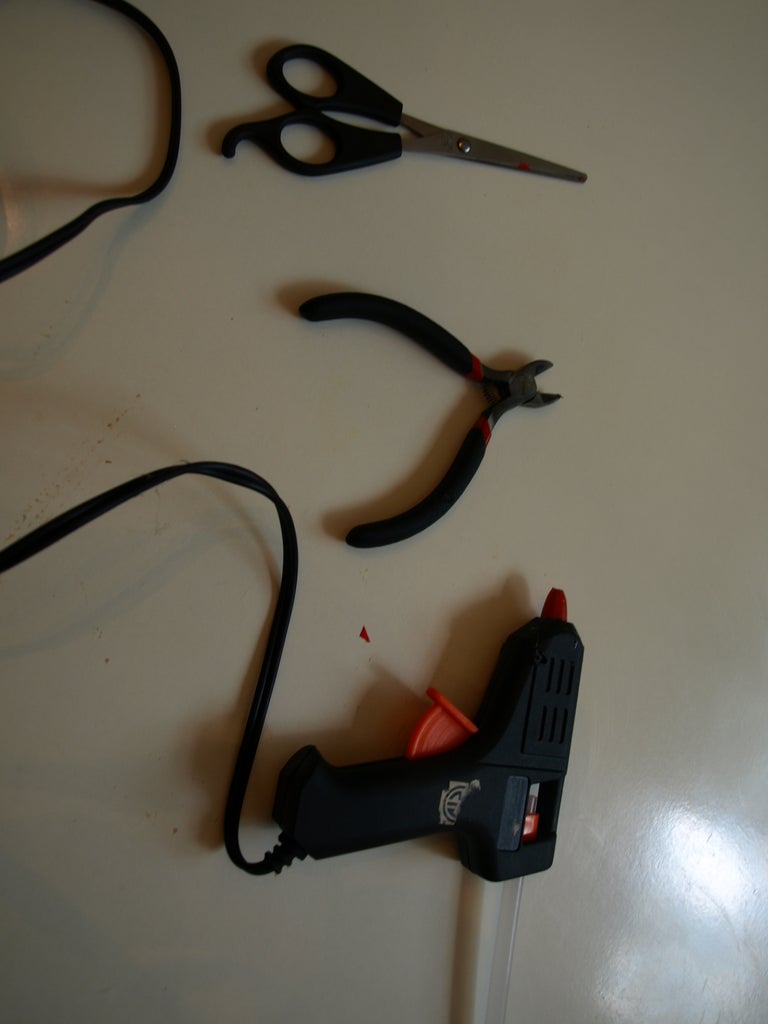
the materials...:
-some scissors
-a wire cutter/stripper
-a hot glue gun
Step 3: The Holes...

strip both wires of the cable thing and hold it on the side of the button cell battery,with one wire touching one side and the other wire touching the other side
Step 4: Glue It On!


cut some electrical tape and put it touching both,wire and one side of the battery and same thing on the other side
Step 5: Finishing Up


well,you're pretty much done...
all you have left is to write a + and - on each side of the battery (on the electrical tape),respecting the actual + and -
if wou find that the holes are too loose,you can use some hot glue to fix it
Step 6: How to Connect the LED

this is very easy...
the LED has two pins:
a long one and a short one
the long one is the positive (+) side and it's called anode
the short one is the negative (-) side and it's called the cathode.it is also the flat edge inside the plastic


