

Introduction: How to Make a Solar Cell Phone Charger


If you think this instructable is worthy, please give me a vote in the "Apocalypse Preparedness", "Guerilla Design", and "Make Energy" contests!
In an emergency situation knowledge is power. If the SHTF and the world goes to chaos, you will want to have your hands on as much information as you can get. Of course you can prepare yourself by entrenching yourself in obtaining doomsday prep info, but no one really knows what information they might need. Anything can happen. To better prepare yourself it would be wise to pack a library of the best books on emergency prep. No, I don't mean an actual library; you need to pack light. Instead of packing away heavy books, you should bring a cell phone or tablet with a collection of E-books. What, no electricity? No problem, here you will find everything you need to build your own portable solar cell phone charger. Similar solar packs sell for over $100 (check out the Solarmonkey![]() ), but why buy it when you can build it for a whole lot less?
), but why buy it when you can build it for a whole lot less?
Solar charging packs can be used for any off grid situation, and not just in emergencies. Hiking, backpacking, and camping are all activities where this device can come in handy. It is easily implemented for entertainment purposes; however recent history has shown the importance of having such a device. Whether you want to play candy crush at the campout, are trying to stay in touch with family and friends after a natural disaster, or tweeting enemy activity, everyone has need for such a device. If you have a cell phone, then this is for you. So grab your soldering iron and let's get started.
Step 1: Parts and Tools


Parts
- 2.5W 5V/500mAh Solar Cell

- Portable Charger (5V input)
- Charging Cable (USB to Micro USB)
- Sticky Back Velcro
- USB Hub (optional) to charge more than one device at once.
- Small Pack
Tools
- Soldering Iron
- Solder
- Hot Glue Gun (and Glue)
Step 2: Build the Charger
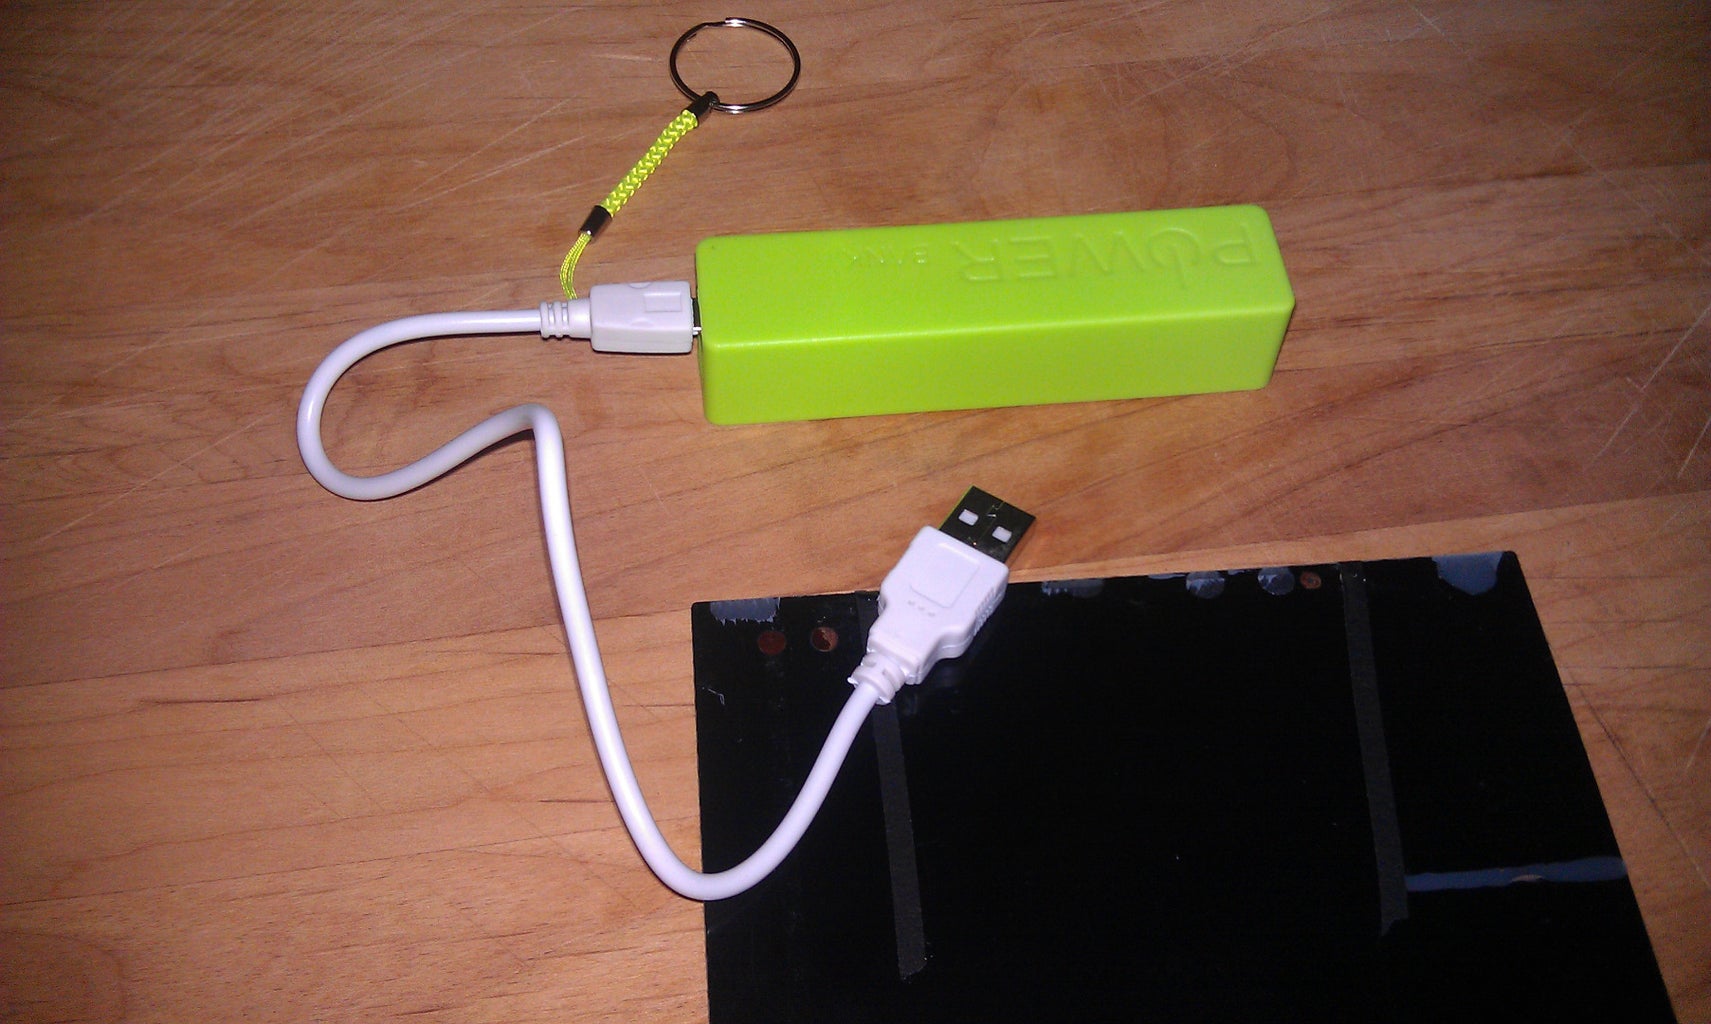

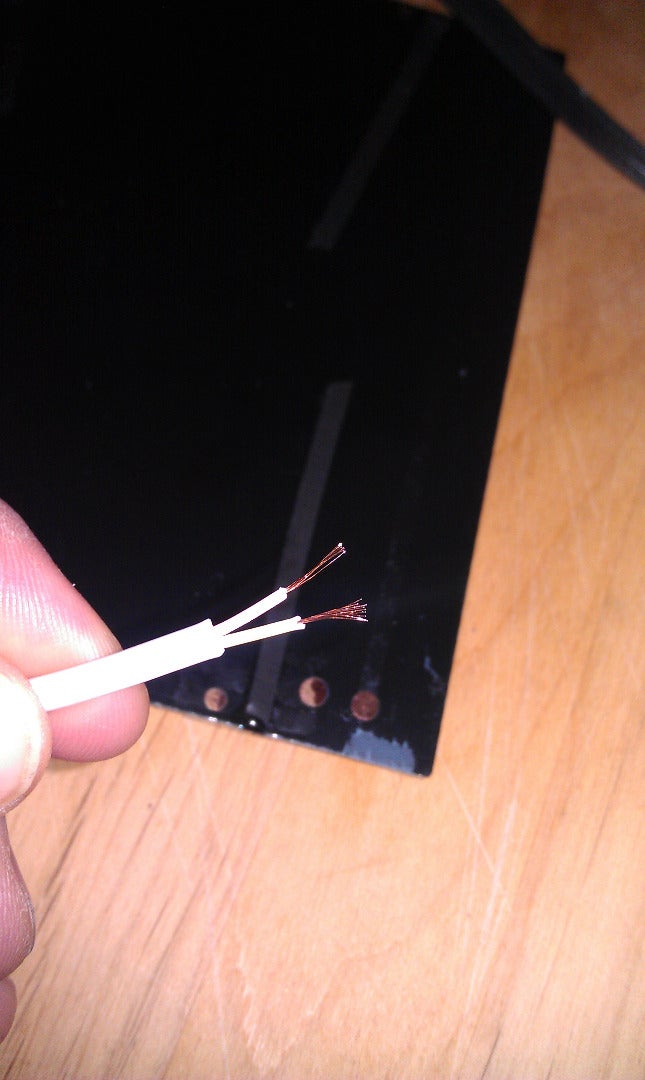


The portable battery pack should have two ports, an in and an out port. The cable that plugs into the in port should have a standard USB end. Cut this end and strip the exposed wires. You really only need two of them so if you are seeing four wires you will need to locate the + and Ground wires. Mine was easy because it only had two wires (pink and white). Pink and white are odd colors, you will generally see black ( negative, ground, -), and red (positive, +). If you're like me and have two wires that aren't common colors you will need to identify them. I did this with an LED, but a voltmeter can be used if you have one.
Testing with an LED: the long lead on an LED connects to positive and the short leg connects to negative. Take the USB you have just cut, expose the two wires, and plug it into a wall charger. Take your LED and give it a go. Touch the long leg to the colorful wire (pink in my case, but typically this is red), and the short one to the other (white in my case, typically black). If your LED lights up you have identified your wires, long is positive, and short is negative. If it doesn't light up then reverse it.
Now that you have your positive and negative wires you will need to solder them to the back of your solar cell. There should be two pads identified +, and -. Solder the positive wire to +, and the negative wire to -. The solar cell should now be equipped with a micro USB charging cable. Now is a good time to test out the charger. Plug the solar cell into the portable battery pack, and with a spare USB charging cable plug in your electrical device. If everything is connected properly your charging light should be coming on. If you're still not convinced, run your battery pack dead by charging your device without the solar cell. Once it's dead, try it with the solar cell. The solar panel should charge the battery pack, and the battery pack should charge your electronic device.
Step 3: Make the Charger Pack


I wanted to be able to charge my phone while I was on the move so I made a custom pack to hang from my backpack, similar to the solarmonkey. I used an old lunch box my son doesn't use anymore. It was just lying around collecting dust so I repurposed it for this project.
Whatever you use you will probably want a way to attach your solar panel and battery pack. For this I used sticky back velcro and it worked great. The lunchbox I used has a compartment for an ice pack, convenient for storing a cell phone in this case. I just cut a small hole for the USB cable to connect my cell phone to the battery pack. I can keep this pouch zipped up with my cell phone safely inside while the pack is open and charging.
Step 4: Prepare Your Device
You'll need an E-Reader App for all your books. The Kindle App![]() is free for download, and can handle all your .mobi ebooks. For other versions other than .mobi, I like to use Google Play Books because it supports so many formats.
is free for download, and can handle all your .mobi ebooks. For other versions other than .mobi, I like to use Google Play Books because it supports so many formats.
Step 5: Recommended Books
Here's my list of favorite Doomsday E-Books in no particular order:
- The Book of Camping and Woodcraft: A Guidebook for Those who Travel in the Wilderness
- When The Grid Goes Down: Disaster Preparations and Survival Gear For Making Your Home Self-Reliant
- Survival Gear You Can Live With by Tony Nester (Practical Survival Series Book 6)
- Bushcraft Tips & Tools by Tony Nester (Practical Survival Book 7)
- The Trapper's Bible: Traps, Snares & Pathguards
- How to Survive the End of the World as We Know It: Tactics, Techniques, and Technologies for Uncertain Times
- Shelters, Shacks, and Shanties: The Classic Guide to Building Wilderness Shelters
- Basic Butchering of Livestock & Game
- Edible Wild Plants
- Bushcraft 101: A Field Guide to the Art of Wilderness Survival
- The Survival Medicine Handbook: A Guide for When Help is Not on the Way
- The Prepper's Cookbook: 300 Recipes to Turn Your Emergency Food into Nutritious, Delicious, Life-Saving Meals (Preppers)
- Survival Mom: How to Prepare Your Family for Everyday Disasters and Worst-Case Scenarios
- Survival Wisdom & Know How: Everything You Need to Know to Subsist in the Wilderness
SAS Survival Handbook, Third Edition: The Ultimate Guide to Surviving Anywhere

Participated in the
MAKE ENERGY: A US-Mexico Innovation Challenge

Participated in the
Guerilla Design Contest

Participated in the
Apocalypse Preparedness Contest


