

Introduction: How to Make Cheesecloth Ghosts


Cheesecloth ghosts are a really cheap and fun way to decorate for Halloween! I made loads of these with my mom growing up. :D
These are a bit fancier than the cheesecloth ghosts we used to make, but they're just as simple.
Step 1: What You'll Need

- a package of cheesecloth
- wire
- liquid starch
- scissors
- a medium bowl
- wax or freezer paper to cover your work surface
- things from around the house to build the ghosts on
- black felt (optional - to add eyes!)
When I made these with my mom, we'd mix Elmer's glue with water and use that instead of liquid starch. We'd also use balloons to shape the heads. :)
This time I'm using some bottles I had in my cabinet and some glass ornament blanks.
You can typically make three good sized ghosts for each package of cheesecloth - mine stood between 8-12 inches tall.
Step 2: Assemble the Ghost Bodies and Mix the Liquid Starch

For the ghosts, you really just want a nice rounded top and a good bit of height. That's it! If you'd like to add arms, use the wire and wrap it around whatever you're using.
You'll also want to dilute the liquid starch so that it's easier to work with - I'd say 75% liquid starch and 25% water should work just fine. Just don't use more than 50% water.
P.S. The more humid your environment, the more liquid starch you'll need to use! It's water soluble, so it can droop in high humidity.
Step 3: Drench the Cheesecloth in Liquid Starch
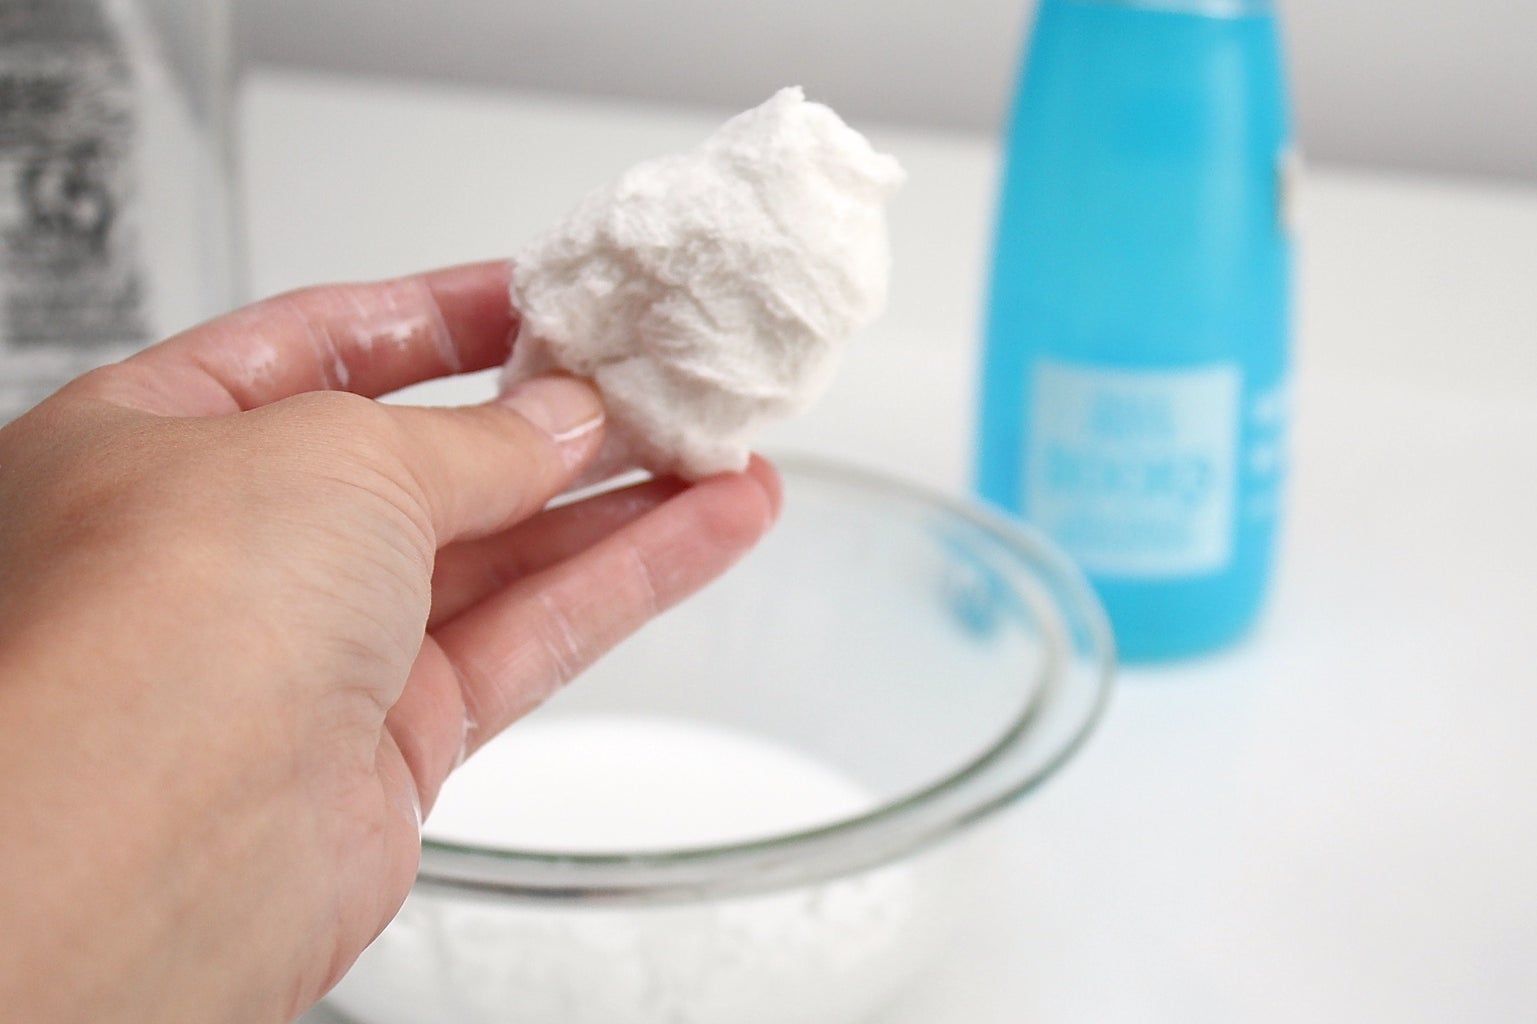
This is the key part of the whole project - making sure you have enough liquid starch!
I cut my cheesecloth into smaller pieces and then unfold in completely and put a piece in the liquid starch. Squish it around and let it soak it up, and then gently wring it out.
You want it to still be pretty wet, but not gloopy.
Step 4: Start Draping the Cheesecloth


I couldn't get too many photos of this since it's super messy, but it's really easy. :D
You'll want to cut pieces of cheesecloth that easily cover the ghost bodies you've made with a little excess. This excess cheesecloth will pool at the bottom of the ghosts and allow them to stand.
I added 2-3 layers on each of the ghosts and made sure each pooled to the bottom.
Step 5: Let Them Dry and Remove the Cheesecloth


(Big Dee helped. The liquid starch smells a bit like glue and she LOVES glue. :P)
It will take quite a while for these to dry. They will feel floppy and like they won't hold up until they're almost totally dry, so don't let that freak you out.
I let mine sit overnight to make sure they were fully dry.
Peel them off the paper you used to line your work surface, and then start separating the cheesecloth from the bodies. I used a pencil to scrape around the edges and that worked pretty well. It'll be a little trickier to grab out the circular piece you chose to use, but you can be a little rough as you can shape the cheesecloth back after.
Have a look at the second photo to see how the bottoms should look - they should be flat and very starchy. :)
Step 6: Optional: Add Eyes!

If you want your ghosts to be a little less spooky and more friendly, use some black felt to add eyes!
While this is super adorable, I think I almost prefer them without the eyes. :D

Participated in the
Halloween Decor Contest


