

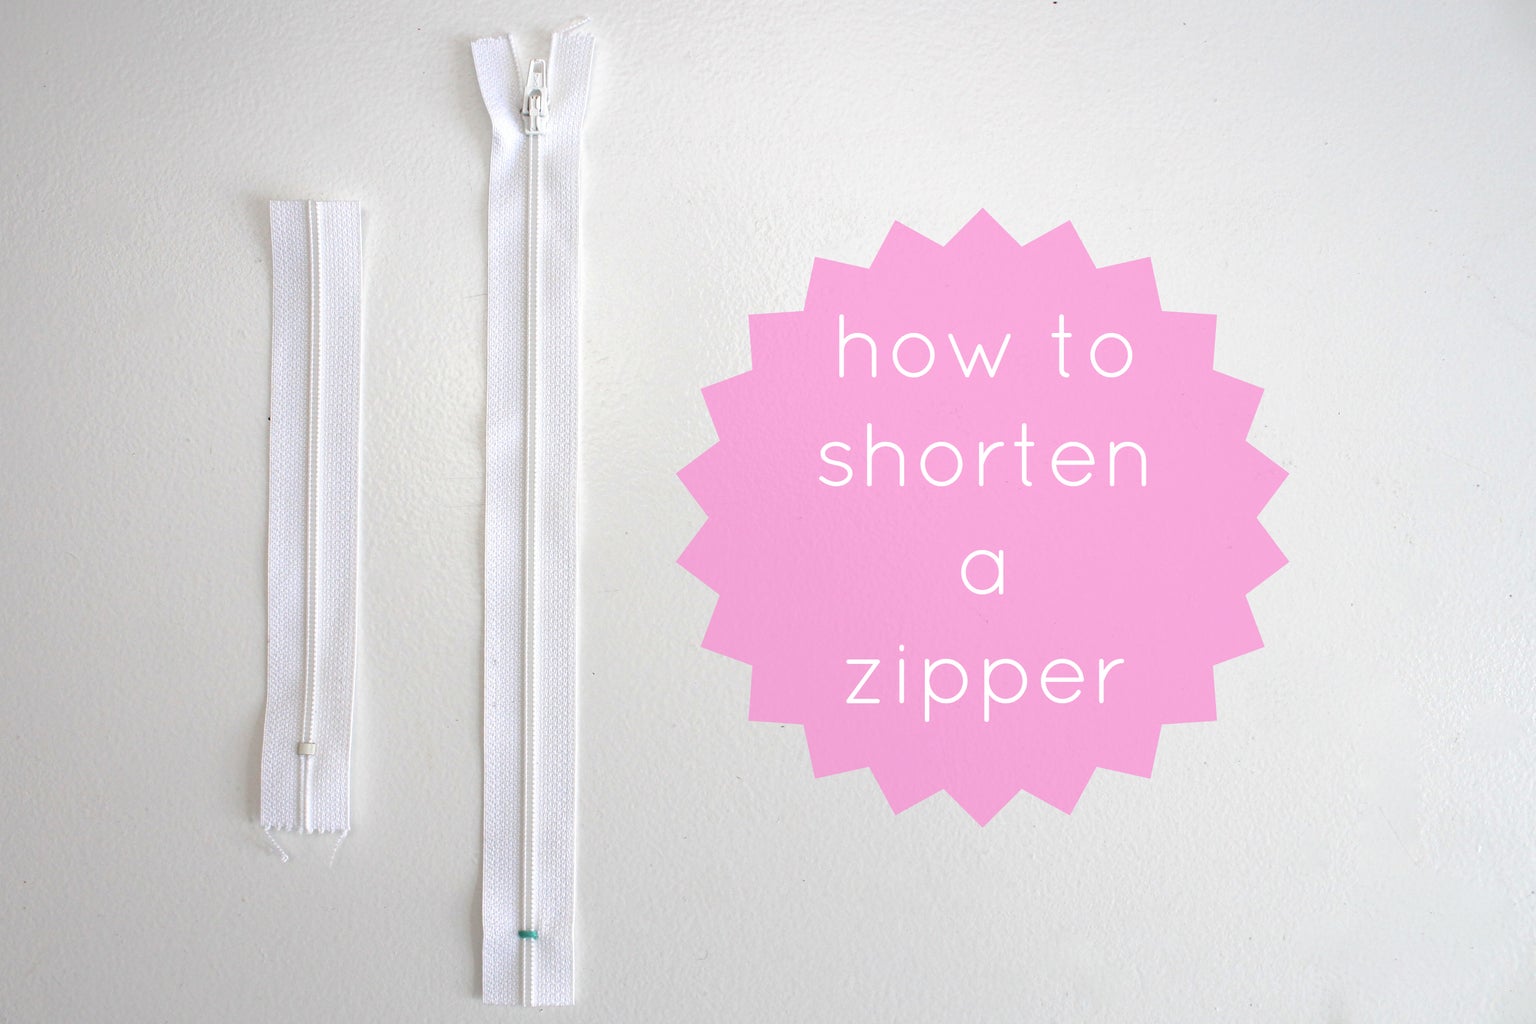
Introduction: How to Shorten a Zipper


I don't know about you guys, but it seems that every time I need to put a zipper into something I end up needing a different size than I have. Thankfully, most zippers are super easy to shorten!
Sometimes it's even more cost effective to buy long zippers in bulk and then shorten them yourself.
This tutorial should work on all regular and invisible zippers - though ones with metal teeth or those that completely separate won't be able to be shortened this way. Let me know if you guys want to see how to shorten those and I can do a tutorial over that as well. :D
Step 1: What You Need

- zipper with plastic teeth
- thread
- needle
- scissors (don't use your nice fabric ones for this!)
- ruler
Pretty simple. :D
Step 2: Determine the Length

Keep in mind that zipper measurements are based entirely on how long the actual zipper part is. The fabric at the top and bottom don't count, though they normally add 1 1/2 to 2 1/2 inches onto the total length of the zipper.
When deciding how long you want your zipper to be, measure from the pull at the top to where you want it.
I've marked the length I want mine to be with a pin the the photo.
Step 3: Sew a New Stop


You'll notice that the very bottom of the zipper has a small metal or plastic piece that goes over the teeth called a stop - we're going to create a new stop using thread. :)
Double thread a needle and tie a knot. Bring the needle up through the zipper fabric and around several times. Secure with another knot.
Step 4: Cut Off the Excess and You're Good to Go!

Cut off the extra zipper maybe an inch or so below the new stopper you made.
Now you're ready to put it into something awesome. :D

Participated in the
Teach It! Contest Sponsored by Dremel

Participated in the
Zip It Good! Contest


