

Introduction: Pulled Pork Recipe


I've tried so many pulled pork recipes over the years, always trying to take shortcuts and have pulled pork quicker and easier. I've done crockpot pulled pork, pressure cooker pulled pork, wrapped it in aluminum foil and roasted it at high temps, tried braising it and then roasting, etc.
It was pretty silly, now that I think about it. Good pulled pork requires serious patience and willpower. :D
Keep reading and I will share alllllll the secrets and you'll be eating the most amazing pulled pork very soon.
P.S. Want a sauce or rub for your pulled pork? I've got them:
Step 1: What You'll Need:
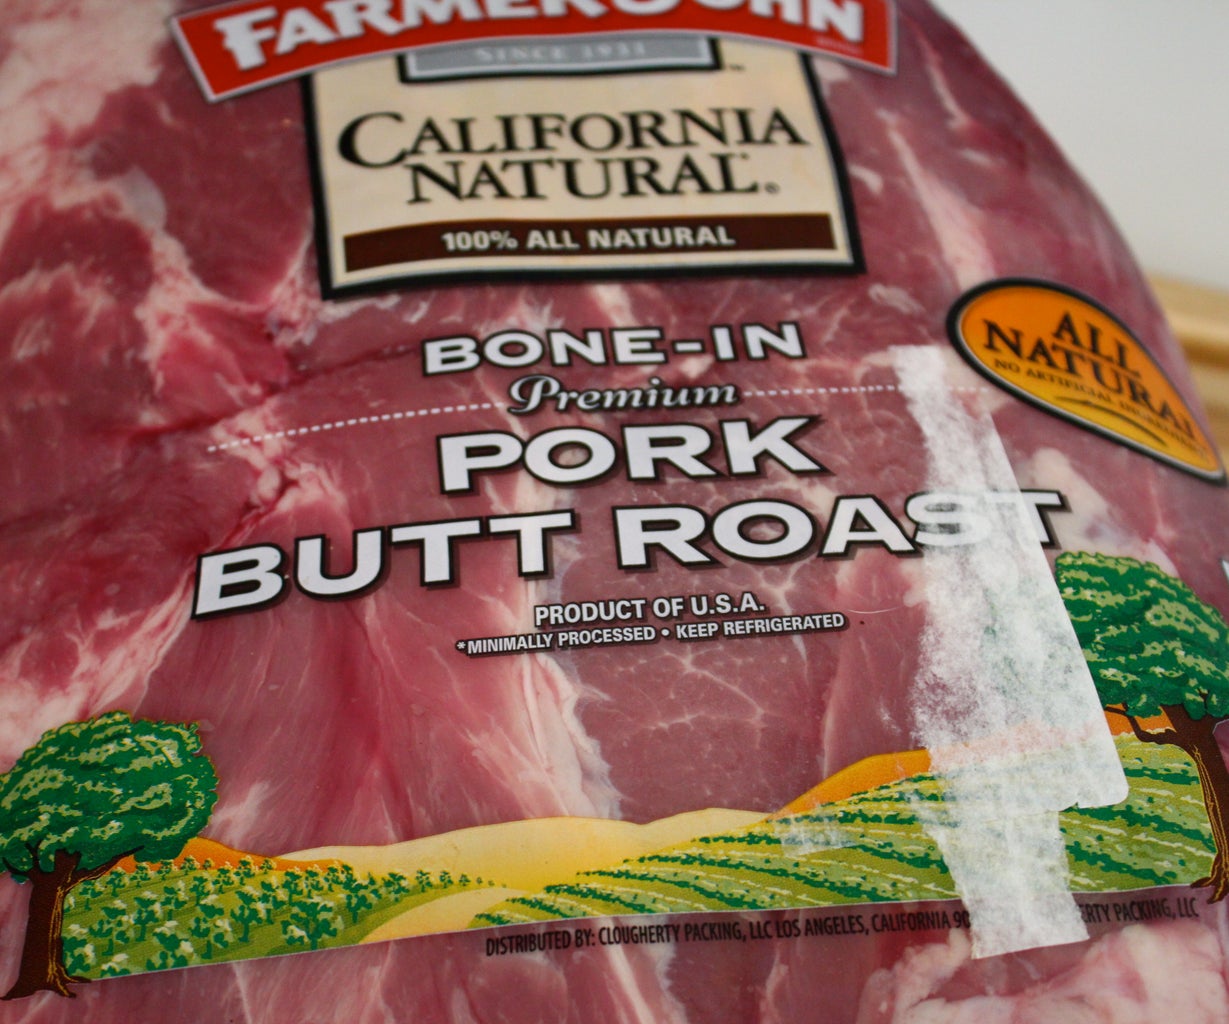
- pork butt or shoulder - at least 3-4 pounds. See below for more info!
- 1-2 cups of dry rub - here's my recipe - I really, really recommend it.
- a baking rack
- a baking sheet
- a probe thermometer
You will want both a baking rack and a baking sheet - if the pork butt sits in a puddle of rendered fat, it will never crisp up on all sides.
The probe thermometer is the most important part - you need to cook the pork shoulder until it reaches 190 F, and you need to do it without opening the oven constantly. :D
Check out this page for a more in depth guide to picking out/prepping your pork butt.
Step 2: Cleaning Up the Pork Butt


This is a hotly debated subject, but I stand by my way of doing it. :D
If you're smoking/grilling, I think keeping the fat cap on is a great idea. In the oven, however, it can turn into quite a mess. Because you're doing it in the oven, you want the rub you'll be using to make direct contact with the meat for extra flavor, because you won't be benefiting from lovely wood smoke. Smearing your dry rub on a fat cap you'll pull off and discard later is a bad deal. There's also the issue of the fat cap never rendering down enough in the oven to be tasty.
Before you start going to work on the fat caps, clean your sink thoroughly. Then place a baking rack in the bottom and put the butt on that, fat cap side up. Using a sharp knife and/or kitchen shears, start to cut away the fat cap and any silver skin you encounter.
I normally start this by finding the place the fat cap is the least connected and pulling it up. Then use the knife or shears to cut through the connective tissues holding it to the meat.
Don't fret about getting every single piece of fat - you just want to get off all the really thick bits and the silver skin hiding below them.
Flip the butt over and check the other side, too.
As you can see in the last photo, I lost 2-3 pounds in the total weight just in fat. :D
Note: because you are working with such a large piece of meat, you might encounter some nasty stuff. There might be large veins and arteries and extra blood. Cut these away and don't worry too much about it. It's normal! Also, check the bone end for any fragments and remove those.
Step 3: Rub-a-dub-dub and Chilling Overnight
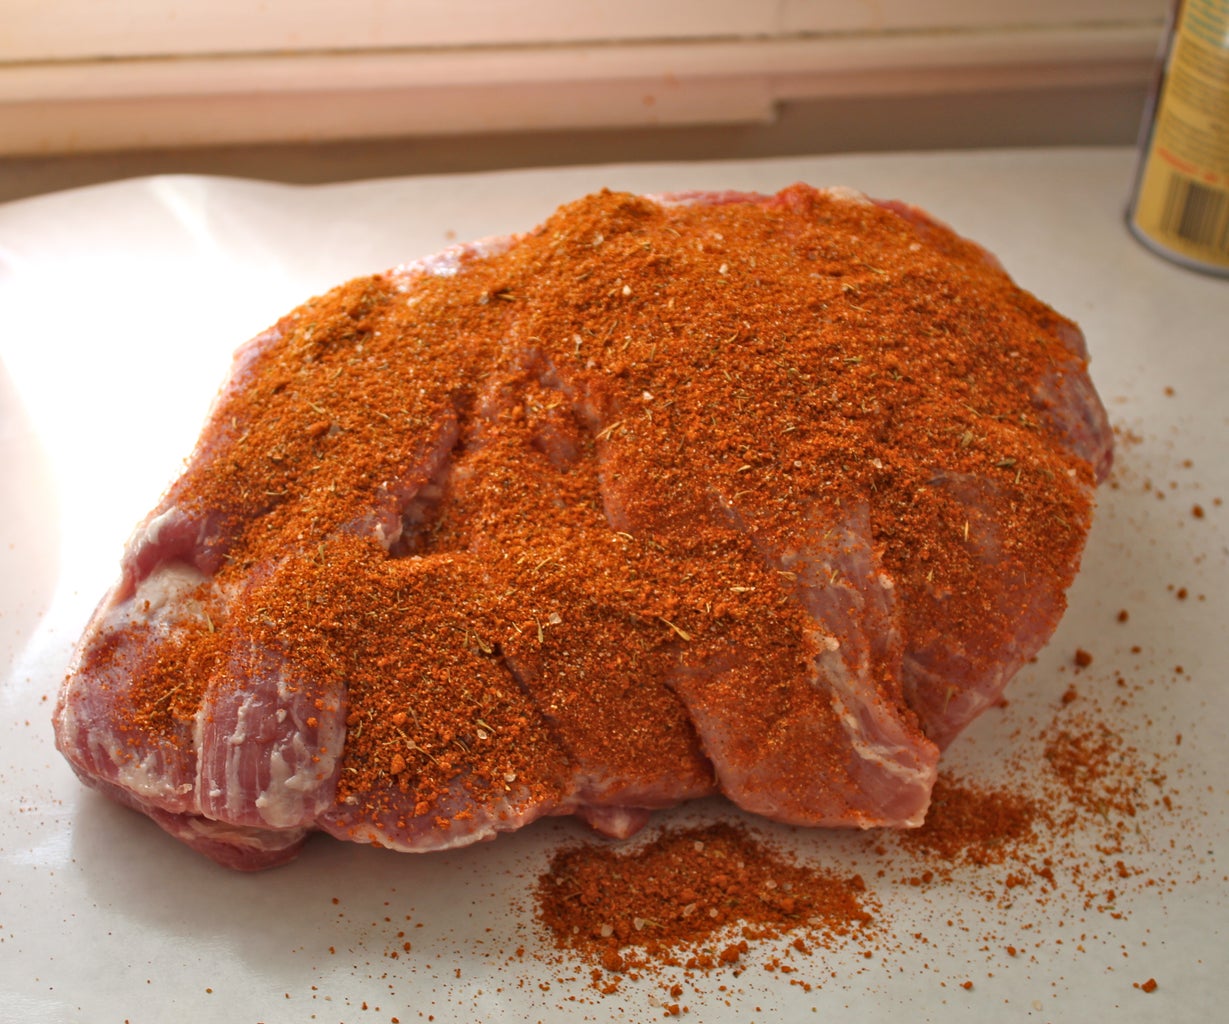
Now comes part one of the waiting.
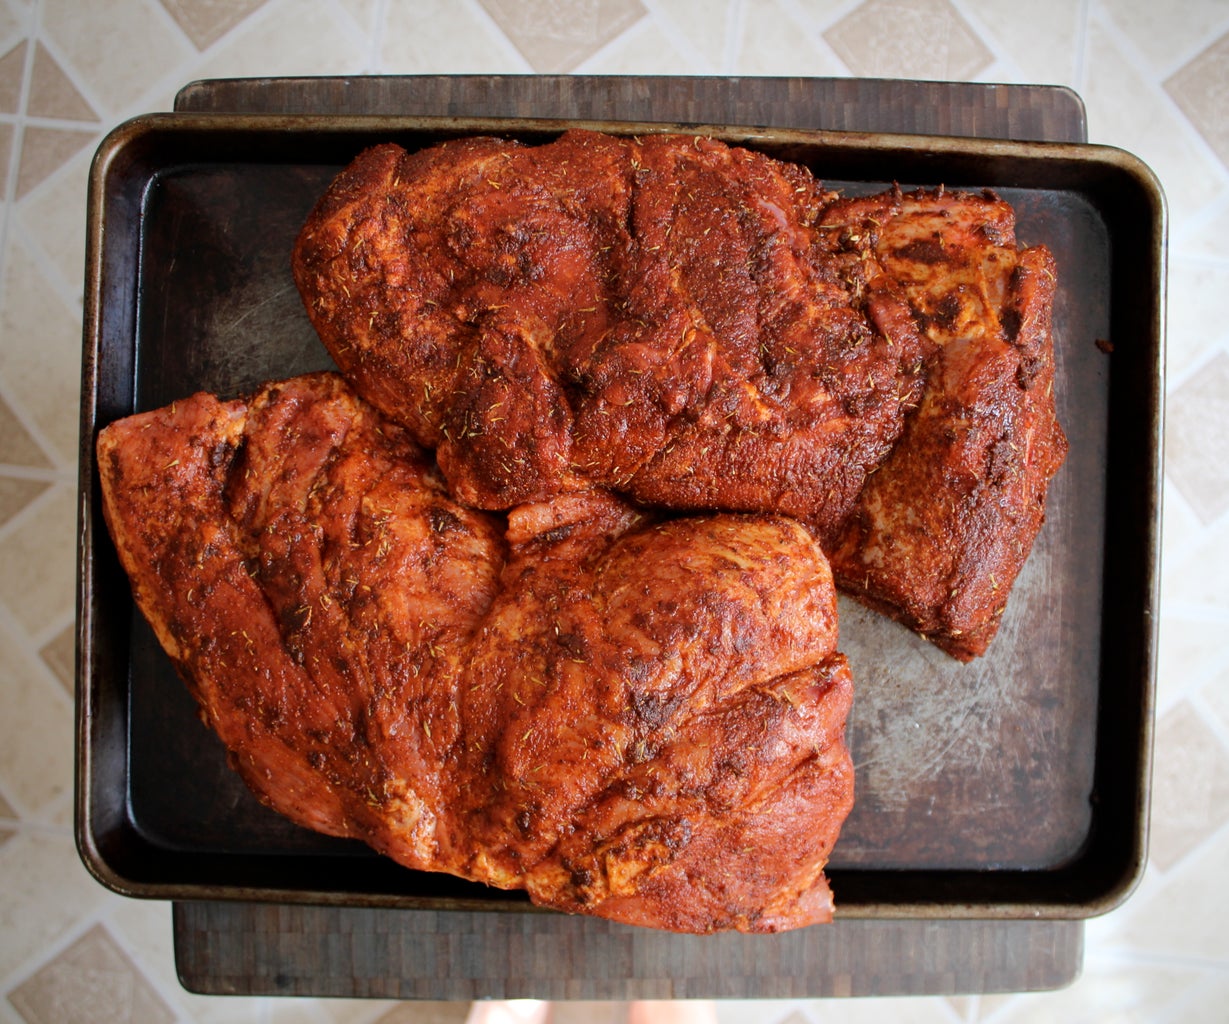
Apply whichever rub you chose generously allllll over the pork butt. Get it in all the nooks and crannies. After it's been properly pampered, place it on a sheet pan and cover with plastic wrap or aluminum foil. Put this in the fridge over night. :D
(For real, the whole night. You can start cooking first thing in the morning and hopefully be able to eat it by dinner!)
Step 4: How to Cook Pulled Pork


- Apply a good amount of dry rub and let it sit in the fridge overnight.
- Cook the pork butt on top of a baking rack on a baking sheet - this will allow a crust to form all the way around and let the excess fat render off easily.
- I like to pour one cup of water with a little liquid smoke onto the baking sheet to help keep a little moisture in the oven. This is optional!
- Use a probe thermometer with a temperature alarm set to go off at 190 F. Make sure the probe thermometer is in one of the thickest parts of the meat and far away from the bone.
- Cook it at 400 F for the first hour for pork butts that are 6 pounds and over - under that only do it for a half hour.
- After the first round of cooking at 400 F, turn the heat down to 250 F and let it cook until it reaches 190 F.
- Remove from the oven and let it rest, covered with aluminum foil, for at least 30 minutes.
Step 5: The Waiting (cooking)

Step 6: Resting Your Pork


After your pork has hit 190 F, you need to pull it out of the oven and let it rest.
I like to cover it with aluminum foil and let it sit for at least 30 minutes. This time I did closer to 45 minutes.
Step 7: Pulling It


This is the best part. :D
If you've followed along with the pork butt cooking/resting rules, you're about to be in for a treat! The pork will honestly fall apart after resting. You can use a couple of forks or yours hands to break it up. The bark on it will be amazing - crunchy and chewy and wonderful.
If you've roasted one with a bone in it, the bone will come right out, too.
Step 8: Storing + Reheating

I highly suggest The Virtual Weber Bullet page over this topic - it's comprehensive and really useful!
For the best presentation (and to keep the meat the most moist, in my opinion) it's best to store the pork butt whole in the fridge, wrapped in aluminum foil. Then put it in a roasting pan (still wrapped in the foil) in a 300-350 F oven until it reaches 150 F+ internal temp. I just pop the probe in it and let it go.
I brought a pork butt and a half into the Instructables office to feed everyone, and reheated them that way. I let them get to 170 F because I wanted to make sure the fat and connective tissues got nice and soft again. :D
If you do shred the pork, it's always best to go with a low and slow approach in reheating it. Either spritz it with a little water and cover it in aluminum foil and pop it into a low oven, or microwave at 20-30% power in the microwave until warm. You can also store the pork in a little barbecue sauce or pan drippings to help it out.
You can also freeze the leftovers - I've only ever done this once, though! I froze it in a few servings with a little sauce and reheated it in a small covered pan with a little water.

Participated in the
BBQ Contest

Participated in the
Epilog Challenge V


