

Introduction: Build a Speaker for 25 Cents


after watching many useful tutorials of king of random,kipkay ,aeszok and other athours i decided to make my own.for this i collected the materials.but on my way of collecting materials i found a new concept of making a small speaker.i could not buy big neodimiyam magnets and so i took out very small magnets from toys and then tried and actually it worked.and it is under only 25 cents.yes its true.so lets get started.
dont forget to leave comments
Step 1: Things Needed

for this project you will need:
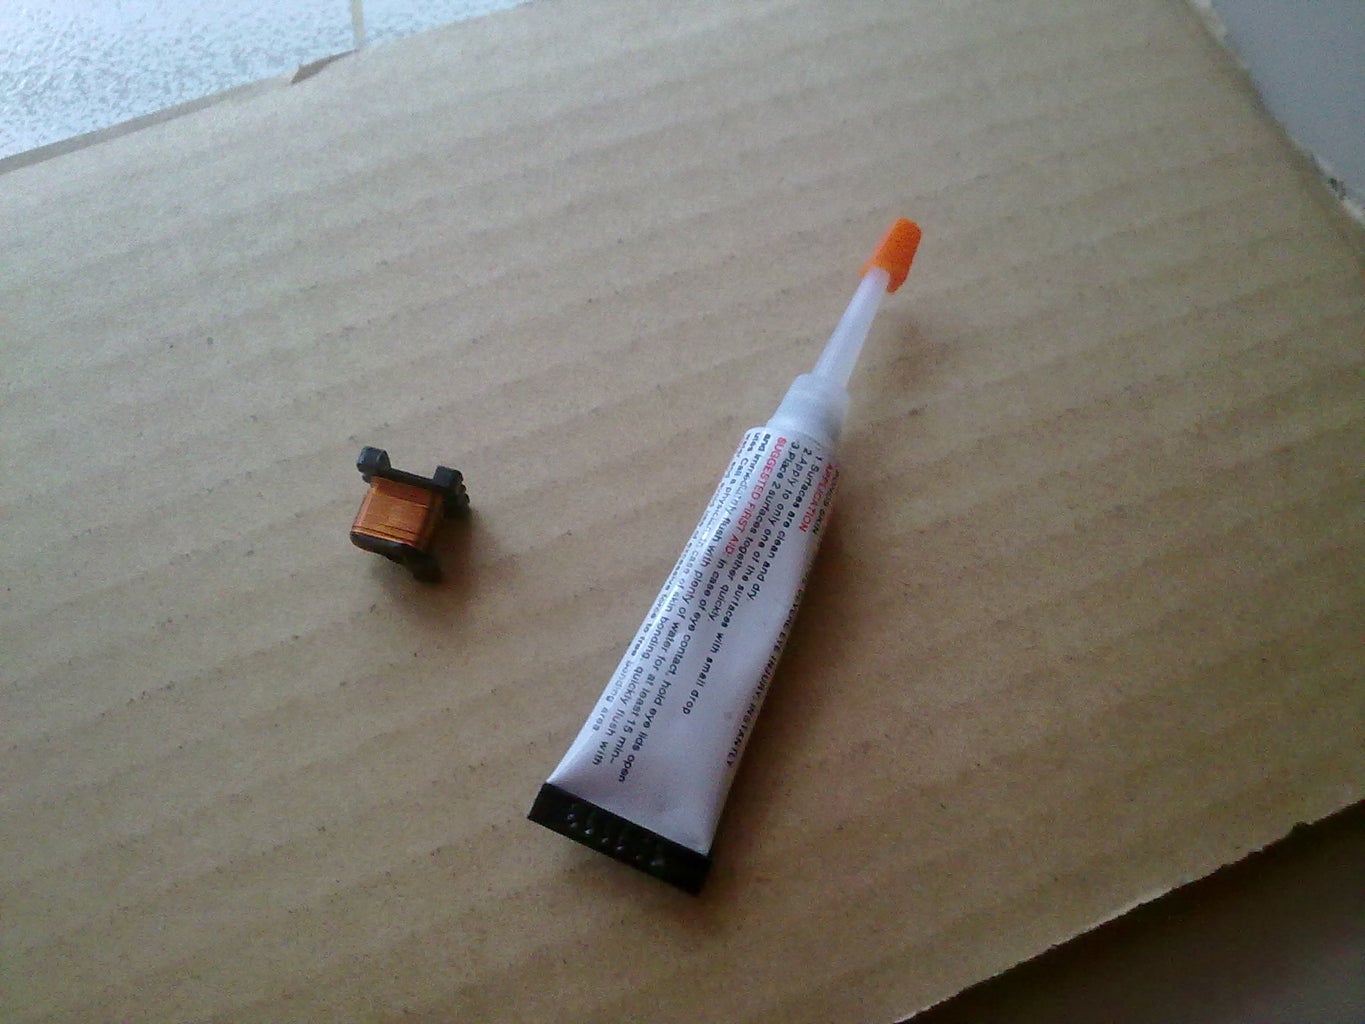
1)small neodymium magnets very small cilyndrical magnets:3. each costs 0.05 cents total 15 cents
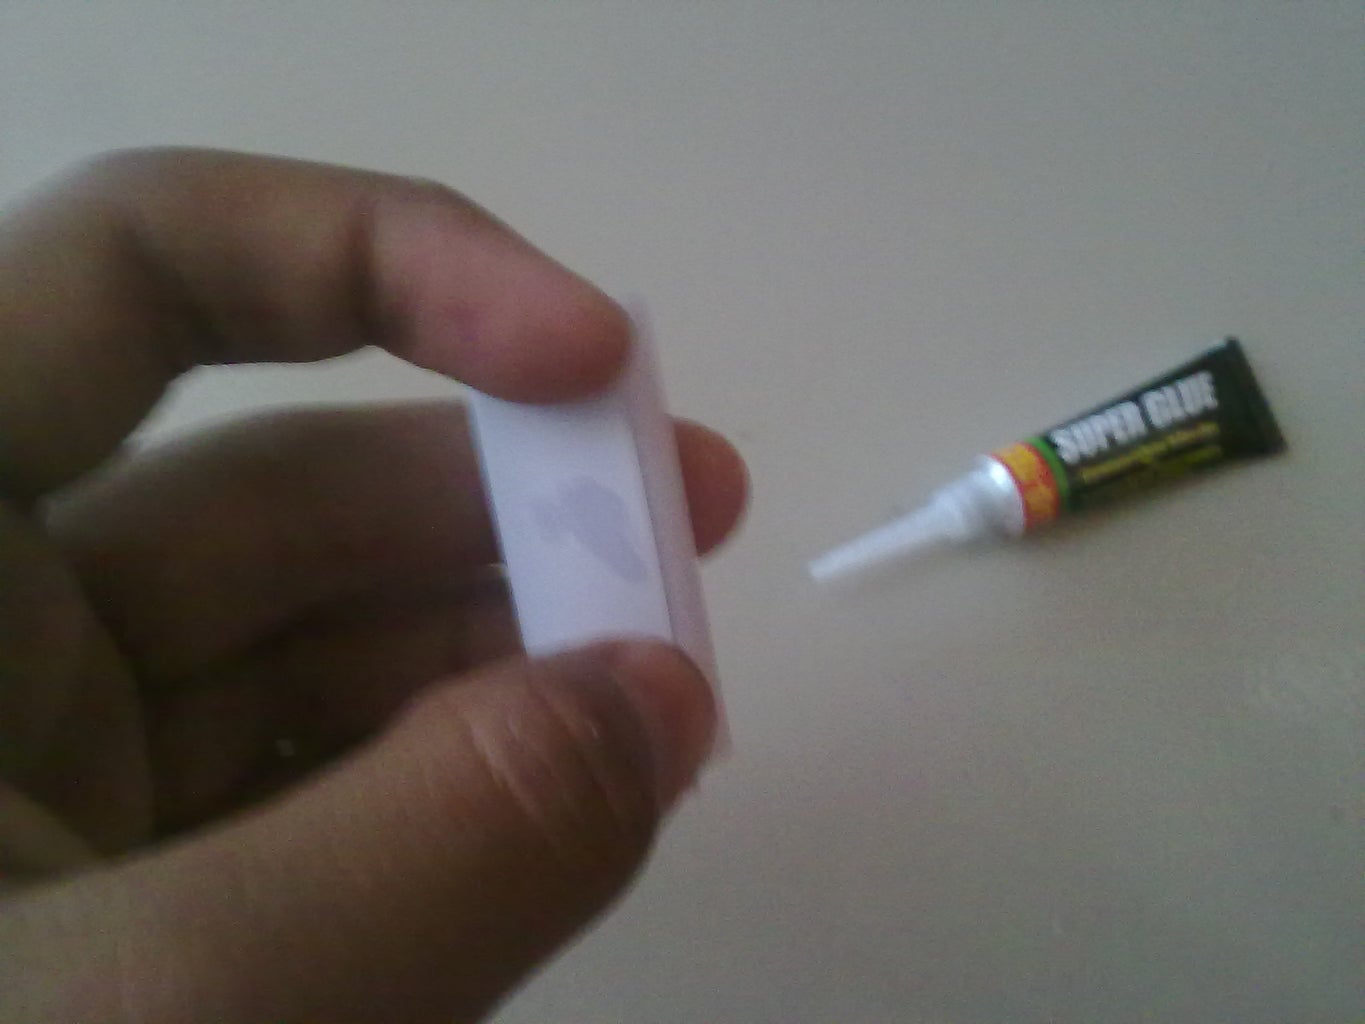
2)a sheet of paper. cost 0.02cents
3)a piece of cardboard .can be found from any junkyards
4)some magnetic wires.can be salvaged from any electronics parts
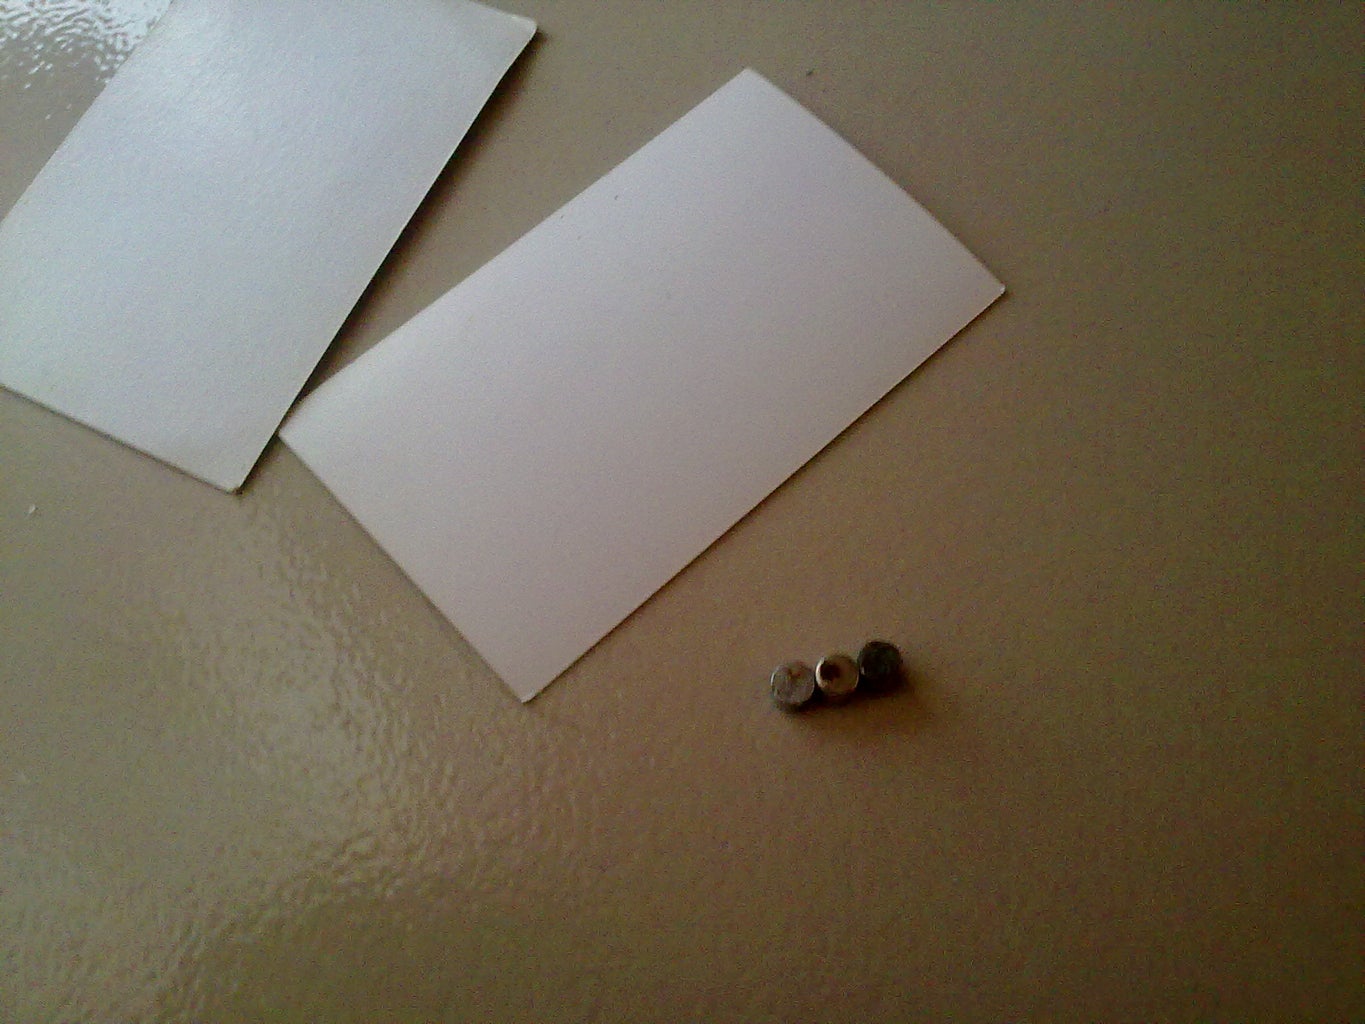
5)two buisness cards.can be found from any buisnessmen
thats all you need.it will cost you17cents.
Step 2: Making the Voice Coil Part 1


a speaker has 4 main parts:the voice coil,the magnet ,the diaphragm,and the suspention.when electricity is passed through the speaker the voice coil becomes magnetized and due to the position of magnet the coil attracts it and repels it thus creating vibrations which we receive as sound.so firstly lets make our voice coil.take a strip of paper and roll it to make a cilynder shape.the diametre of the mouth of the cilynder should be more than the diametre of the magnets.now glue it so that it does not not unfold.
Step 3: Make the Voice Coil Part 2


now take some magnetic wires and leaving some inches of wires on the end start coiling the wire on the paper cilynder.coil it 50 times.now again leaving some inches of wire on the end make a knot so that the wires do not unfold
Step 4: Make the Voice Coil Part 3

now burn of the insulation of the wires on the ends using lighter
Step 5: Make the Diaphragm of the Speaker


take the card board and cut a small piece of it.now attach the voice coil to it using glue
Step 6: Make the Base


now take the card board and cut a piece from it which is slightly bigger than the diaphragm.now using glue glue the magnets to its middle
Step 7: Make the Suspention Part 1


take the buiseness cards and fold them into a shape like W.
Step 8: Make the Suspention Part 2


now take the buisness cards and stick them with glue to the sides of the magnet on the base.
Step 9: Setting Up the Whole Thing


first take the voice coil and keep it on the magnet in such a manner that it gets fully covered.now glue the suspensions to the diaphram while keeping the voice coil on the magnet.now let it dry and your speaker is ready
Step 10: Jack It to Your Mobile or Laptop


take the jack of a head phone and stick it to the handmade speaker and enjoy the music.
Step 11: Making the Case


now as the main speaker is ready, lets decorate it.lets take the speaker and draw its outlines on the paper.the outline of the uncovered parts should be taken first.and then cut them out.
Step 12: Making the Cover


now stick those papers to the speaker one by one and then glue or tape them.
Step 13: Making the Cover

now take the outline of the top and bottom and stick them to the speaker and add some tape.now you are done.if you want you may colour it.
hope you liked my instructable.i am not english men and so i do not know english much.so any mistake help me correct it.give new creative ideas to do with the speaker.thanks for watching it.

Participated in the
Kit Contest

Participated in the
Epilog Challenge V


