

Introduction: Voltmeter With Arduino

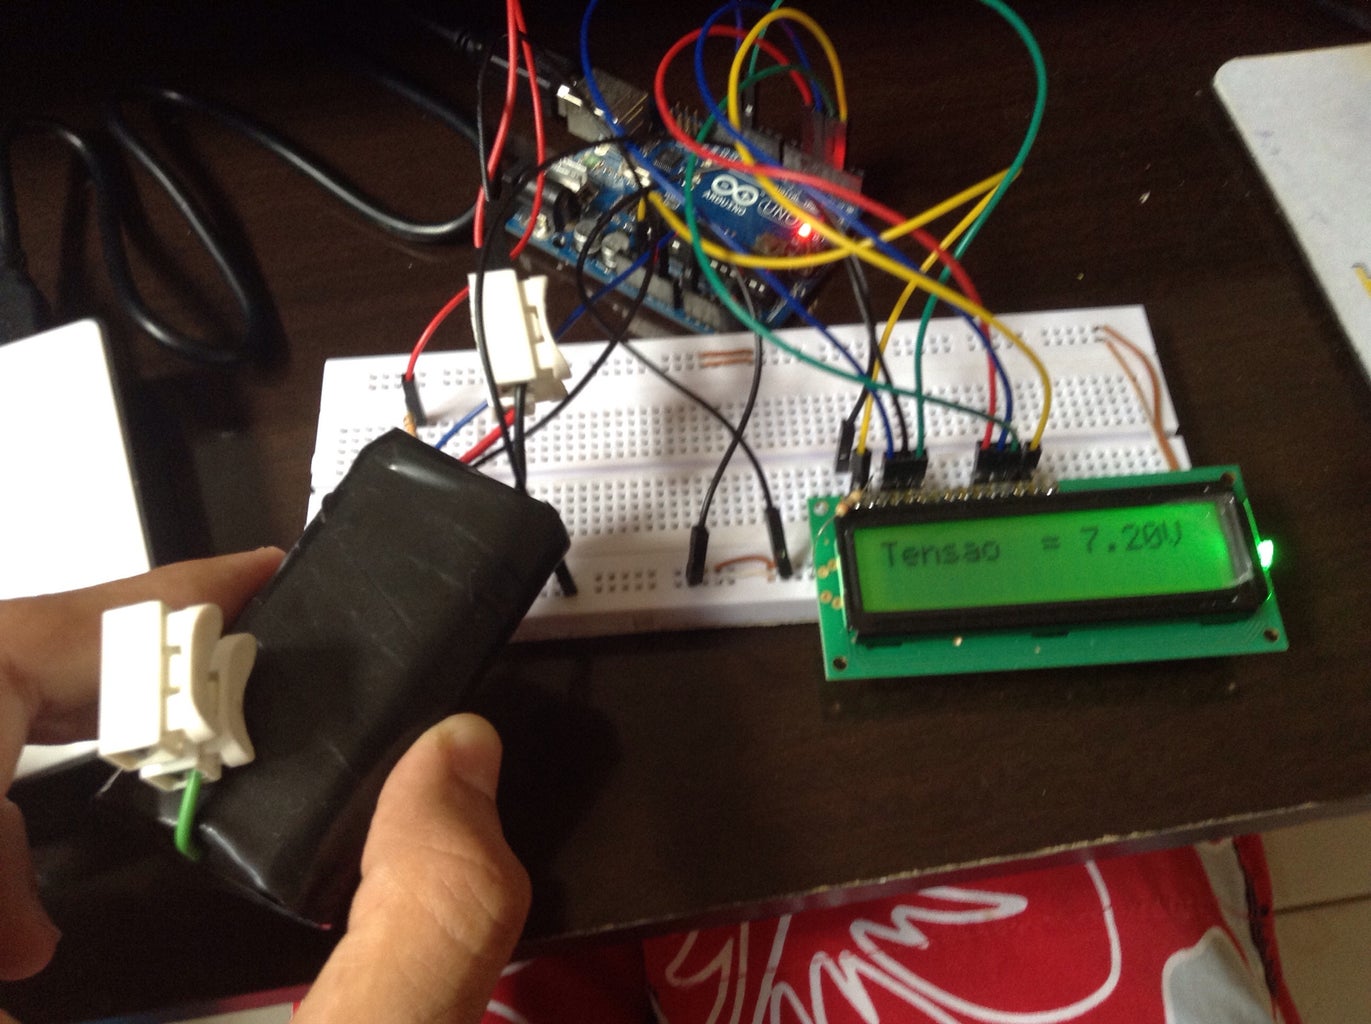
The idea comes, because I'm traveling and i forget my voltmeter in another home, and i'm really needing one. But my Arduino kit aways are with me and with a few minutes I made my voltmeter.
Necessary items:
-An arduino board
-Resistores -LCD 16x2(optionally)
- Wires
-Batteries to measure
- A little math
Step 1: Hardware: Voltage Divider


First thing to do is choose what the max voltage that the voltmeter will work.
Reading the AnalogReference on http://arduino.cc/en/Reference/AnalogReference .
We see a warning: "Don't use anything less than 0V or more than 5V for external reference voltage on the AREF pin!"
So we can't put directly an battery with more than 5v on analog pin of arduino, but with a little math and physics we "can" do this.
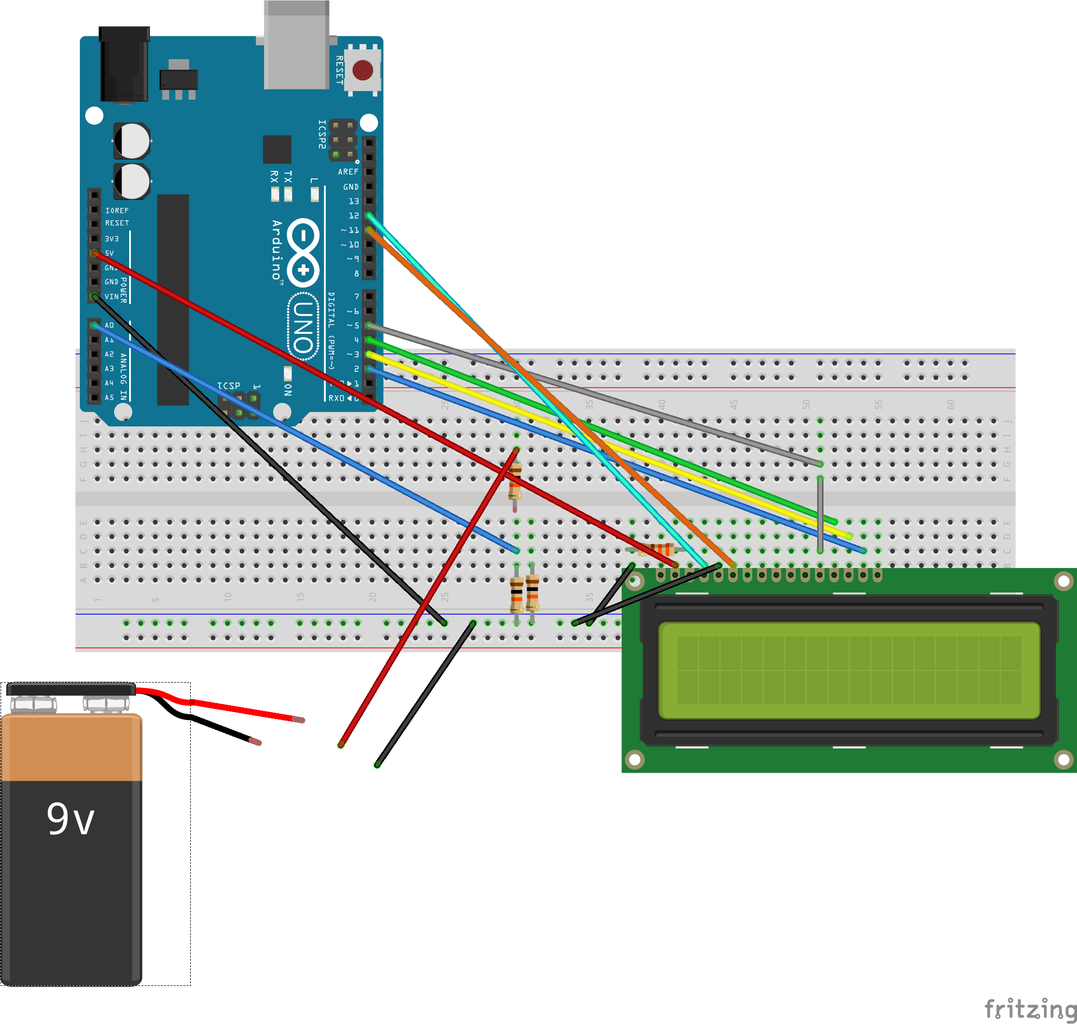
Using laws of resistors we will do a voltage divider
I decide to use 15v with max voltage to measure, and we need to put 5v max in the analog pin, to do this divisor, i put 2 resistors of 10k ohms in parallel to have 5k ohms and put another resistor with 10k ohms in series, and my divisor is done ! now, the voltage will be divided by 3, so in the math calculus on arduino, we will have to multiply to 3...
Be careful choosing the max, because if you pass of this, you can burn your arduino board.
Step 2: Programming and Set It Up
The only important part of the code is the :
float volt = ((sensor1 *5)/ 1023)*3;
look that the only thing i'm doing is changing the analog read to volts and multiplying by 3.
And is done! But warning is on your own risk!
The hardware have no protection to overcharge, reverse voltage and some little things, but is fully useful.


