

Introduction: Cleaning the Printer


THE PRINTER MUST BE LEFT CLEAN FOR THE NEXT USER
At the Pier 9 Workshop, a printer cleaning station is next to each printer. It’s stocked with water, alcohol, scrapers, microfiber cloths and gloves.
Steps for cleaning:
- Remove your part from the printer.
- Take it to the Print Cleaning Station.
- Put on PPE: gloves and glasses.
- Clean the printer.
- Clean the print tray
- Clean the print head block.
- Clean the part.
Remove the part from the printer
Be careful with the scrapers; they are sharp enough to cut you. Only use a scraper to remove a part - never use a knife or X-acto blade.
- Use a scraper to remove the part from the printer bed.
- Use a scraper to remove the thin layer of material (the carpet) left on the bed.
- Temporarily drop off the part at the cleaning station.
- You must clean the printer before cleaning the part.
Clean the print tray
Use a new, clean microfiber cloth.
- Spray water directly onto the cloth and not the machine.
- The cloth should be damp, but not dripping.
- Do not spray the printer bed or other components.
- Wipe the tray until it’s clean.
- Use an additional damp cloth if needed.

Run the Head Cleaning Wizard
Use the On-board Computer.
- Select Options > Wizards > Head Cleaning
- Follow the instructions to move the head into position.
- Ensure that the tray is empty and the door is closed.
- The tray must be empty to avoid a head collision.
- The tray will lower and the print head will move to the center of the machine.
- The wizard will ask if the heads are clean.
- The heads are not clean yet.
- Do not click yes.
Step 1: Clean the Print Head Block
- You must wear nitrile gloves while cleaning with alcohol or handling uncured resin.
- Only use new, clean microfiber cloths from the cleaning station.
- The print head can be damaged by improper cleaning methods or cleaning supplies.
- Carefully follow instructions to avoid damaging the equipment.
- Position the mirror and light for a clear view of the cleaning process.
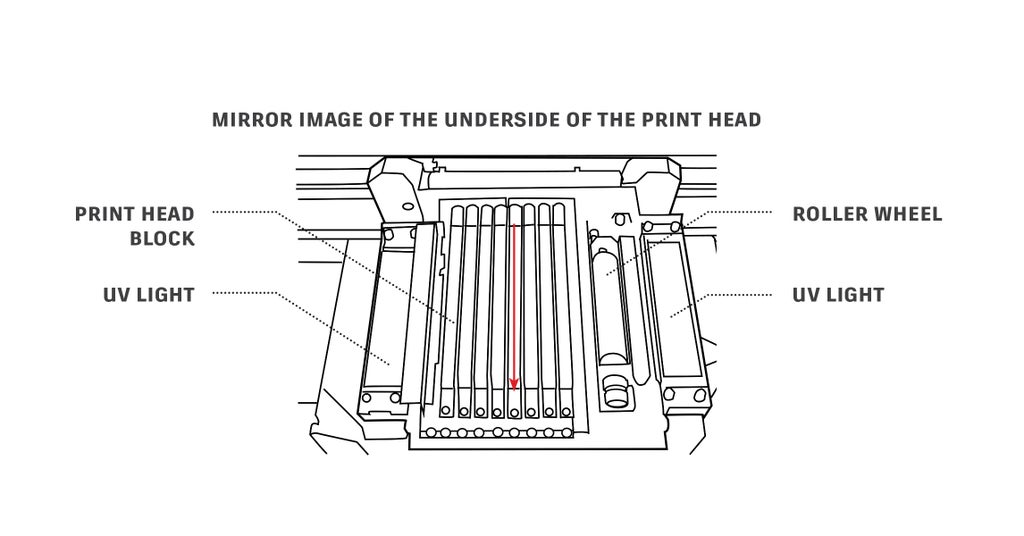
Clean the Print Head Block
- Fold a new, clean microfiber cloth into quarters.
- Moisten the cloth with alcohol from the cleaning tray.
- Wipe from the back to the front.
- Use firm pressure.
- See the red arrow in the illustration.
- Use a new section of the cloth for each wipe.
Note: If there is dried resin on the Print Head Block, see Shop Staff.
Clean the UV lights
- Use a new, clean microfiber cloth, moistened with alcohol and wipe the lens clean.
- If there is dried resin on the lens, see Shop Staff.
Clean the Roller Wheel
- Press a new, clean microfiber cloth, moistened with alcohol, against the roller.
- Roll the roller and slowly work the cloth forward.
Step 2: Final Printer Cleaning Steps
GET THE PRINTER READY FOR THE NEXT JOB BEFORE CLEANING YOUR PART.
- Remove all items from inside the printer.
- Place the mirror and light back into the cabinet.
- Deposit all microfiber cloths into the regular waste trash after use.
- Close the doors and lid.
- Erase your name from the black In Use job card.
Prep the computer and printer for the next user
- Within the Head Cleaning Wizard click Yes, now that the heads are clean.
- Switch to Objet Studio on the Design Computer.
- [scroll lock] [scroll lock] [enter]
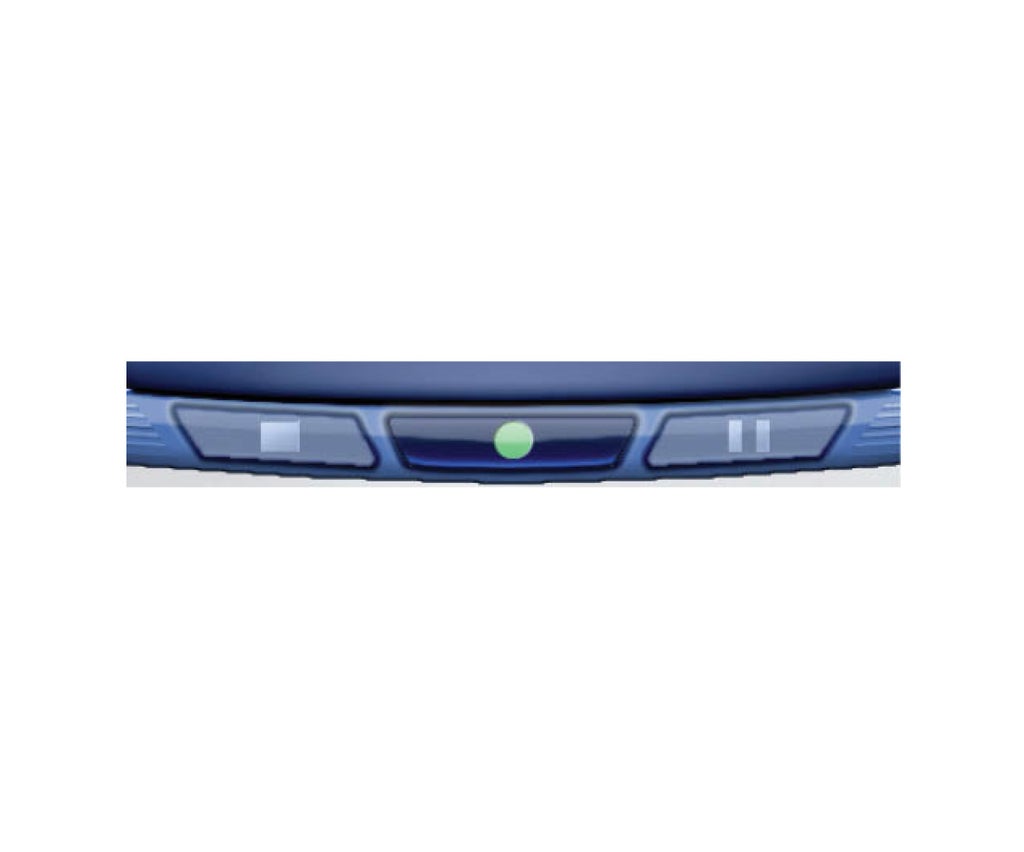
- Click the status button, and wait for it to turn green.


