

Introduction: Connecting Your Raspberry Pi to the Web


In this lesson, you will learn how to create a web page, gather data using the world wide web, and use APIs to post images to Tumblr and Twitter.
Step 1: Client and Server
In computing, client-server is a software model consisting of two parts: a client and a server. Both communicate over a computer network or together on the same computer. The client is a program or a computer with software that relies on making service requests to a server. The server is a computer program or a device that can accept these requests, process them, and return the requested information to the client. Sometimes it's tricky to figure out which is which when working with machines that do multiple tasks at once. Here are some characteristics to help you tell a client and a server apart.
Client characteristics:
- It is the first active
- Sends requests to the server
- It expects and receives responses from the server
- Usually interacts directly with end-users using any user interface such as graphical user interface
Server characteristics:
- It is initially passive
- It is listening, ready to respond to requests sent by clients
- when a request comes, replies with requested data to the clients
- End users typically do not interact directly with a server, but use a client.

A common example of a client and server relationship is a web browser (client) requesting and receiving web page files hosted on a web server.
Step 2: Create a Local Web Server
The Raspberry Pi can become a web server by installing and running a server application. Two popular open source server applications are: NGINX (pronounced engine x) and Apache. In this lesson, you will use Apache because, as of this writing, it’s more heavily documented. This makes seeking answers online easier as you learn.
Your Raspberry Pi will host a website that any device on the same network can access. Let's get started!
Step 3: Install Apache
Install the apache2 package. The -y flag answers the pre-install security question for you.
sudo apt-get install apache2 -y
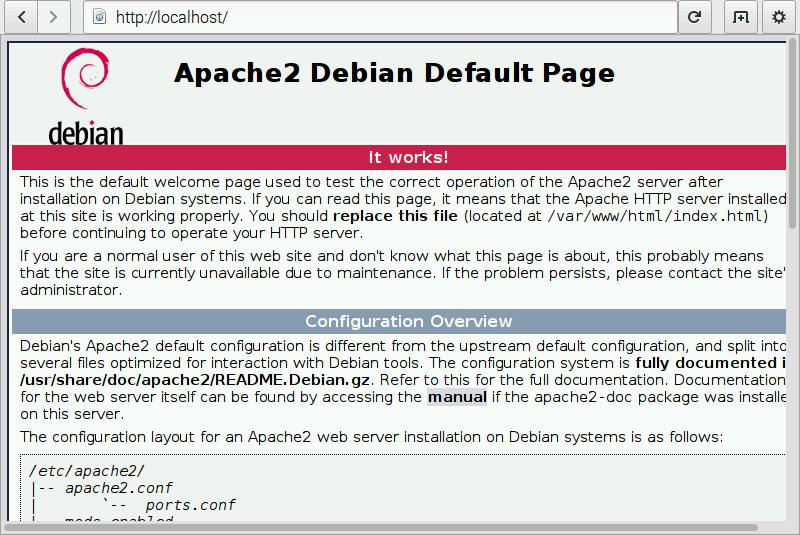
Apache comes with a test HTML file that generates a placeholder web page to test the installation with. This test HTML file comes in Apache's root directory. By default, Apache is set to look in this directory for web documents to create content within a web browser. To take a look at this test page and confirm Apache did indeed install correctly pull up it up in your web browser by typing in this URL address:
If Apache installed correctly, you will see the Apache test web page in the browser:
Find Your Raspberry Pi's IP Address
You can use the localhost address to access the web page while on the Raspberry Pi. To access the web page from another computer you need your Raspberry Pi’s IP address. To find the IP address type in LXTerminal:
ifconfig
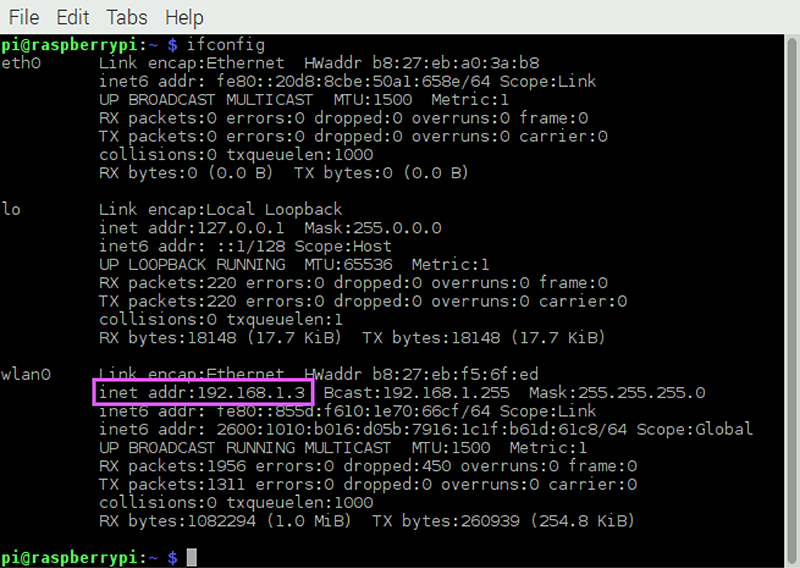
You can also find it on the desktop if you hover the cursor over the WiFi reception symbol.

Step 4: Make a Static Web Page
Your Raspberry Pi now can host a web page and all the content that will be published on it. There are two basic kinds of web pages: static and dynamic. A static page has content that does not change. A dynamic page is able to display changing data such as sensor readings or the changing time and date.
Let's start with a static page. To create one you need to use a language called HTML. When you go to a web page the first thing you see displayed is probably an index.html page. This page is the default page a browser shows if another page is not specified. By default, Apache looks for the index.html file here:
/var/www/html
This is called the document root, and it's a hidden folder. It's designated for holding web pages. Go there and take a look around:
cd /var/www/html
ls
You will see the default test index.html file listed. If you want to save the default file, rename it to something like defaultIndex.html using the mv command.
sudo mv index.html defaultIndex.html
if you do not want to save it, remove the file by using the rm command:
sudo rm index.html
Now, you can create and start editing your own index.html file:
sudo nano index.html
Remember to use sudo, the www and html directories are owned by root so you need to act as root to create, edit, and manipulate any files living in those directories.
Basic HTML Page
HTML is a language that goes deep. You can do a lot with it. If you are interested in finding out more check out W3Schools' website where you can find many tutorials on how to use HTML to build a website. We will start with a simple HTML page.
First, tell the browser what version of HTML you are using. This document is declared as an HTML5 doc:
<!DOCTYPE html>
Start with the html and body tags:
<html>

<body>
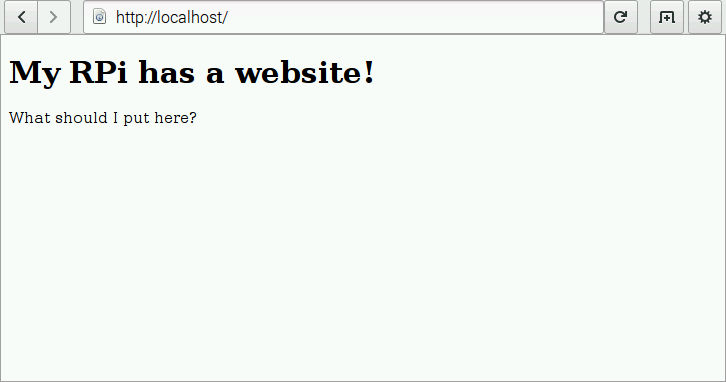
The bulk of your content goes next, between the body tags. Make the first line a heading with the h1 tag. The number after the "h" defines the importance of the heading which affects the size of the font. Use the p tag to define a paragraph:
<h1>My Raspberry Pi has a website!</h1>
<p>What should I put here?</p>
Finish the page by closing the body and html and tags:
</body>

</html>
Save the document with the suffix .html and visit localhost in your browser. You will see your web page!
What should you put on the web page? Let's put an image up, or better yet, the animateMe.gif! In order for any asset to be displayed on this web page it must be put it in Apache's document root. You should copy and paste it so it stays in your boof/fotos directory too. To copy and paste a file in command-line use the cp command. First, cd to your home directory:
cd ~
Copy and paste the animateMe.gif file:
sudo cp boof/fotos/animateMe.gif /var/www/html
Go back to the html directory:
cd /var/www/html
Reopen the index.html file so you can add the image:
sudo nano index.html
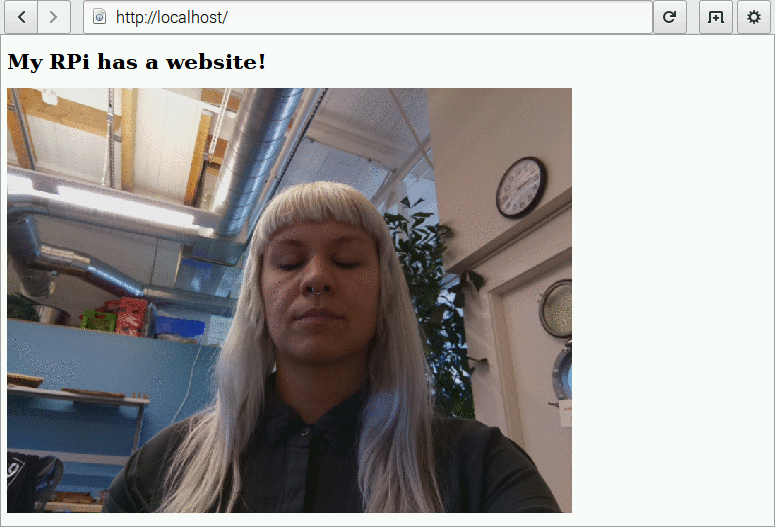
To define and embed an image on an HTML page use the img tag. Put the following line between the heading and paragraph.
<p><img src="animateMe.gif"></p>
Open the page in the browser and it will look like this except with your own stylish selfie GIF.
Step 5: Add Some Style
The page is looking a little bland. No color and no style. This is where CSS comes in. It is a language that works hand-in-hand with HTML to make a web page more attractive and visually creative. You will only touch upon here but if you want to learn more head over the W3schools to learn more.
As an example, let’s change the color of the background by adding CSS to your HTML file. There are several ways to style your web page using CSS. For this class, you will use the style tags to embed CSS right into your HTML file.
Put the following lines in between the first html and body tags at the top of your HTML page:
body {background-color: powderblue;} tags. It will look like this:
<style>
body {background-color: powderblue;}
</style>
Step 6: Install PHP
Instead of a static page, you can make a dynamic one that is capable of changing without you manually uploading files to it. A popular way of doing this is to use a scripting language called PHP. To use PHP on the Raspberry Pi you need to install it first with module package for Apache:
sudo apt-get install libapache2-mod-php5 php5 -y
Step 7: Make a Dynamic Web Page
Combine PHP with HTML
As long as PHP code is contained within tags you can include it in an HTML file structure. As an example, combine your current HTML and PHP scripts and make the text larger by using HTML tags.
Let's include a simple PHP script that displays the date and time. Paste the following anywhere between the <body> tags:
<?php
echo date('Y-m-d H:i:s');
?>
Save the file with Ctrl + o but change the extension from .html to .php, which will save a new file. So as to not confuse the browser, remove the old .html version:
sudo rm index.html
Refresh localhost in your web browser. The output will look like this:
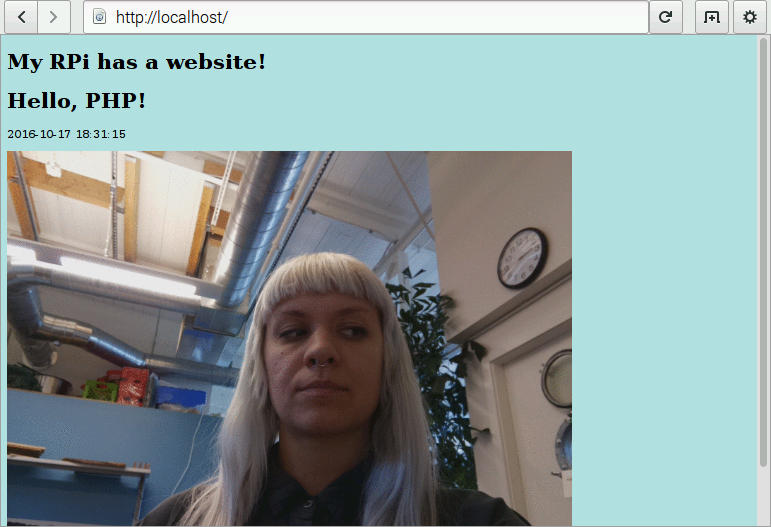
Ok, so what is the difference? It looks like a regular HTML page doesn't it? Refresh the page and watch the magic. The magic being the time will change! That's PHP and its built-in date() function working for you to make a dynamic web page.
Step 8: Create a Tumblr API Client
The Raspberry Pi can request and get information from other software applications online through an API (Application Programming Interface). An API makes it easy for something like the Raspberry Pi to cut through all the data of a website to grab just the useful stuff. Have your Raspberry Pi talk to Tumblr, Twitter, and weather.com to tweet, post images, and display weather forecasts.
Raspberry Pi and Tumblr
The following exercise creates a conversation between your Raspberry Pi and Tumblr. As the client, your Raspberry Pi will be asking Tumblr for data snippets so it can upload images to Tumblr’s remote server, resulting in the images being posted to a Tumblr account. To get an Raspberry Pi working with an API there will most likely already be a library out there for you to use. For Tumblr there is Pytumblr. A client is created in a Python program using a built-in function created in Pytumblr. This function uses four authorization codes generated by Tumblr:
- consumer key
- consumer secret
- token key
- token secret
Before you can use Tumblr’s API you must get four these keys (similar to passwords). To get them follow these steps:
- Create a free Tumblr account and log in.
- Register an application. You only need to give basic information such as a title (try "My Raspberry Pi"), description, email, and website (use this one if you don't have one). After registration, you will get a consumer key and consumer secret. Copy and paste them somewhere safe, like a text file or email. To access them again go to your Tumblr account page, choose Settings in the Account menu, and click on Apps.
- Log into the developer console using your key and secret authorization codes. Click allow when asked if you want it to post on your behalf.
- Once logged into the developer console, you will see example code in several different languages. Either click the Python tab and copy the OAuth block, or in the top menu click Show Keys to see the token key and token secret codes along with the two codes you already have.
Let's put these codes to work and make a Python program that posts the animateMe.gif to your new Tumblr account.
First install Pytumblr:
sudo apt-get update
sudo pip install pytumblr
From your home directory, cd into the boof folder and create a Python file:
cd boof
Create your file using IDLE's editor to make it easier to cut and paste your very long authorization codes. Put this in your testPytumblr.py file, updating the four keys and your username:
import pytumblr

# Authenticates via OAuth, copy from https://api.tumblr.com/console/calls/user/info
client = pytumblr.TumblrRestClient(
  'your_consumer_key',
  'your_consumer_secret',
  'your_token',
  'your_token_secret'
)

client.create_photo(
'your_account_username',
state="published”,
tags=[“raspberrypi”, “picamera”],
data=“fotos/animateMe.gif"
)
print("uploaded")
The program tags the uploaded photo for you with "raspberrypi" and "picamera". If you wish, you may remove, substitute, or add to these tags. These are stored in a variable called tags used in client.create_photo().
Press F5 to run the program. There will be an error... but you have already installed Pytumblr so why is Python saying it can't find the module? This is because Pytumblr doesn't support Python 3, it only works in Python 2*. Open the Python 2 IDLE editor and cut and paste your code, overwrite the Python 3 program and then run it. When it has uploaded the GIF, "uploaded" will be printed in the Python shell window.
This is the exciting part! Go to your Tumblr page and check out the GIF! Swap "published" in your program to "draft" if you wish to create draft posts instead.
*After this class was published, another github user has forked the original, adding support for Python 3 for certain commands.
If the post doesn't appear, double check that you correctly entered your four keys and Tumblr username, and that your Pi's internet connection is active. You can also run your script from the command line using Python 2 (cd to your folder boof if you're not there already):
python testPytumblr.py
Attachments

Step 9: Take a Screenshot of Tumblr And/or Website
Create a website to display a GIF to it or create a Tumblr account and upload a GIF. Take a screenshot of the one you choose and share it!


