

Introduction: Rigging Kayak Anchor Trolley


Rigging a kayak for fishing, paddle out and need to stay put.
I didn't want to drill into my new yak yet so clip on anchor trolley. The trolley is removable/ reconfigure to put the anchor where it is needed.
Step 1: Parts
Simple parts, I found mostly everything but the anchor in my junk box. Buying everything new still under $15
Rope/Paracord (who doesn't have some about)
2 spring carabiners (got mine free)
1 figure 9 carabiner (got a bigger one than what i had)
1 split ring/ other metal ring (keyring works)
1 Anchor/weight/brick (otherwise this is pointless)
Step 2: Trolley Loop
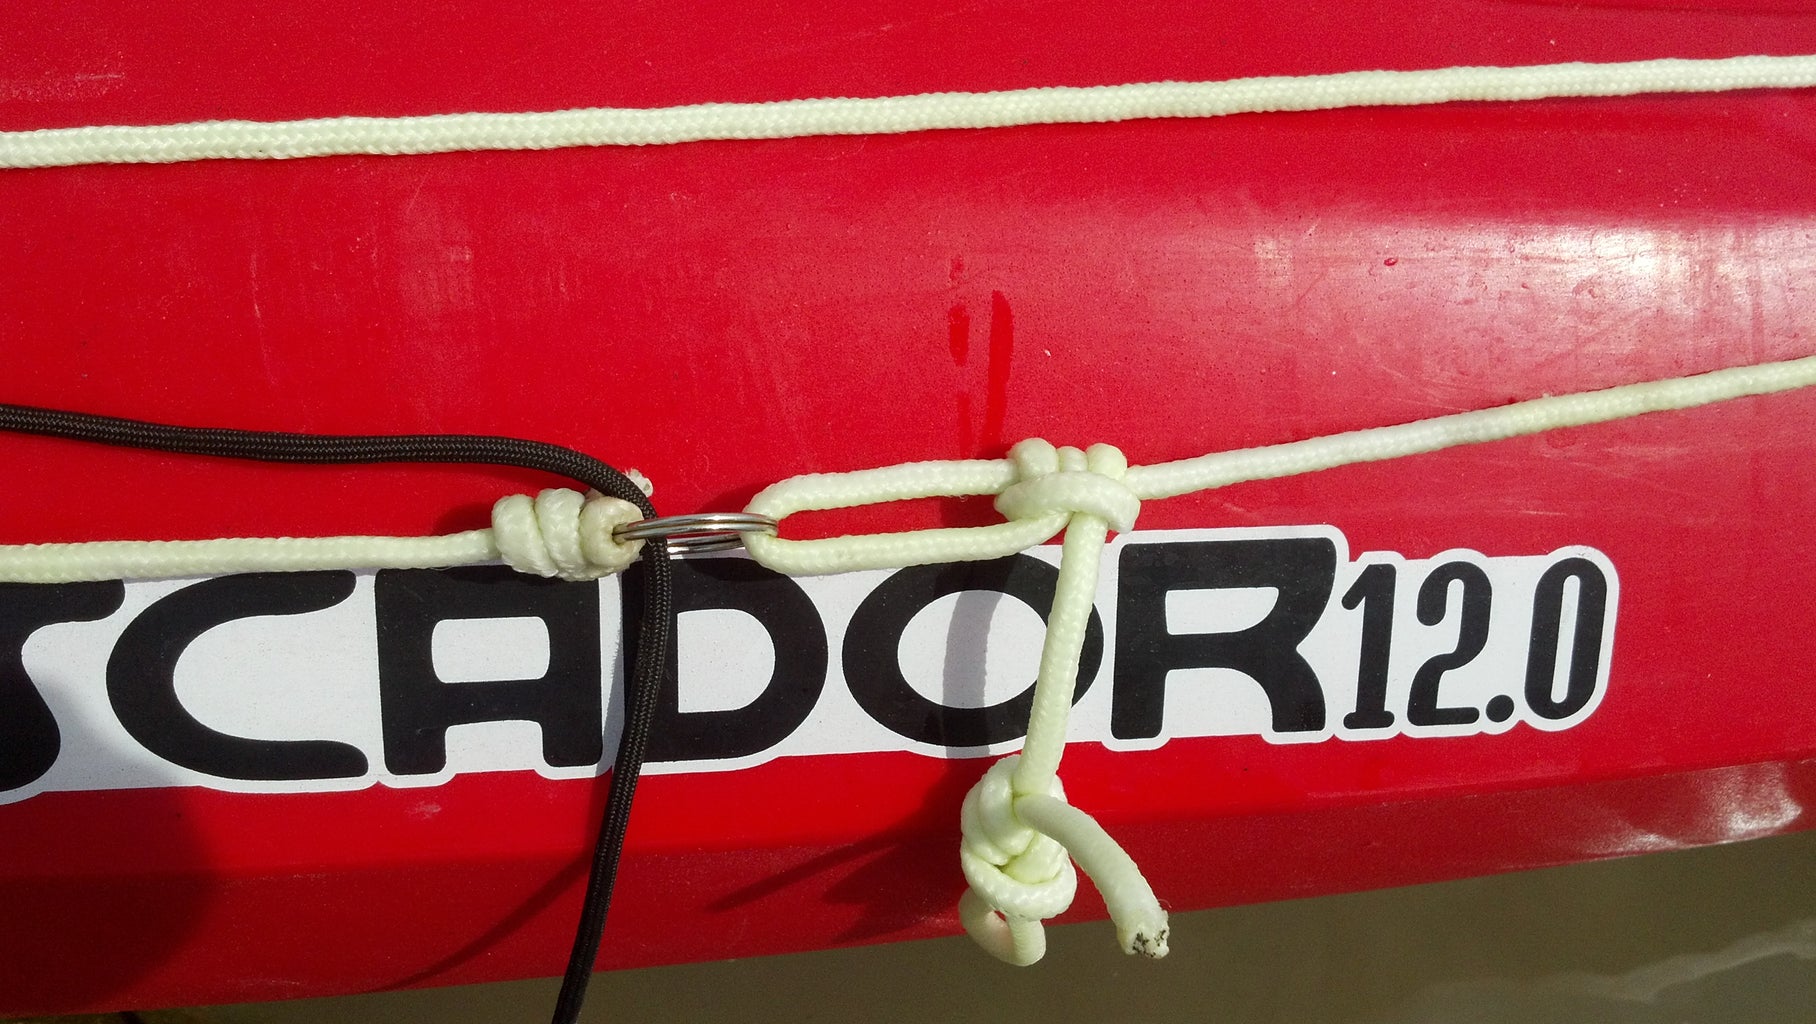
Start by making a loop in about 12' of paracord attaching at the ring. I used the day-glow yellow line for the trolley.
The ring is where the anchor line passes through. To keep tension one end is static with a fixed hitch and the other is an adjustable taut line hitch.
Step 3: Front/Stern Loop Ends


Front Carabiner hold the end of the anchor line and the trolley. the carabiners act as pulleys to adjust where the anchor is positioned.
The rear carabiner is simple.
Step 4: Setting the Anchor Depth
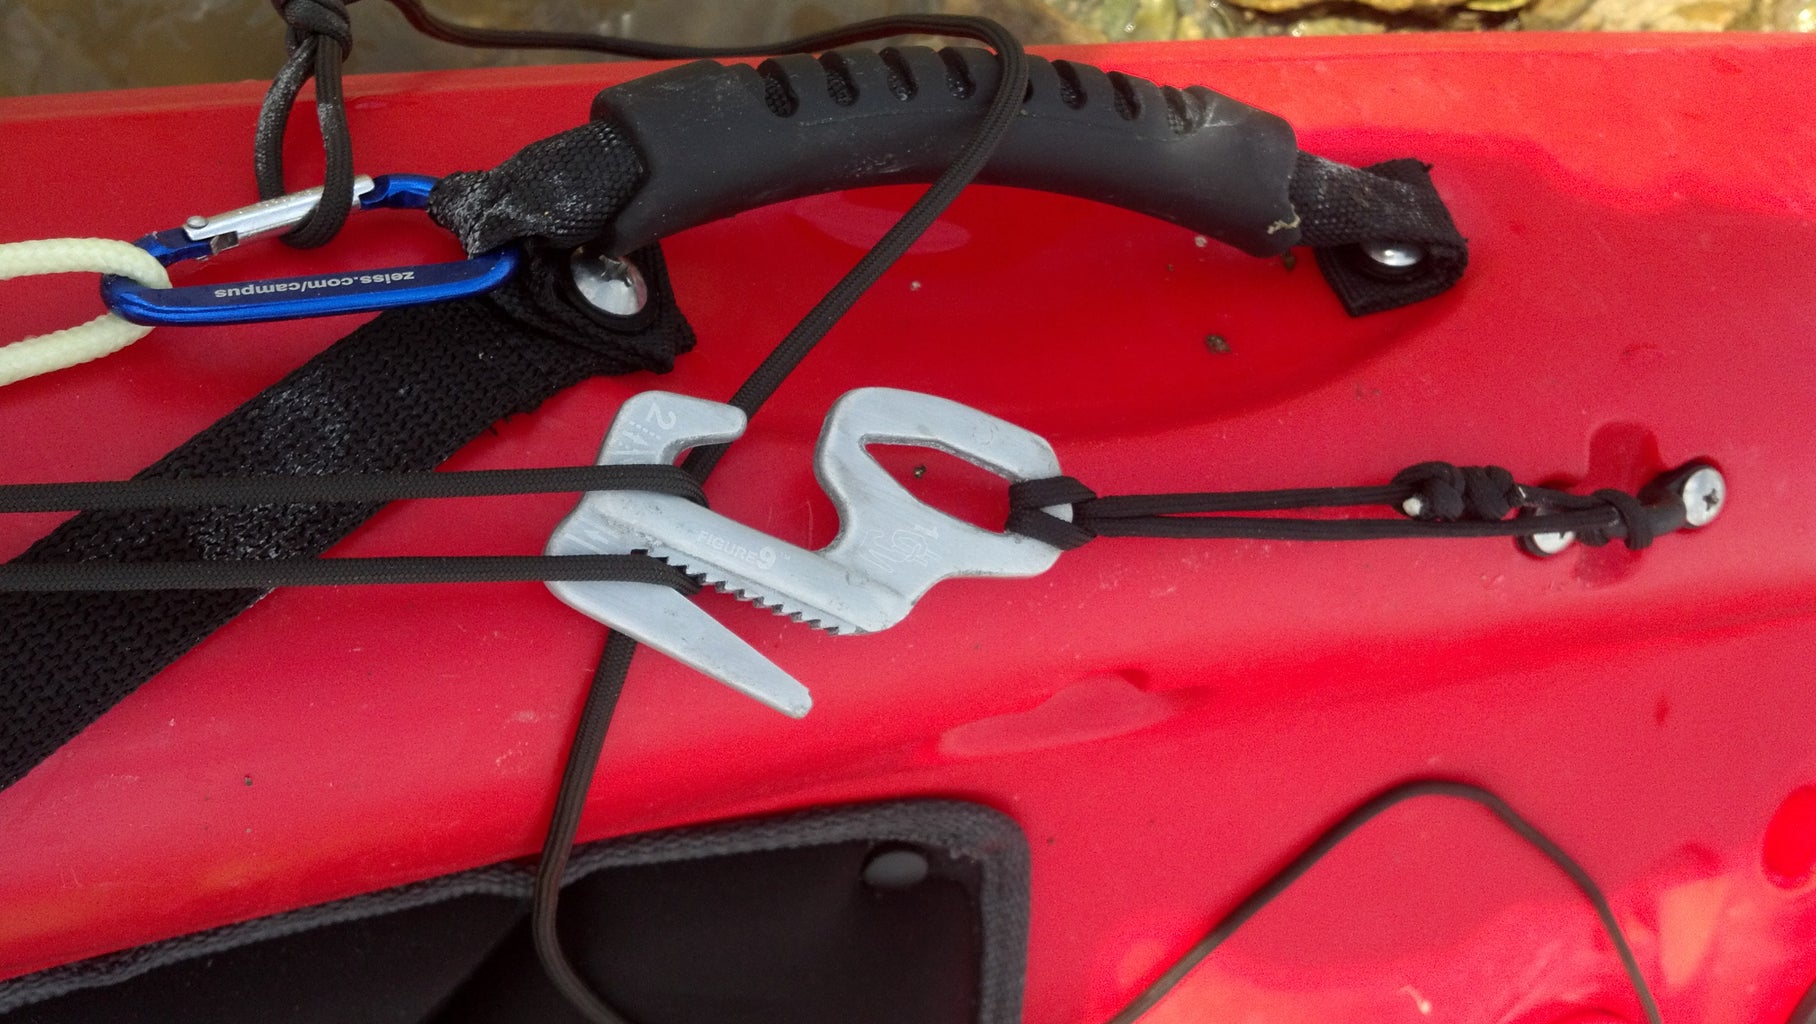
The Figure 9 carabiner is used to adjust the depth and lock off the line. This is a replacement rigging to using a traditional cleat.
the figure 9 can also act as a pulley to raise the anchor. other knot-less devices can be used or fast hitches.
Step 5: Go Fishing

Get out and catch some dinner...
Success!!!!

Participated in the
Great Outdoors Contest


