

Introduction: 10 $ Portable Arduino Weather Station (AWS)


Recently my college had a small science exhibition .
So i was requested by my teacher to present a project in the college to teach young students about electronics so basically i had two days to make some thing.
As the climatic conditions over here are varies a lot and recently the temperature is somewhere around 34-40 degree Celsius. So i decided to make a weather station.
Thanks for your support it won the sensor competition .
So what does a weather station do ?
A weather station is a device that collects data related to the weather and environment using many different sensors
Sensors like
- Wind
- Humidity
- Rain
- Temperature
- Pressure
- Altitude
The aim is to make a portable weather station
Features it should have
- Temperature
- Humidity
- Pressure
- Altitude
Step 1: Ingredients: Time to Buy Stuff


DHT22So here is the thing we will need for the project
I actually started the project on My UNO but then i decide to switch to compact solution.
I had the nano with me at that moment so had to go with it , would love to use micro,because it is the smallest.
Anyways leaving those things,talking about budget and parts here is the list .
- DHT22 Temperature and humidity sensor ->3.00$
- BMP180 pressure sensor (BMP280 is more cheaper but expensive in my locality ) >2.00$
- Arduino Nano >1.89%
- Soldering
- LCD Display with I2C Driver >3.0$
- Veroboard
- Female header
For tool end you will need
- Soldering Iron
- Nose Plier
- Wires
And Also some time
Indians can buy stuffs from http://www.dnatechindia.com/
links below
Step 2: Temperature and Humidity- DHT22


Measuring the temperature can be made using different sensor.
The popular ones are DHT22,DHT11,SHT1x
So basically, lets understand how this sensor are different from each other and why i have used DHT22 in the first place.
AM2302 output calibrated digital signal. It applys exclusive digital-signal-collecting-technique and humidity sensing technology, assuring its reliability and stability. Its sensing elements is connected with 8-bit single-chip computer.
Every sensor of this model is temperature compensated and calibrated in accurate calibration chamber and the calibration-coefficient is saved in type of programme in OTP memory, when the sensor is detecting, it will cite coefficientfrommemory. Smallsize&lowconsumption&longtransmissiondistance(100m)enableAM2302tobesuitedinallkindsof harshapplicationoccasions.Single-rowpackagedwithfourpins,makingtheconnectionveryconvenient.
Lets see some pros and cons of the three.
DHT11
Pros:No soldering needed. Cheapest among three. Get stable output quickly. Transmission over 20m. Strong interference.
Cons:Library! No resolution option. Errors: Temp+/-2°C; Humid+/-5%RH. Inadequate measuring range(0-50°C). Applications:Gardening, Agriculture.
DHT22
Pros:No soldering needed. Adding a few bucks to DHT11 and get an upgrade. Smooth curve. Smallest error. Large range. Transmission over 20m. Strong interference.
Cons:Can be more sensitive. Slow temperature tracking. Library needed. Applications:Environmental Monitoring. SHT1x
Pros:No soldering. Smooth curve. Small error. Quick response. Low power consumption. Auto sleep. Extraordinary long term stability and consistency.
Cons:Two digital interfaces. Humidity error. Same measuring range with DHT11. Library needed. Applications:Heavy duties and longtime installations. Following are three relatively cheap choices.
Connection
Vcc to 5V or 3.3V
Gnd to Gnd
Data to pin 2 of arduino
Step 3: Barometer and Pressure Sensor- BMP180


The bmp180 a barometric pressure sensor with an I2C (“Wire”) interface.
Barometric pressure sensors measure the absolute pressure of the air around them. This pressure varies with both the weather and altitude.
this bmp180 module came with a 3.3 v regulator 662k which i blew up to some stupidity so i attached a wire to by pass the whole vcc directly to the chip.
Note : On Doing so i restrict myself from using only 3.3 v ,using voltages above it will ruin the device.
Other model may not have the 662k voltage regulator. so check thoroughly .
Ok coming back lets connect the sensor to the arduino .
The sensor connects to the i2c bus of the arduino which of nano and Uno are
SDA==>A4
SCL==>A5
VCC==>3.3V
GND ==> GND
Lets talk about pressure a little and how does pressure measure altitude and temperature.
The atmospheric pressure at any position is not constant.The complex interaction between the earth’s spin, axis tilt, and many other factors result in moving areas of higher and lower pressure, which in turn cause the variations in weather we see every day. By watching for changes in pressure, you can predict short-term changes in the weather.
For example, dropping pressure usually means wet weather or a storm is approaching (a low-pressure system is moving in). Rising pressure usually means that clear weather is approaching (a high-pressure system is moving through).
Atmospheric pressure also varies with altitude. The absolute pressure in Mt .everest base camp (5,400 )is lower than Delhi(216)
Since Abosolute pressure is difficult to directly compare pressure measurements from one location to another.we use the relative pressure .that is sea level pressure.
Measuring altitude
The average pressure of the atmosphere at sea level is 1013.25 hPa (or mbar). This drops off to zero as you climb towards the vacuum of space. Because the curve of this drop-off is well understood, you can compute the altitude difference between two pressure measurements (p and p0) by using this equation:
alti=44330*[1-(p/p0)^(1/5.255)]
If you use sea level pressure (1013.25 hPa) as the baseline pressure (p0), the output of the equation will be your current altitude above sea level.
Precautions
Give it air: Remember that the BMP180 needs access to ambient air to measure its pressure, so don’t put it in a sealed case. Providing a small vent hole should be adequate.
But not too much air: On the other hand, exposure to fast-moving air or wind can cause momentary pressure variations that will affect your readings. Shield the device from strong air currents.
Keep it cool: Because an accurate temperature reading is needed to measure the pressure, try not to expose the device to rapid temperature changes, and keep it away from nearby hot parts and other heat sources.
Keep it dry: The BMP180 is sensitive to moisture. Don’t submerge it or allow it to contact liquid water.
Don’t blind it: Surprisingly, the silicon within the BMP180 is sensitive to light, which can enter the device through the hole on the top of the chip. For maximum accuracy, shield the chip from ambient light.
Step 4: Making the Circuit

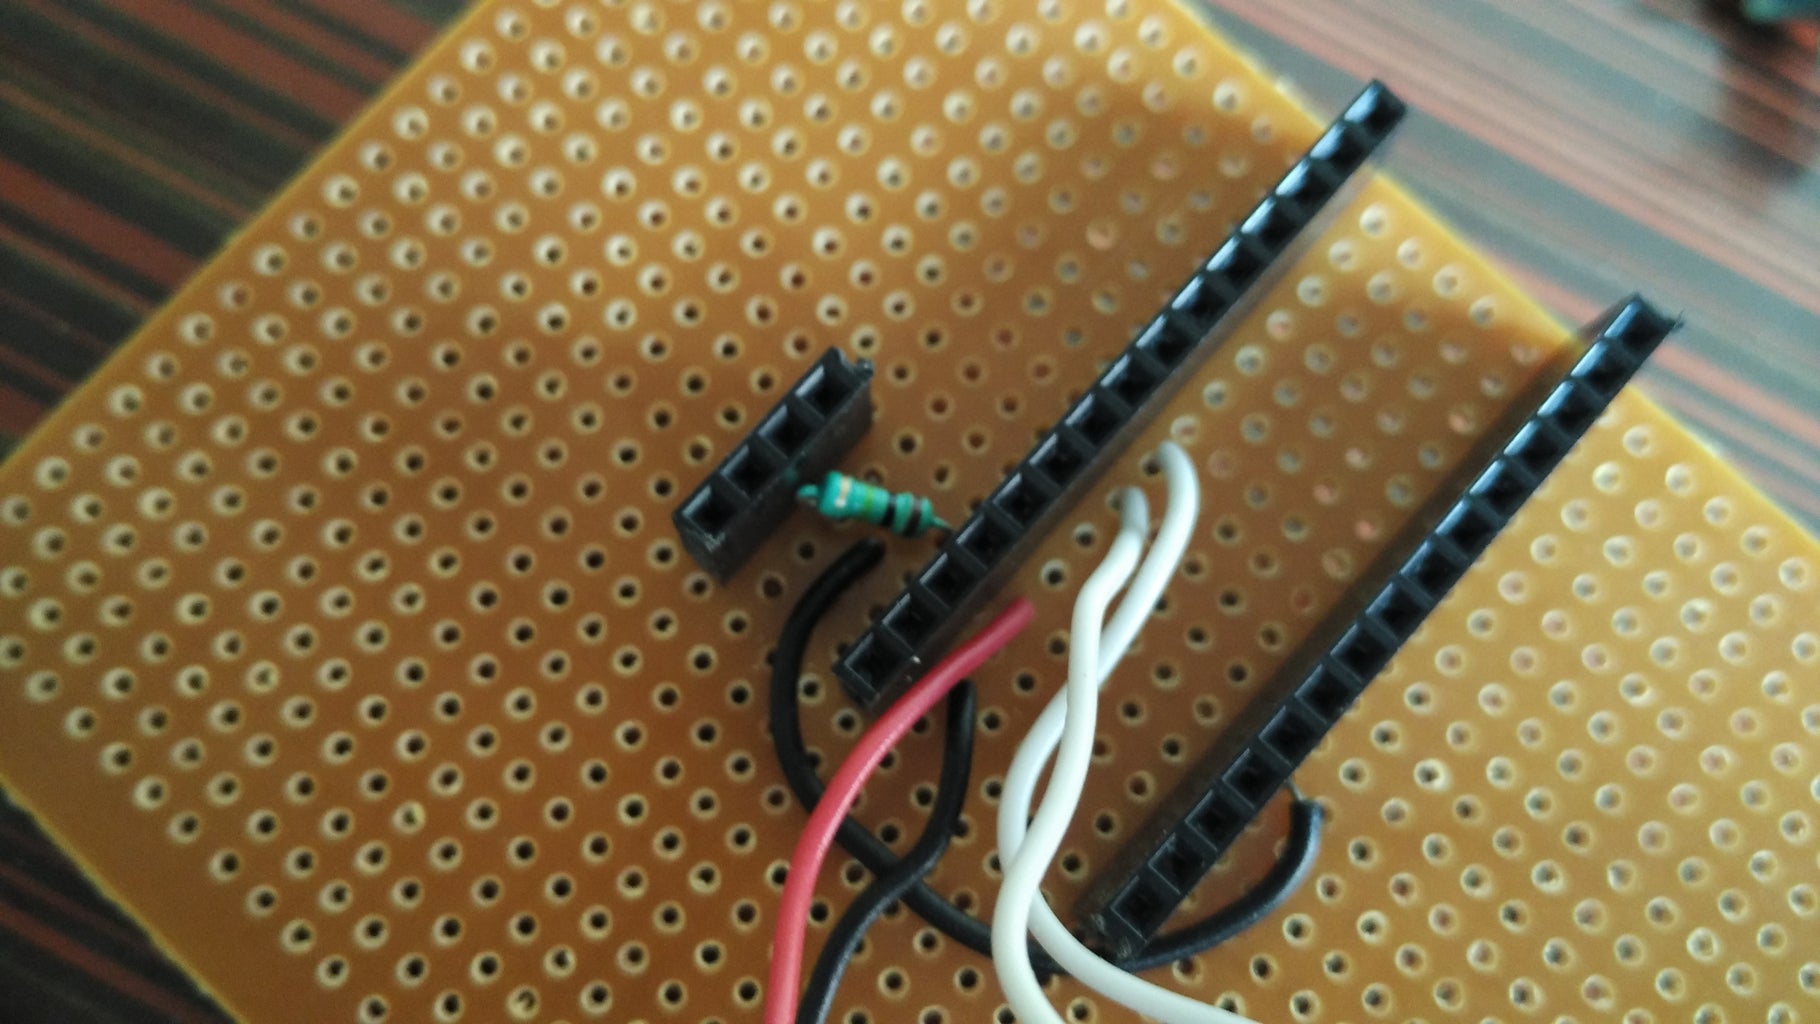

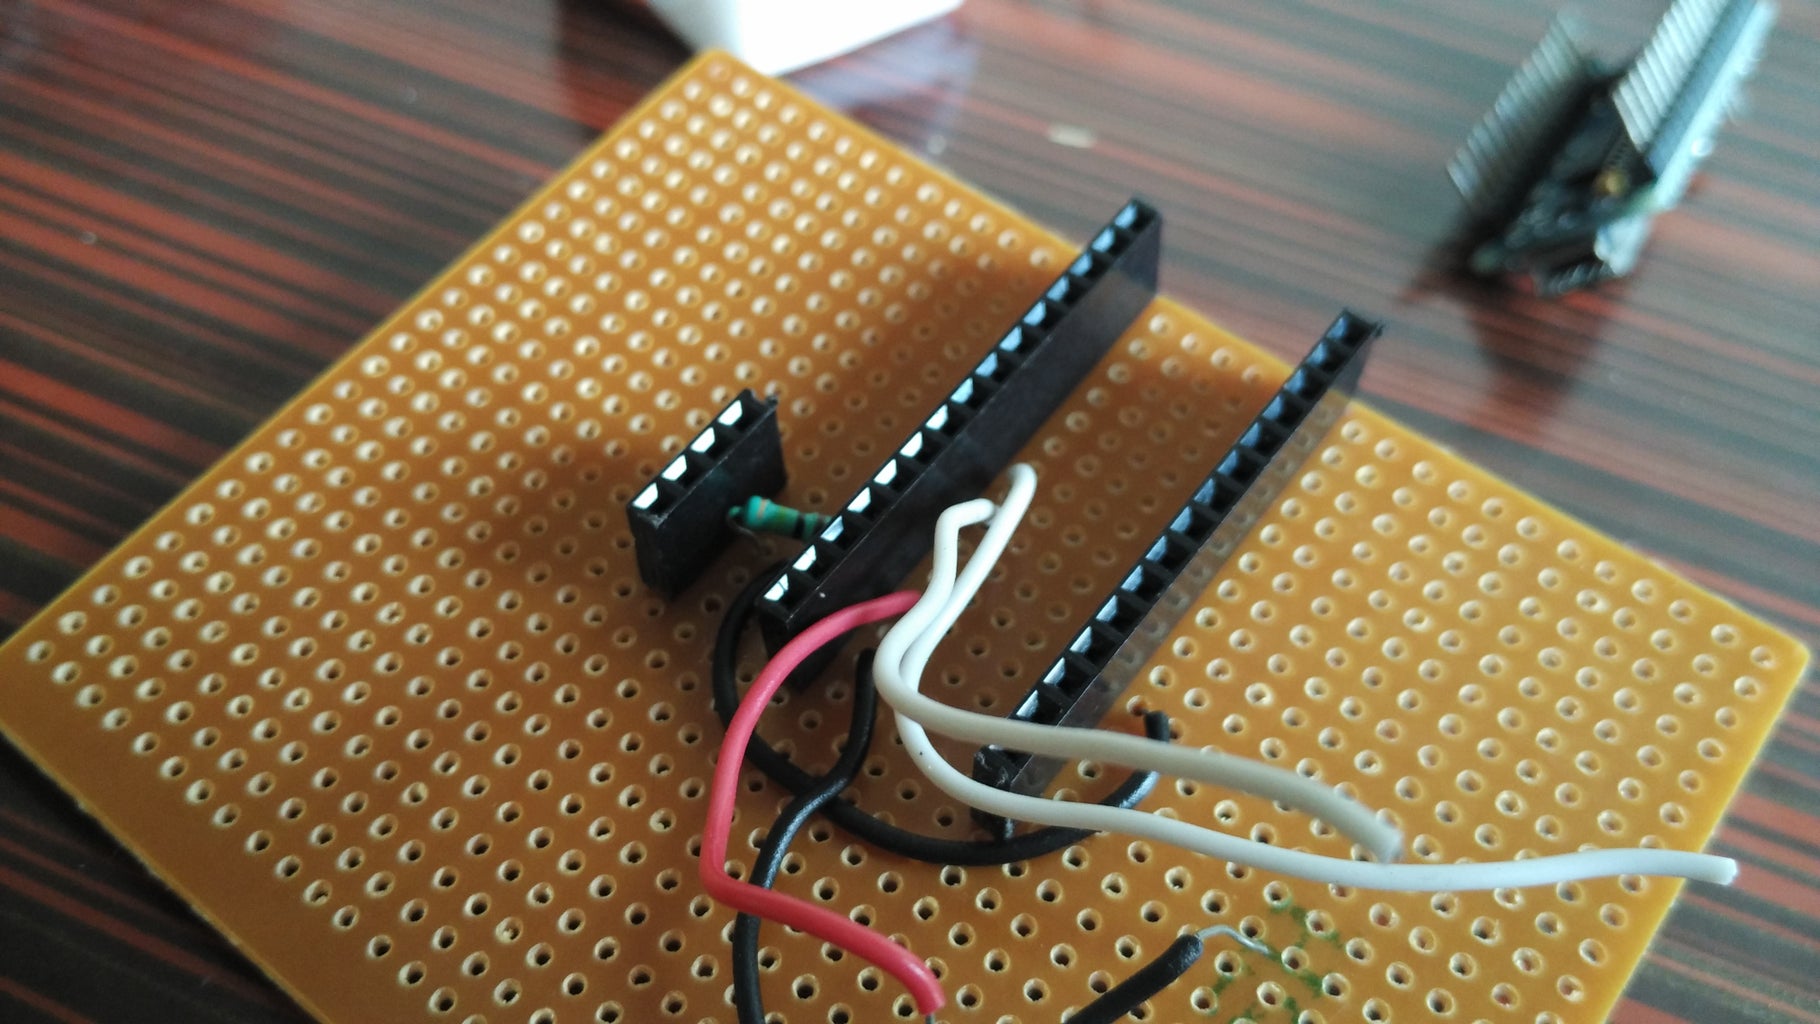
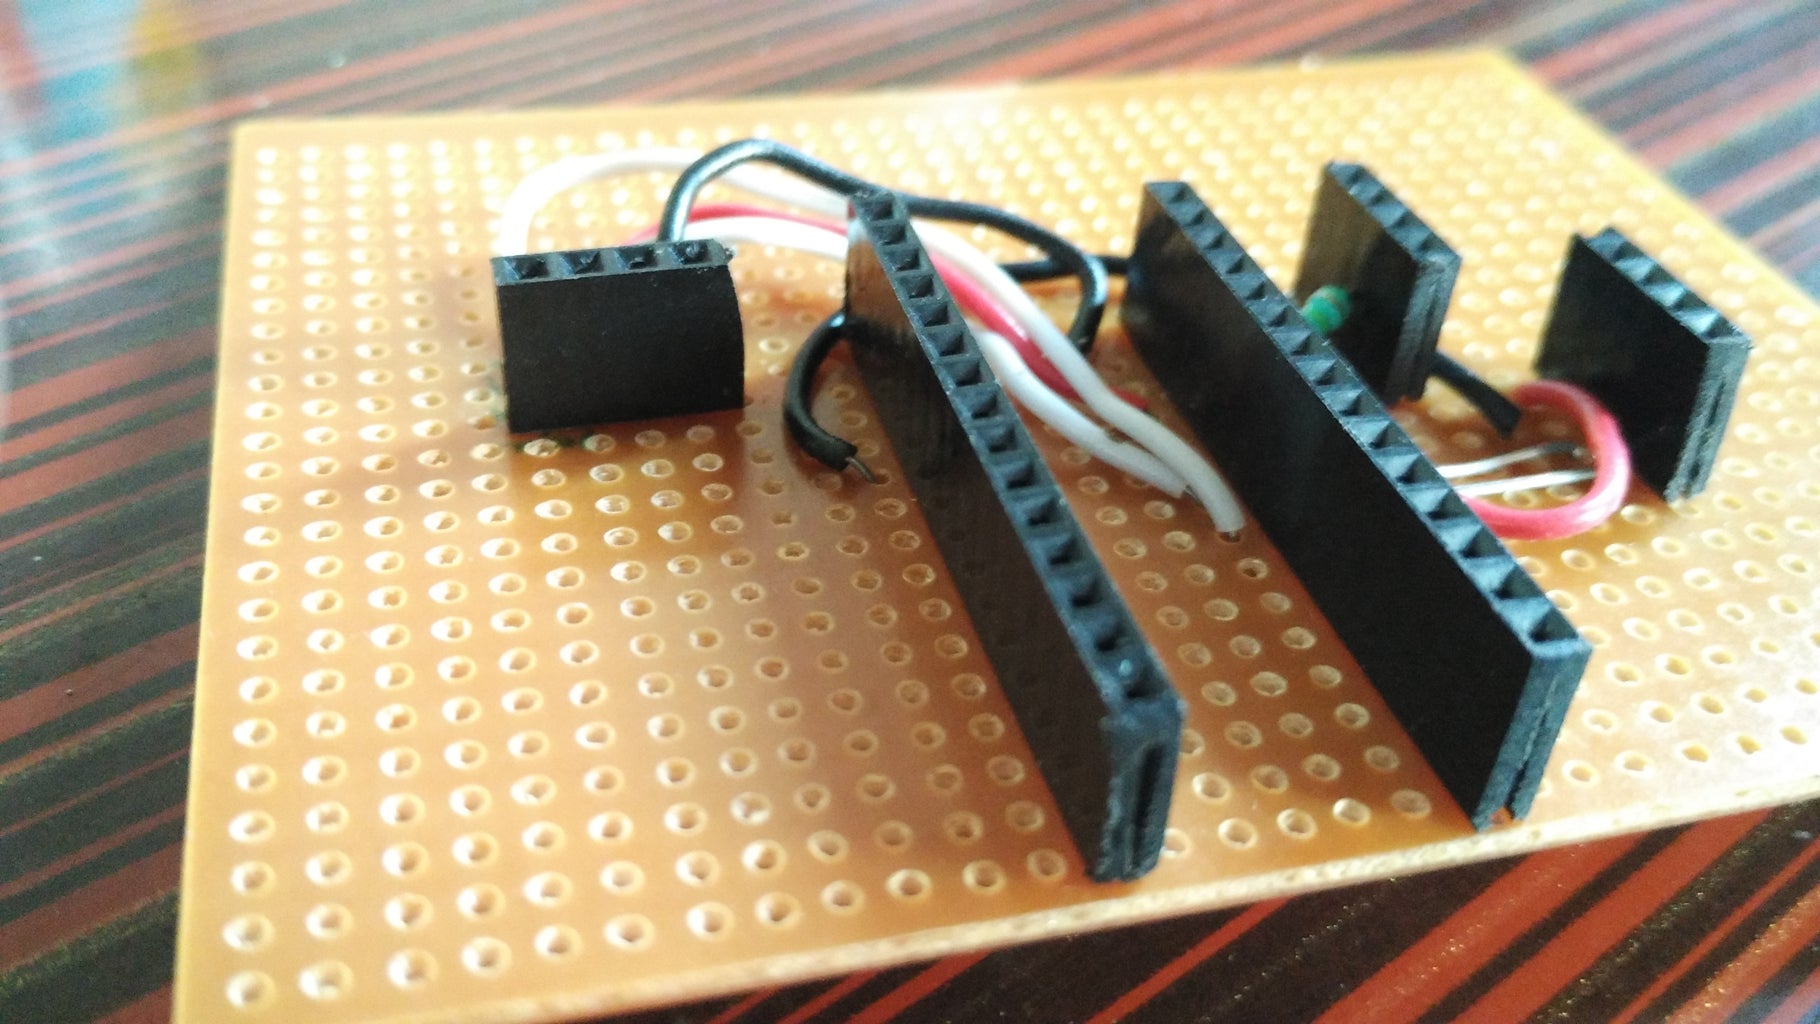

So we start by making the header for the nano. we actually cut the female headers and then file them to make them look as if they were originally that size.we then solder it. then we made the headers for DHT22 sensor
. it needed a 10k resistance to be connected from the data to ground. we then soldered everything.
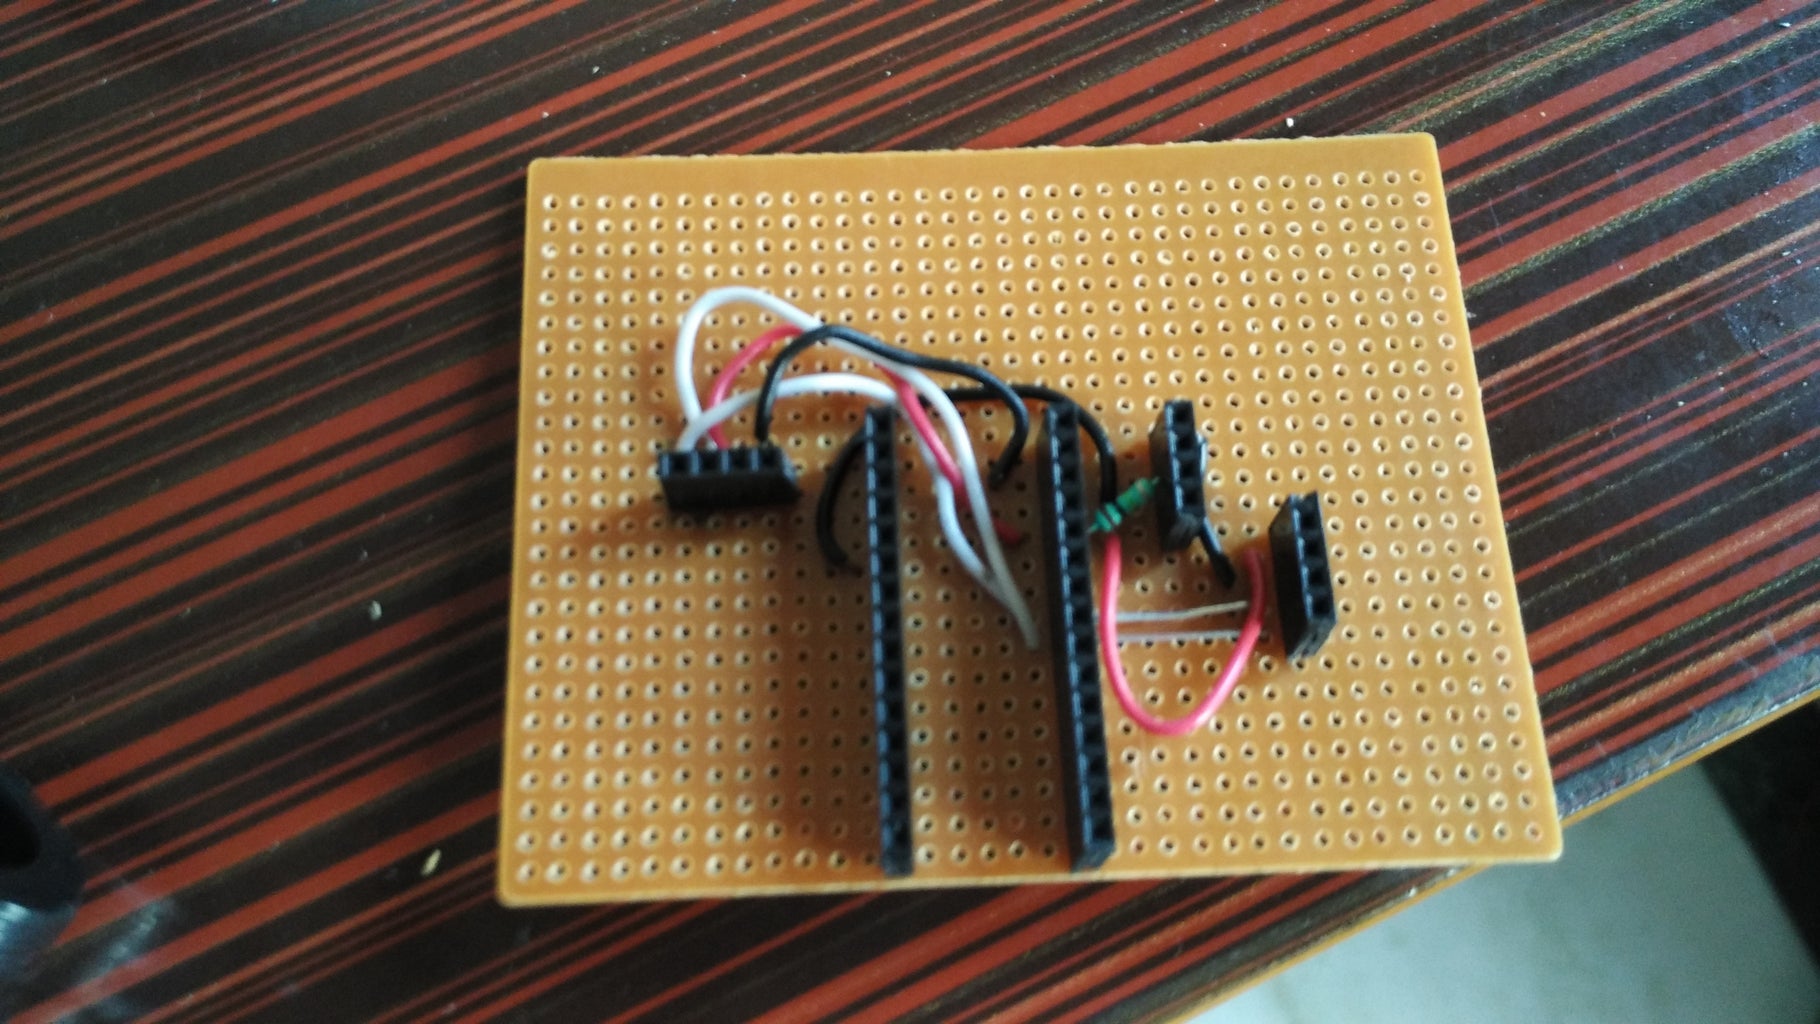
Then it was time for the bmp180 we added the header in a similar manner.We used 3.3 V as the power .We connected all the i2c bus.
We added lastly the display we are using i2c lcd so w used the same bus we used for the bmp180 module.
(There is a fourth slot in which i wanted to add rtc module later to also incoperate clock in the machine )
Step 5: Time for Code


Wait ....................
Download the libraries
bmp180
https://github.com/sparkfun/BMP180_Breakout_Arduin...
Dht22 library
https://github.com/adafruit/DHT-sensor-library
To install a library in arduino check this link
https://www.arduino.cc/en/Guide/Libraries
I have used arduino 1.6.5 so the code will work for this version for sure , also may be for higher if any case it does n't work do use 1.6.5 as the base version.
<p>#include <wire.h><br>#include <lcd.h>
#include
<liquidcrystal_i2c.h>
#include "DHT.h"
#include <sfe_bmp180.h></sfe_bmp180.h></liquidcrystal_i2c.h></lcd.h></wire.h></p><p>SFE_BMP180 pressure;</p><p>#define ALTITUDE 20.56
#define I2C_ADDR 0x27 // <<- Add your address here.
#define Rs_pin 0
#define Rw_pin 1
#define En_pin 2
#define BACKLIGHT_PIN 3
#define D4_pin 4
#define D5_pin 5
#define D6_pin 6
#define D7_pin 7</p><p>#define DHTPIN 2 // what digital pin we're connected to</p><p>// Uncomment whatever type you're using!
//#define DHTTYPE DHT11 // DHT 11
#define DHTTYPE DHT22 // DHT 22 (AM2302), AM2321
DHT dht(DHTPIN, DHTTYPE);
LiquidCrystal_I2C lcd(I2C_ADDR,En_pin,Rw_pin,Rs_pin,D4_pin,D5_pin,D6_pin,D7_pin);
float t1,t2; </p><p>
void setup()
{
Serial.begin(9600);
lcd.begin (16,2); // <<-- our LCD is a 20x4, change for your LCD if needed
// LCD Backlight ON
lcd.setBacklightPin(BACKLIGHT_PIN,POSITIVE);
lcd.setBacklight(HIGH);
lcd.home (); // go home on LCD
lcd.print("Weather Station");
delay(5000);
dht.begin();
pressure.begin();
}
void loop()
{
char status;
double T,P,p0,a;
status = pressure.startTemperature();
if (status != 0)
{
delay(status);</p><p> status = pressure.getTemperature(T);
if (status != 0)
{
Serial.print("1");
lcd.clear();
lcd.setCursor(0,0);
lcd.print("Baro Temperature: ");
lcd.setCursor(0,1);
lcd.print(T,2);
lcd.print(" deg C ");
t1=T;
delay(3000);</p><p> status = pressure.startPressure(3);
if (status != 0)
{
// Wait for the measurement to complete:
delay(status);</p><p> status = pressure.getPressure(P,T);
if (status != 0)
{lcd.clear();
lcd.setCursor(0,0);
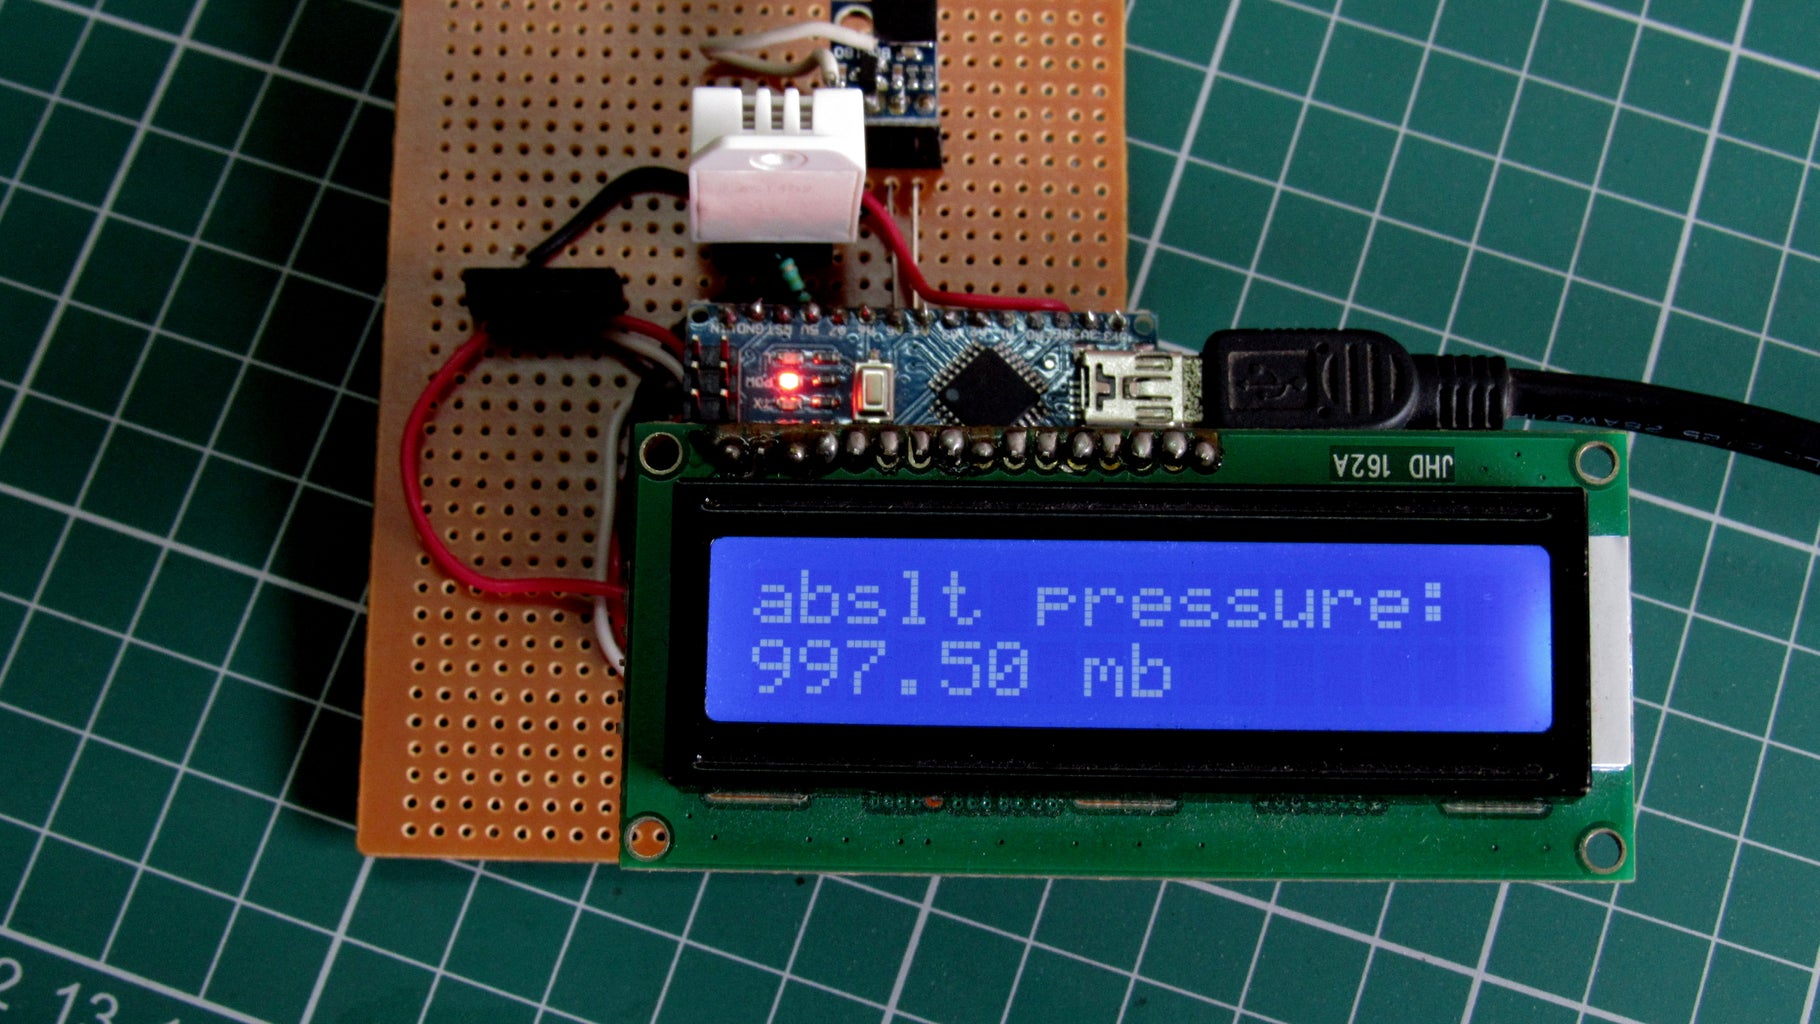
lcd.print("abslt pressure: ");
lcd.setCursor(0,1);
lcd.print(P,2);
lcd.print(" mb ");
delay(3000);</p><p> p0 = pressure.sealevel(P,ALTITUDE); // we're at 1655 meters (Boulder, CO)</p><p> a = pressure.altitude(P,p0);
lcd.clear();
lcd.setCursor(0,0);
lcd.print("Altitude: ");
lcd.setCursor(0,1);
lcd.print(a,0);
lcd.print(" meters");
delay(3000);
}
}
}
}
float h = dht.readHumidity();
// Read temperature as Celsius (the default)
float t = dht.readTemperature();
t2=t;
lcd.clear();
lcd.setCursor (0,0); // go to start of 2nd line
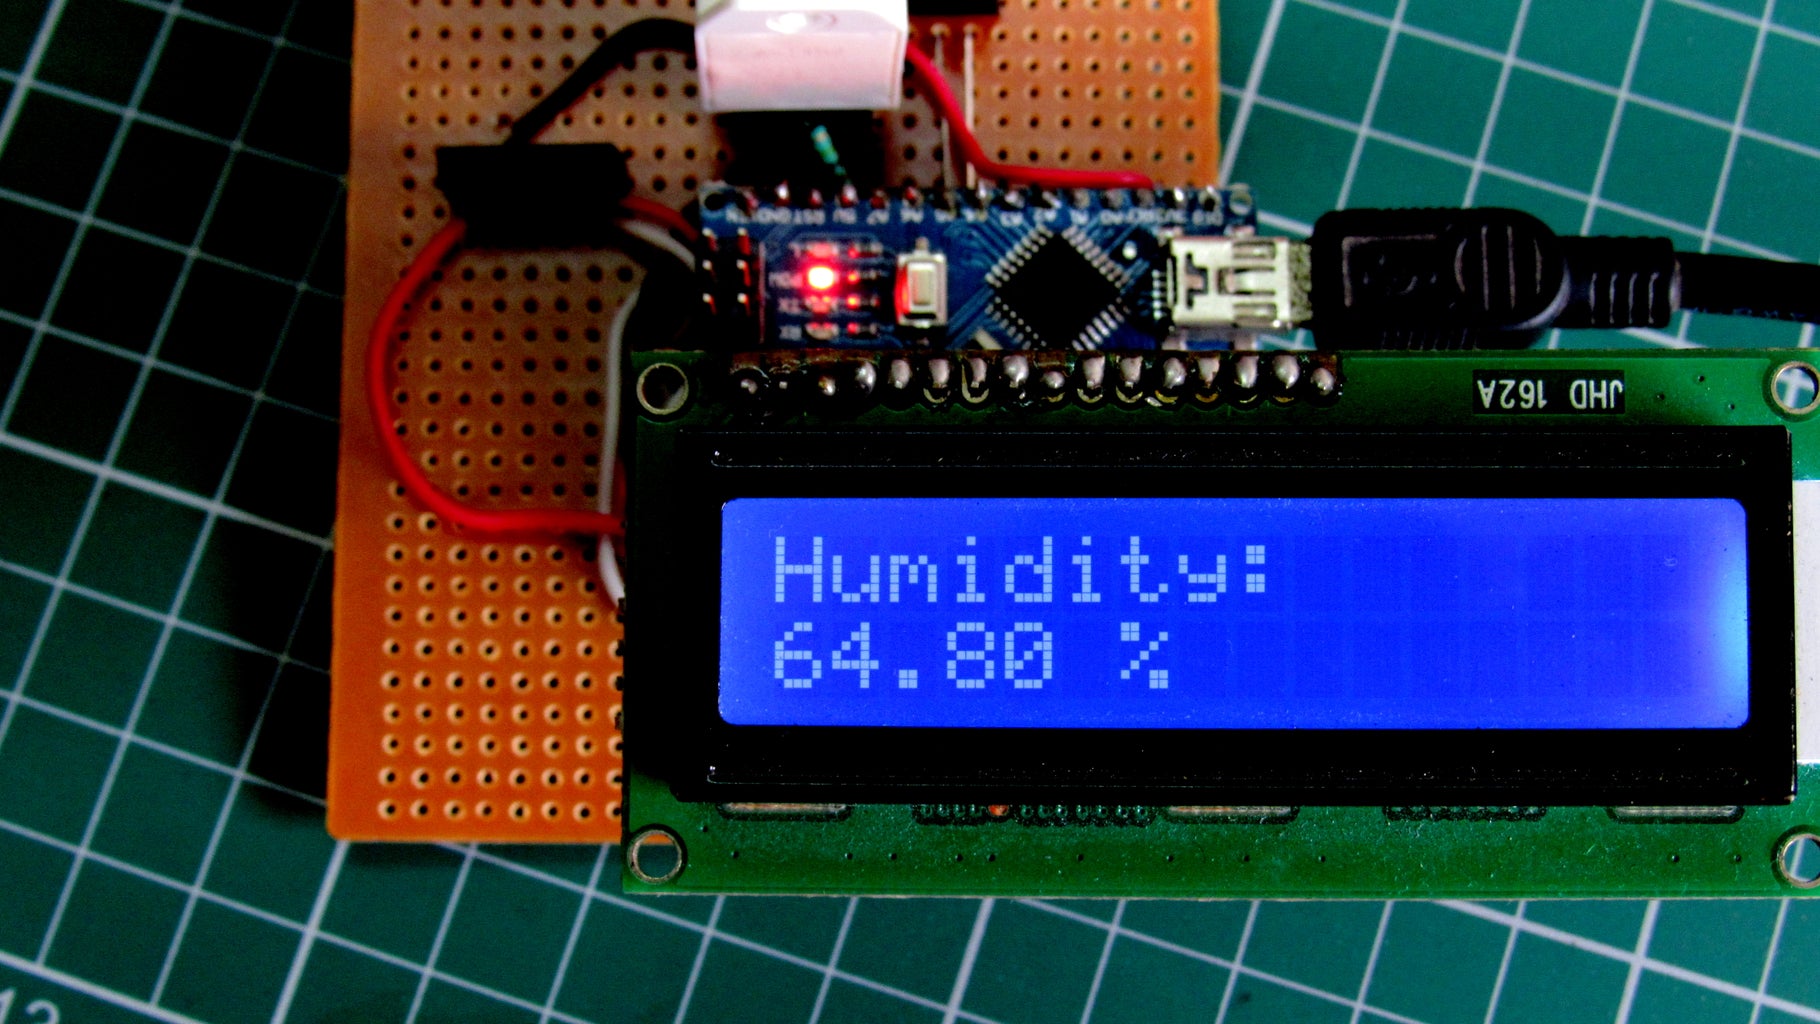
lcd.print("Humidity: ");
lcd.setCursor(0,1);lcd.print(h);
lcd.print(" %");
delay(3000);
lcd.clear();
lcd.setCursor (0,0); // go to start of 2nd line
lcd.print("DHT Tempurature: ");
lcd.setCursor(0,1);
lcd.print(t);
lcd.print(" deg C ");
delay(3000);
lcd.clear();
lcd.setCursor (0,0); // go to start of 2nd line
lcd.print("Mean Tempurature: ");
lcd.setCursor(0,1);
lcd.print((t1+t2)/2);
lcd.print(" deg C ");
delay(3000);
}</p>
