

Introduction: 3D Printable Rover Platform


This a rover platform that you can assemble choosing among many blocks that fit in the same mounting points, so you can adapt the design to what ever fits your needs the better.
NOTE: You can find the main page of the project, with the index of related links and articles here: http://savagemakers.com/3d-printable-rover-architecture. Also, all files related with this project can be downloaded for free from thingiverse.
I thought it to be as symmetric as possible, allowing you to reuse many parts in different spots, for example, the front and back shells have the same mounting points, allowing you to print the Shell - RPi Camera for the front, and the Shell - Blank for the back part. Unless you want a camera in the back too. You could also print the Shell - Switch for the back, to control the power source of your rover.. Your imagination is the limit.
I am designing this in Sketchup, these files will be uploaded too, in case you want to design custom blocks yourself. In this video, you can see in detail how to mount a track frame (One side of the robot)
Step 1: Print Settings
The settings depend on the part you are printing.
- Cog: should be printed with Supports, and I printed it also with brim, but just because the support was not sticking to the bed. If you don't have this problem, then you don't need the brim (but print it with support)
- Shell: I printed without supports, and with 0.3 mm resolution
- InnerTrackFrame: No supports, 0.3 mm resolution
- CenterTrackFrame: No supports, 0.3 mm resolution
- OuterTrackFrame: No supports, 0.3 mm resolution
- Tracks: No support, 0.2mm resolution
Attachments
 Rover Old Parts.skp
- Rover v4.skp
- Explosion.stl
- OuterTrackFrame v0.3 .stl
- OuterTrackFrame v0.3 .stl
- Shell - Blank v0.2.stl
- Shell - RPi Camera Support v0.1.stl
- L298N Support v0.1.stl
- InnerTrackFrame - DCMotor v0.3.stl
- CenterTrackFrame v0.3.stl
- Cover - Blank - v3.stl
- Cog - Drive v0.1.stl
- Cog - Drive v0.2.stl
- Cover - Blank v0.1.stl
- Shell - RPi Camera v0.1.stl
- Shell - RPi Camera v0.2.stl
- Shell - Switch v0.1.stl
- Spindle - DC Motor v0.1.stl
- Spindle - DC Motor v0.3.stl
- Track v0.1.stl


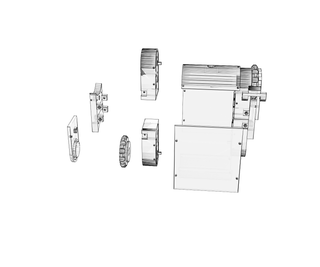


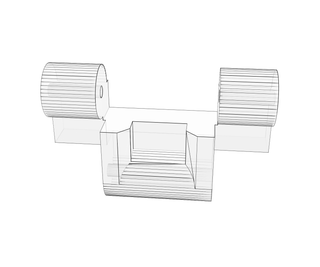
Step 2: About Mounting Points and Blocks

InnerTrackFrame Mounting point
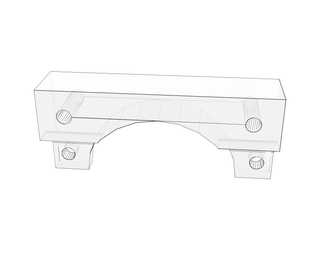
These blocks support the motors, and act as main chassis for the rover. Right now I designed one for a 6v DC motor, but I'm planning to create another based on a standard continuos rotation servo like these.
- InnerTrackTrame - DC Motor
- This block is design to support the common no name yellow dc geared motor. You can find them here.
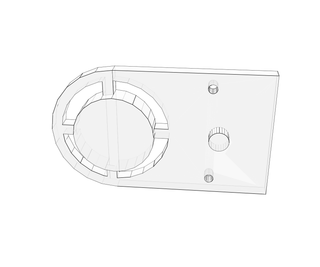
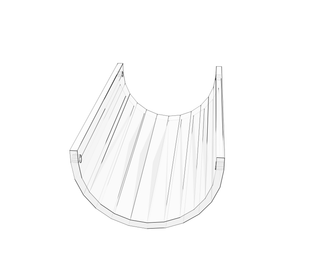
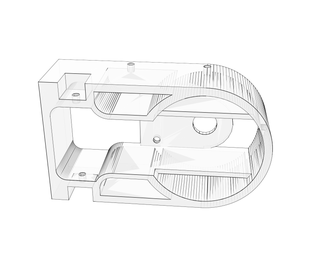
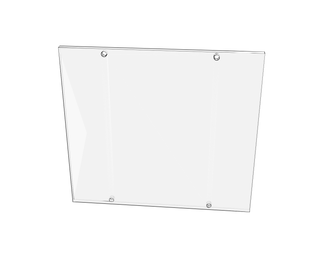
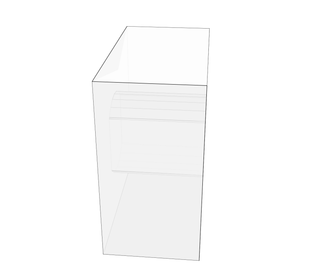
Shell Mounting point
The Shells are the front and back of the rover. You can choose the shell block that fits your need the better. Here is the list of shells that exist right now:
- Shell - Blank
- As the name says, this is a basic shell, you could use this if you don't want your rover to have holes you will not use.
- Shell - Raspberry Pi Camera
- This Shell was design to accommodate a Raspberry Pi camera, if you are planning to use one, you can use this block to fit it in the front of your rover. You can find the camera here
- Shell - Switch
- This Shell was design to accommodate a switch so you can turn on/off your rover without using the main area for the electronics. The hole has 7mm, and was designed for the switch you can find here.
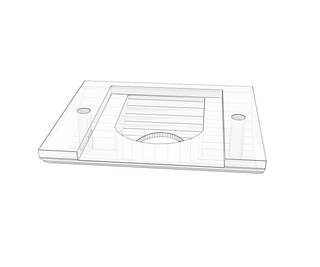
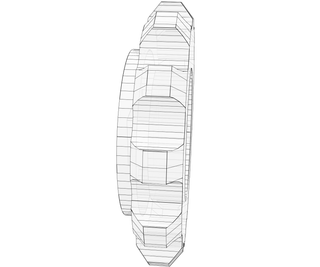
Cover Mounting point
The Covers are the top and bottom of the rover. You can choose the cover block that fits your need the better. Here is the list of covers that exist right now:
- Cover - Blank As the name says, this is a basic cover block, you could use this if you don't want your rover to have holes you will not use. More from Robotics view more
Step 3: Mounting the Tracks


In this video you can see how to assemble the tracks step by step.
And step by step photos of the process.


