

Introduction: 3D Printed Drink Pool Floaty


As summer arrives and the heat picks up, more and more people try to cool down by going to the pool. But what's even better than being in the pool on a hot summer day, having your nice refreshing drink by your side. Sure you can have your drink on the side of the pool like everybody else but why not have your drink with some class. This 3d printed Drink Pool Floaty is a fun and interesting addition to your pool day. Here's how to make it!
Supplies
Designing tools: Autodesk Fusion 360
Building tools:
- 3d Printer & your choice of filament
- Epoxy
- Super Glue
- Paint (only if you want to paint it)
- Some kind of weight (not really necessary but will help with the floaties stability)
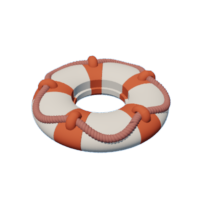
Step 1: Inspiration


I've always enjoyed the old fashion look, so I took inspiration from antique life preservers like these.
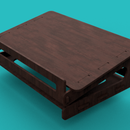
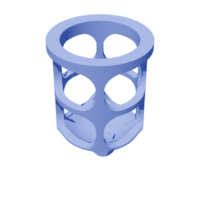
Step 2: Designing and Modeling

Once I had my basic idea I took it to my favorite 3D modeling space Autodesk Fusion 360. If you'd like to know how I made the 3d model the image above demonstrates most of my designing steps from beginning to end. I designed it to be printed in two parts, the Floaty life preserver part, and the Cupholder part. These parts simply assemble by placing the cup holder through the Floaty, I suggest supergluing these parts together. As it can be seen the Cup holder has a loop on the bottom, this is to attach weights. It will float and stay upright without the weights but having the weight will keep it better stabilized. You can use any kind of weight, even some rocks in a bag would work.
Step 3: 3D Printing Options for Colors


Although this model is about function I understand many people find presentation a desirable factor when choosing a product. This brings us to color and if you know 3d printing this can be a challenge. Not everyone has a 3d printer let alone a multicolored 3d printer so here are some options.
Option One Printing In Parts: 3d Printing the colored parts individually is possible but requires more post-processing (Removing supports, Gluing, and epoxying). I'll leave the Step file available below.
Option Two Printing as One Piece: Printing the large floaty as a single piece and painting on the details would be my suggestion. Doing this option requires less effort and the floaty will be one solid piece resulting in less of a chance of breaking and having defects. I'll leave the STL files below.
Step 4: Suggestions for the Finish

No matter which option you choose once you've finished 3d Printing you have to seal your print. 3d printing enthusiast knows that no matter how well your printer is your bound to have imperfections so to make sure the model is waterproof you want to seal it with epoxy. This is a necessary step as you want your Drink Floaty to actually float. In addition, if you painted your print you're going to need a waterproof coat to protect your paint job which the epoxy works as.
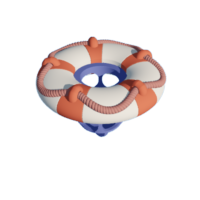
Step 5: Rendering and Final Product

The Drink Floaty fits any 12 Fl oz canned drink like sodas and beers but it's also big enough to hold most drinks. You also have the option of changing the color scheme as seen above.
Step 6: Conclusion

I've had this idea for a while and it's not complex, but it does bring me joy that I made it the way I envisioned it. This Instructables is the documentation of my process and how you can make it too. I had alot of fun doing this project especially doing it so I can share it with others. I hope that I get to see people actually making my model and how they added their own unique touch.

First Prize in the
Summer Fun: Student Design Challenge


