

Introduction: ARDUINO 101 | INFRARED SENSOR

More by the author:


About: ENGINEERING & TECHNOLOGY | The creator is extremely passionate about Digital content creation, Arduino projects, Mechatronic projects, and RC modelling.
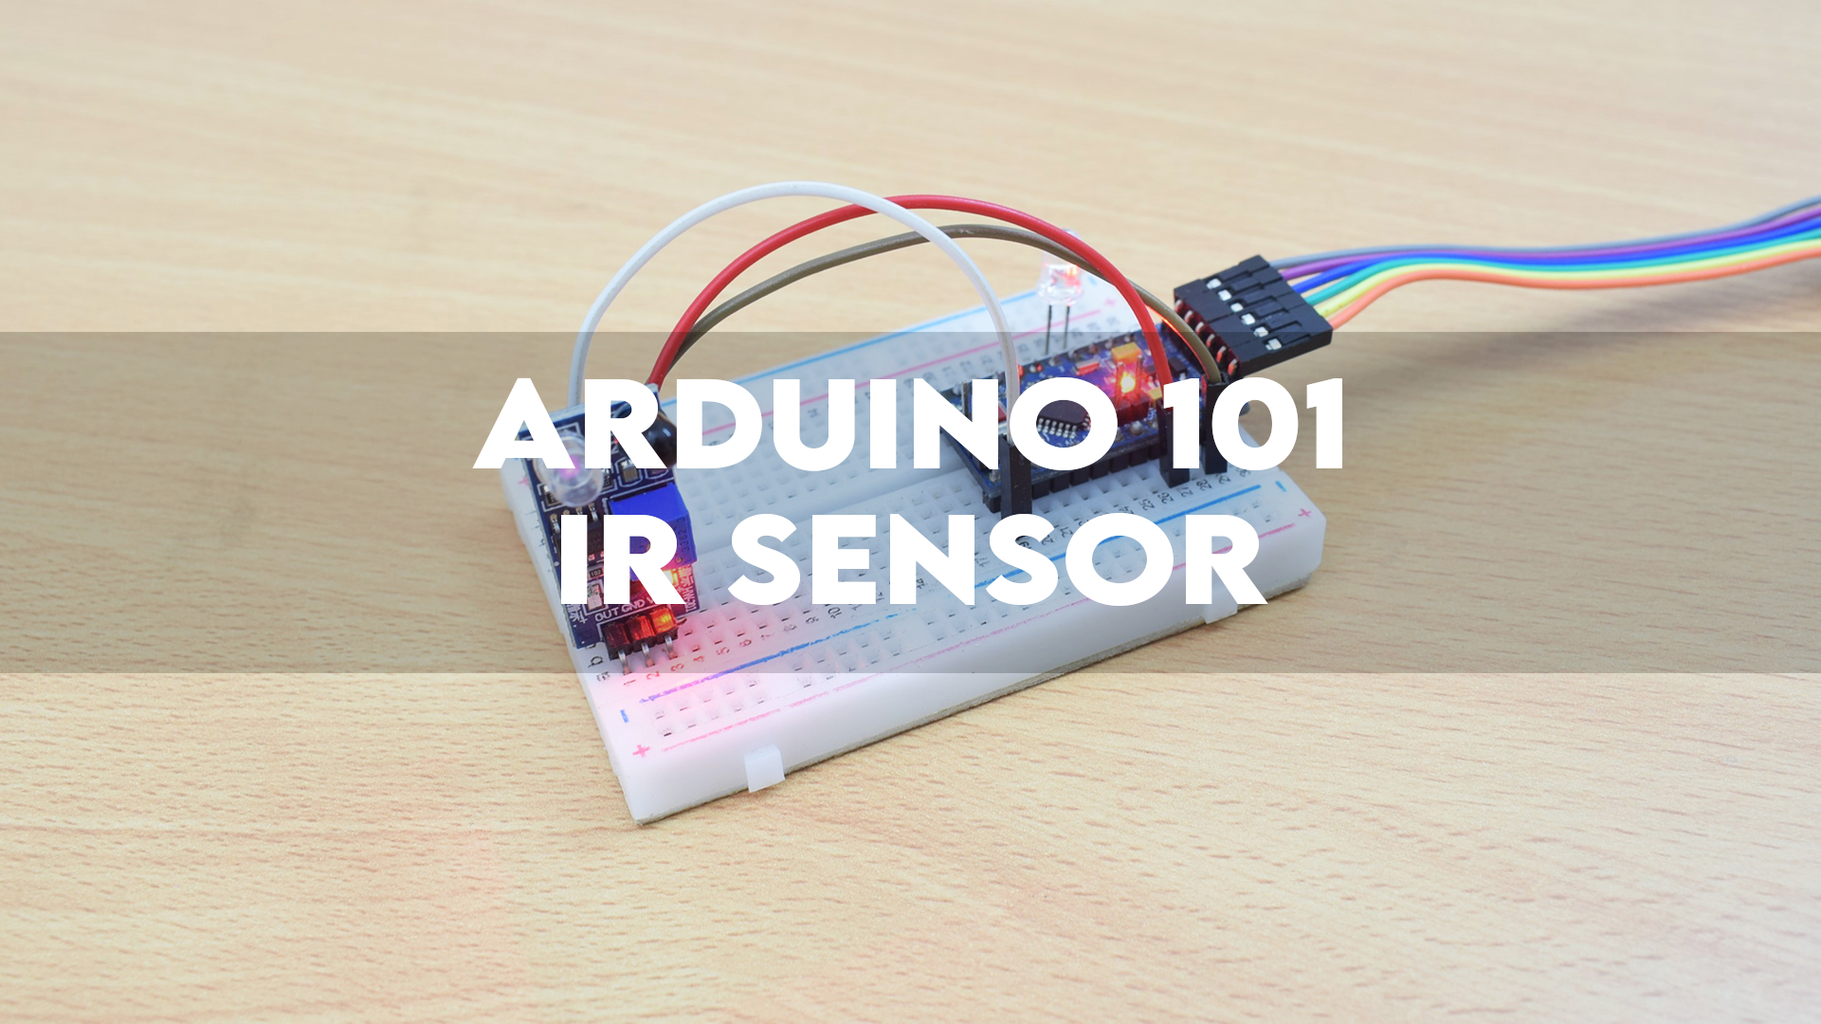
This Instructable will guide you through the process of testing an IR sensor with an Arduino ProMini.
Supplies
Step 1: CONNECTIONS

IR SENSOR SIGNAL OUTPUT -> ARDUINO DIGITAL PIN 10
GND -> GND
VCC -> VCC
LED -> DIGITAL PIN 2
GND -> GND
Step 2: PROGRAMMING
1) Download the code.
2) Open it using your Arduino IDE.
3) Verify the code.
4) Select the right board and communication port.
5) Upload the code.
Attachments

Step 3: TESTING
* SKIP TO 1:40 *
Use the onboard potentiometer to adjust the range of the sensor.
