

Introduction: Arduino Bluethooth Exploration Rover


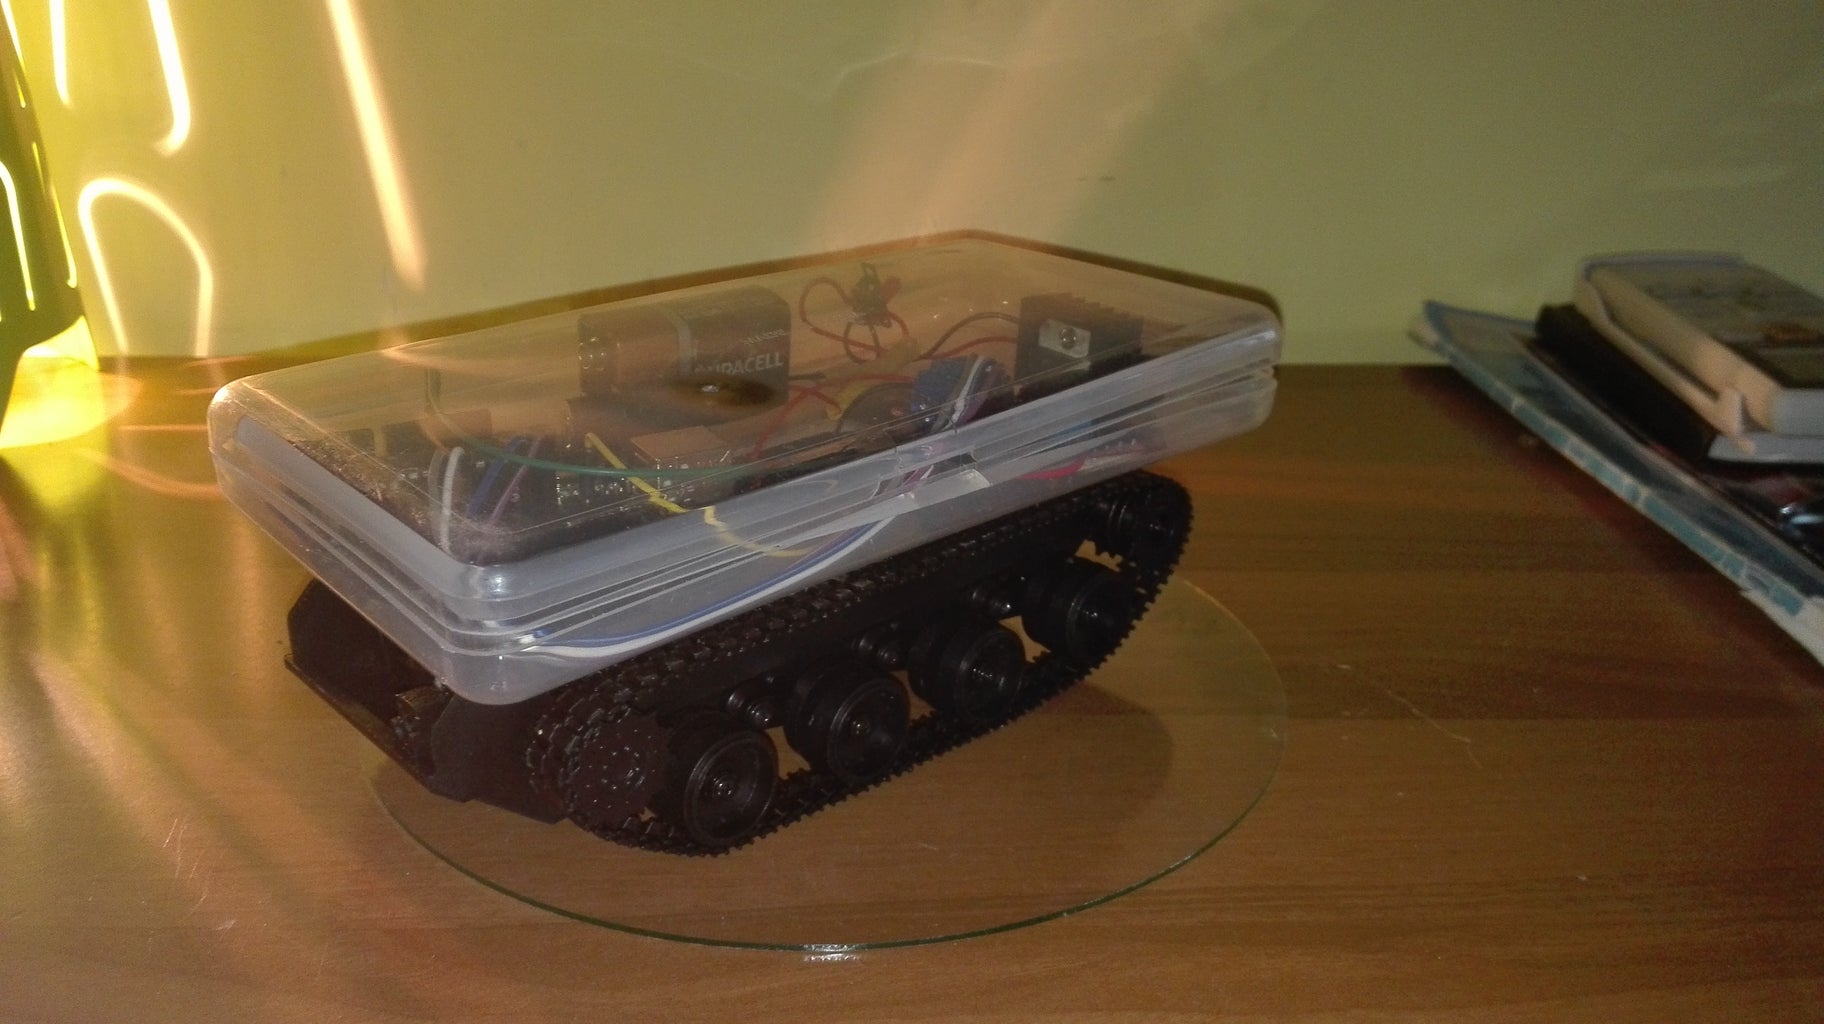
Hello everybody! In this instructables I will show you how to make a rover/robot tank in few steps. There is also a WiFi camera,so I can see live what the rover sees. This rover is controlled by Bluetooth,with an Android application.
Step 1: WHAT YOU WILL NEED:
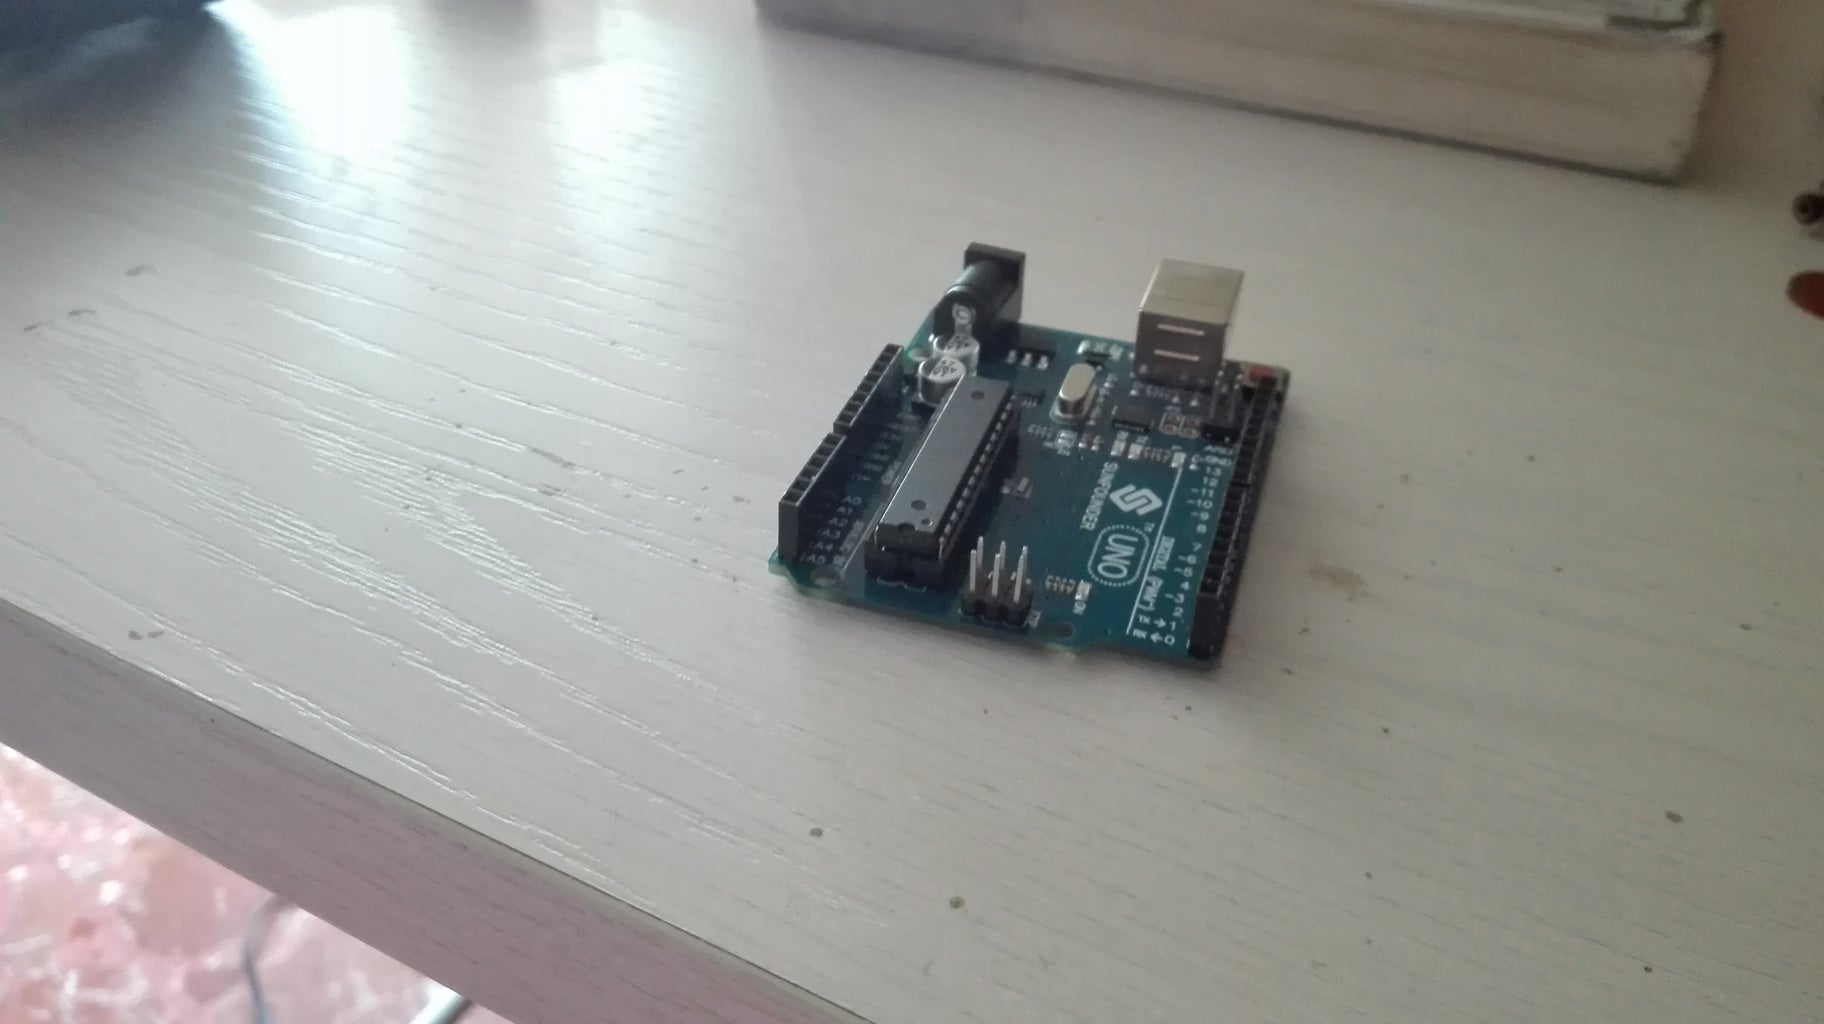


•Arduino uno
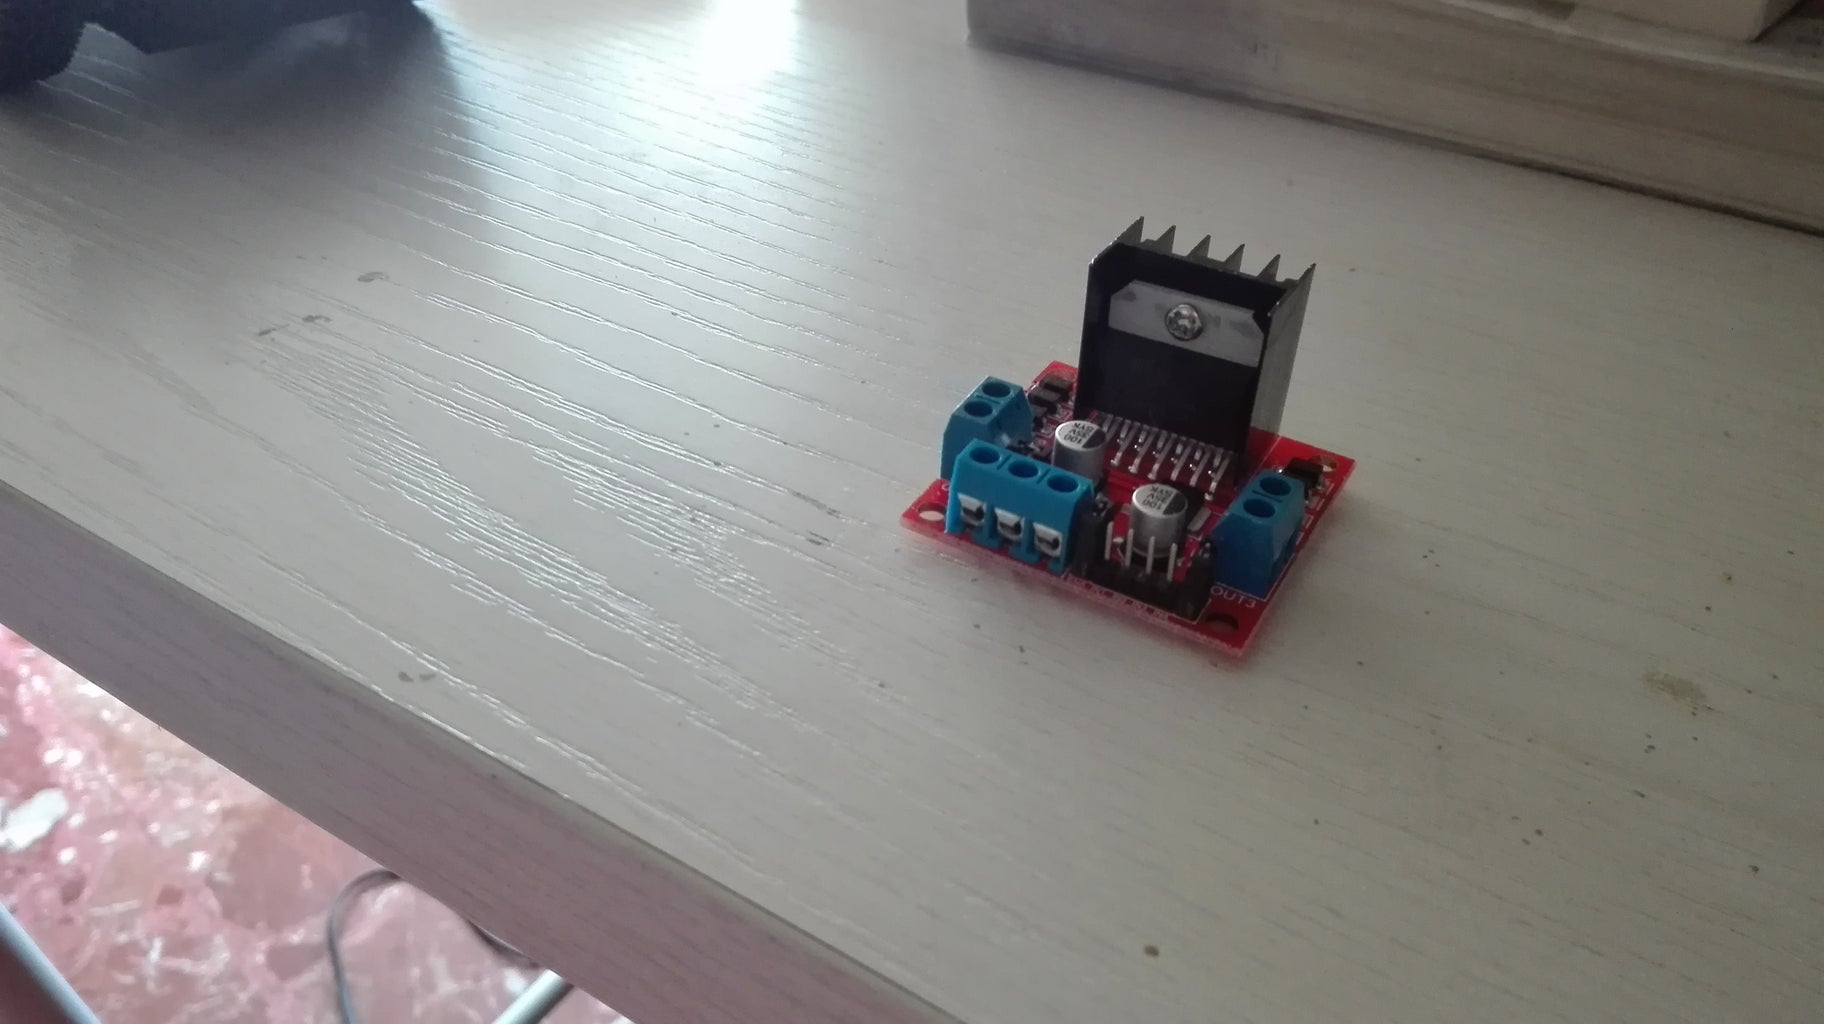
•L298N driver
•HC-06 Bluetooth module
• dc motor
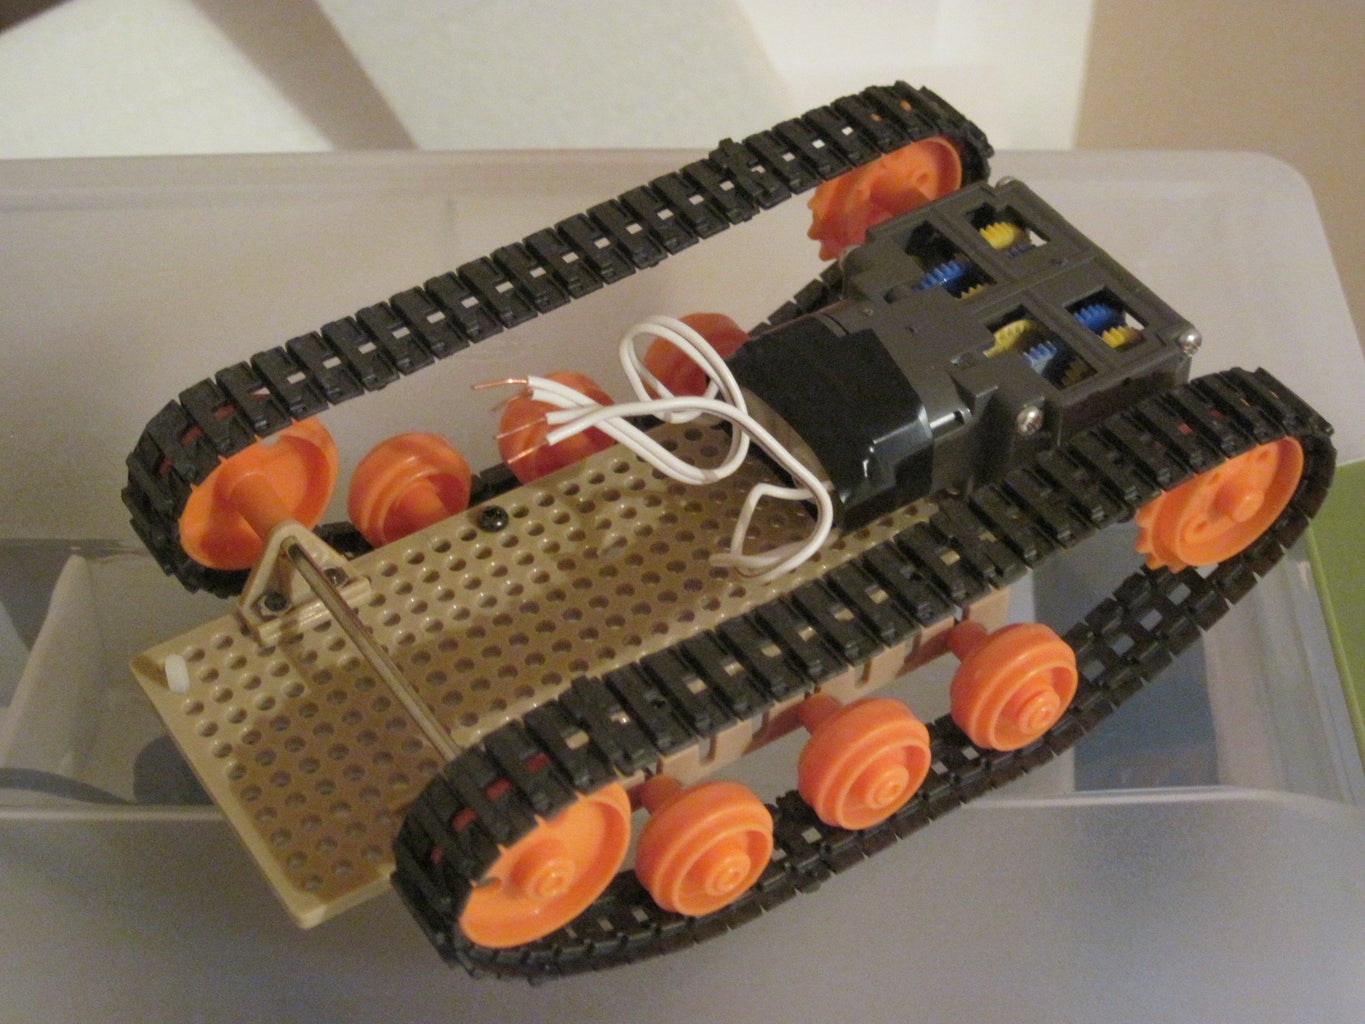
•Tank chassis
•Wifi camera
•9v battery
Step 2: Scheme


This is the scheme of wiring. The voltage to applicate to the L298N driver depends on voltage of the dc motors.
Step 3: Arduino Code

//Version by jekob
///////////////////////////////////////////////////
//////////////////////////////////////////////////////////////////////////////////////////////////////
/This program is used to control a robot using a app that communicates with Arduino through a bluetooth module. //Error Code Chart: Code 01; Turnradius is higher than Speed; Code 02; Speed is higher than 255; #define in1 5 //L298n Motor Driver pins. #define in2 6 #define in3 10 #define in4 11 #define LED 13 int command; //Int to store app command state. int Speed = 204; // 0 - 255. int Speedsec; int buttonState = 0; int lastButtonState = 0; int Turnradius = 0; //Set the radius of a turn, 0 - 255 Note:the robot will malfunction if this is higher than int Speed. int brakeTime = 45; int brkonoff = 1; //1 for the electronic braking system, 0 for normal. void setup() { pinMode(in1, OUTPUT); pinMode(in2, OUTPUT); pinMode(in3, OUTPUT); pinMode(in4, OUTPUT); pinMode(LED, OUTPUT); //Set the LED pin. Serial.begin(9600); //Set the baud rate to your Bluetooth module. }
void loop() { if (Serial.available() > 0) { command = Serial.read(); Stop(); //Initialize with motors stoped. switch (command) { case 'F': forward(); break; case 'B': back(); break; case 'L': left(); break; case 'R': right(); break; case 'G': forwardleft(); break; case 'I': forwardright(); break; case 'H': backleft(); break; case 'J': backright(); break; case '0': Speed = 100; break; case '1': Speed = 140; break; case '2': Speed = 153; break; case '3': Speed = 165; break; case '4': Speed = 178; break; case '5': Speed = 191; break; case '6': Speed = 204; break; case '7': Speed = 216; break; case '8': Speed = 229; break; case '9': Speed = 242; break; case 'q': Speed = 255; break; } Speedsec = Turnradius; if (brkonoff == 1) { brakeOn(); } else { brakeOff(); } } }
void forward() { analogWrite(in1, Speed); analogWrite(in3, Speed); }
void back() { analogWrite(in2, Speed); analogWrite(in4, Speed); }
void left() { analogWrite(in3, Speed); analogWrite(in2, Speed); }
void right() { analogWrite(in4, Speed); analogWrite(in1, Speed); } void forwardleft() { analogWrite(in1, Speedsec); analogWrite(in3, Speed); } void forwardright() { analogWrite(in1, Speed); analogWrite(in3, Speedsec); } void backright() { analogWrite(in2, Speed); analogWrite(in4, Speedsec); } void backleft() { analogWrite(in2, Speedsec); analogWrite(in4, Speed); }
void Stop() { analogWrite(in1, 0); analogWrite(in2, 0); analogWrite(in3, 0); analogWrite(in4, 0); }
void brakeOn() { //Here's the future use: an electronic braking system! // read the pushbutton input pin: buttonState = command; // compare the buttonState to its previous state if (buttonState != lastButtonState) { // if the state has changed, increment the counter if (buttonState == 'S') { if (lastButtonState != buttonState) { digitalWrite(in1, HIGH); digitalWrite(in2, HIGH); digitalWrite(in3, HIGH); digitalWrite(in4, HIGH); delay(brakeTime); Stop(); } } // save the current state as the last state, //for next time through the loop lastButtonState = buttonState; } } void brakeOff() {
}
Step 4: The App


The app is "Bluetooth rc controller"
Step 5: Almost Finish...
Now the rover should be finish,but if you want ,you can upgrade it with some objects. Check the next step for more info ...
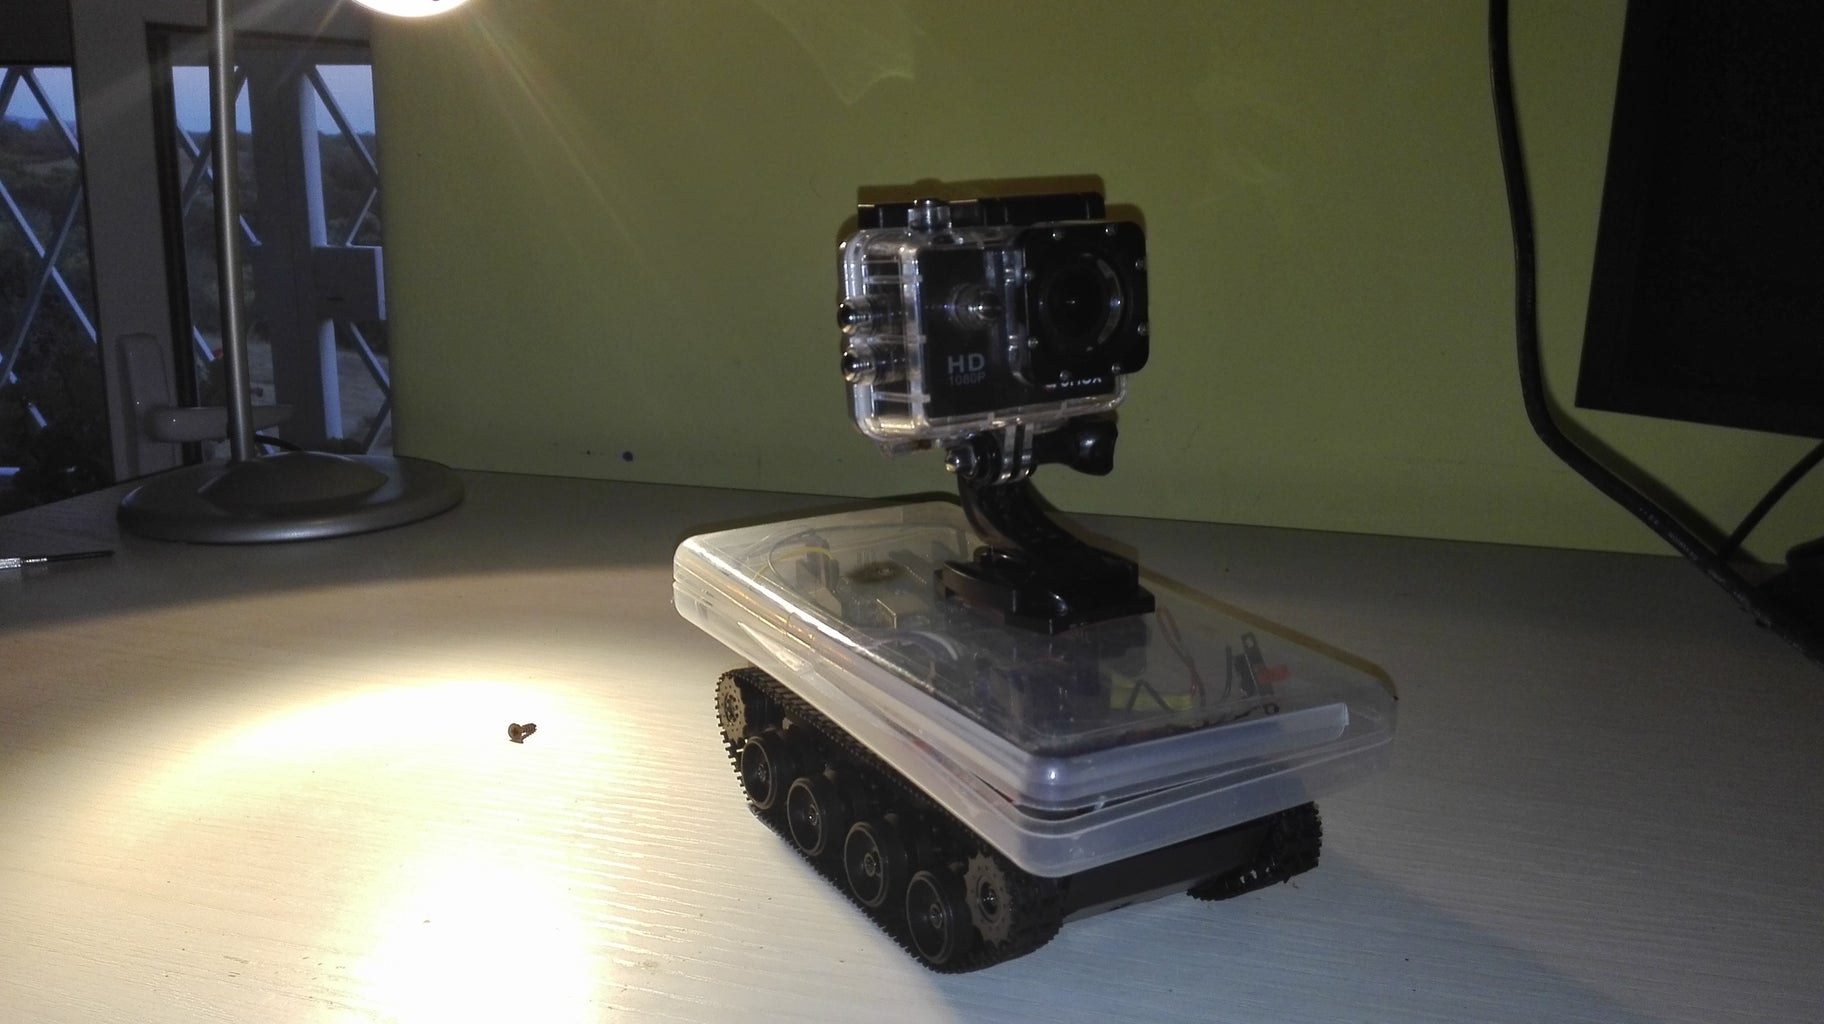
Step 6: UPGRADE


I would upgrade my rover with different things:
(there is an Image that shows where put the objects).
• I add a WiFi camera on the top of the rover for a live streaming of the video. Then I downloaded the app of the camera to see the streaming.
• Add a flashlight , to illuminate the dark places . In this way the streaming will be more clear and I can see in the dark
Maybe I will add a walkie talkie on the top. In this way I can communicate with the people
• Add a laser pointer to identify and point the target.
Step 7: THE DRONE IS TERMINATED


The project is finish! Now, with this mini drone, you can explore the hidden and unknown places of the Earth with just a touch on the phone ! I hope you enjoy it
Bye bye.
