

Introduction: Arduino Web Server


This project uses an Arduino ethernet shield to serve up a webpage to your router. When you connect to that webpage with your computer or mobile device, you can control the LED on the breadboard. Lets get started. (Update: The code and schematic came from Rui Santos at http://randomnerdtutorials.com/arduino-webserver-with-an-arduino-ethernet-shield/ )
Step 1: Parts
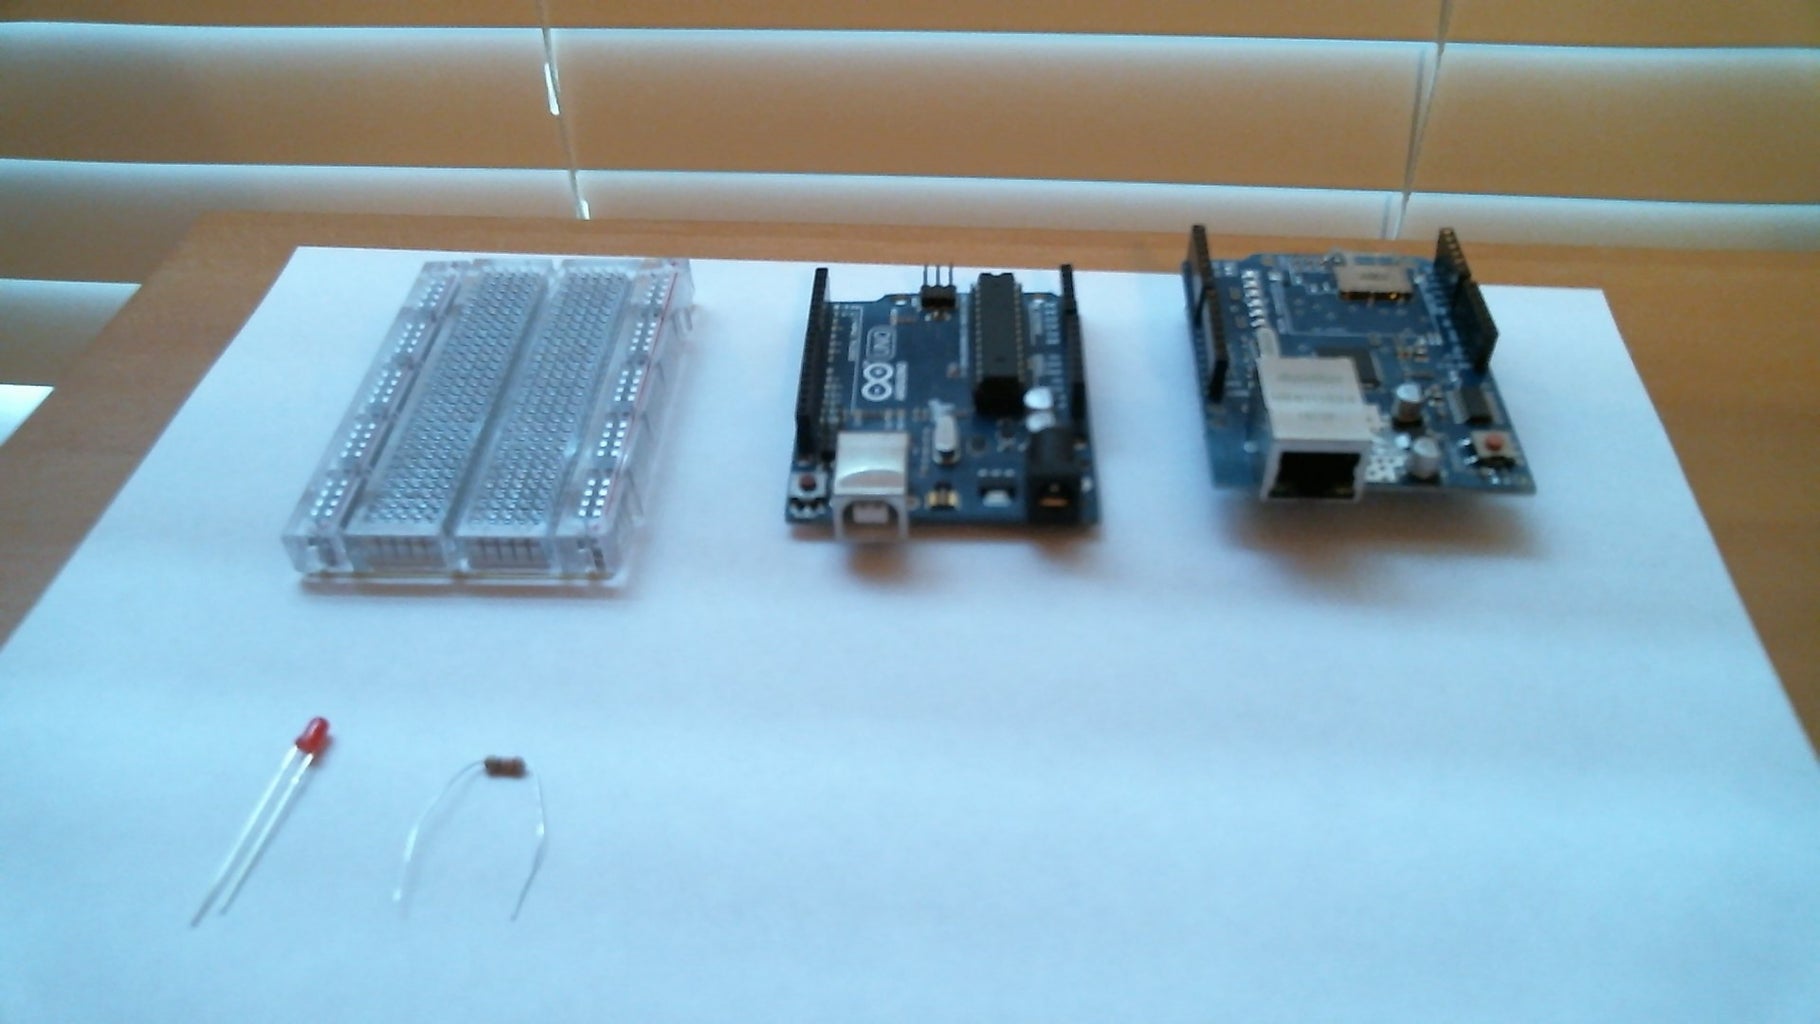
For this build you will need:
1x Arduino Uno R3 RadioShack
1x Arduino Ethernet Shield Amazon
1x Breadboard RadioShack
1x LED RadioShack
1x 220ohm Resistor RadioShack
You will also need:
Ethernet Cable Amazon
USB A to USB B Cable Amazon
Arduino IDE Arduino.cc
Hookup Wire
Step 2: Easy Assembly

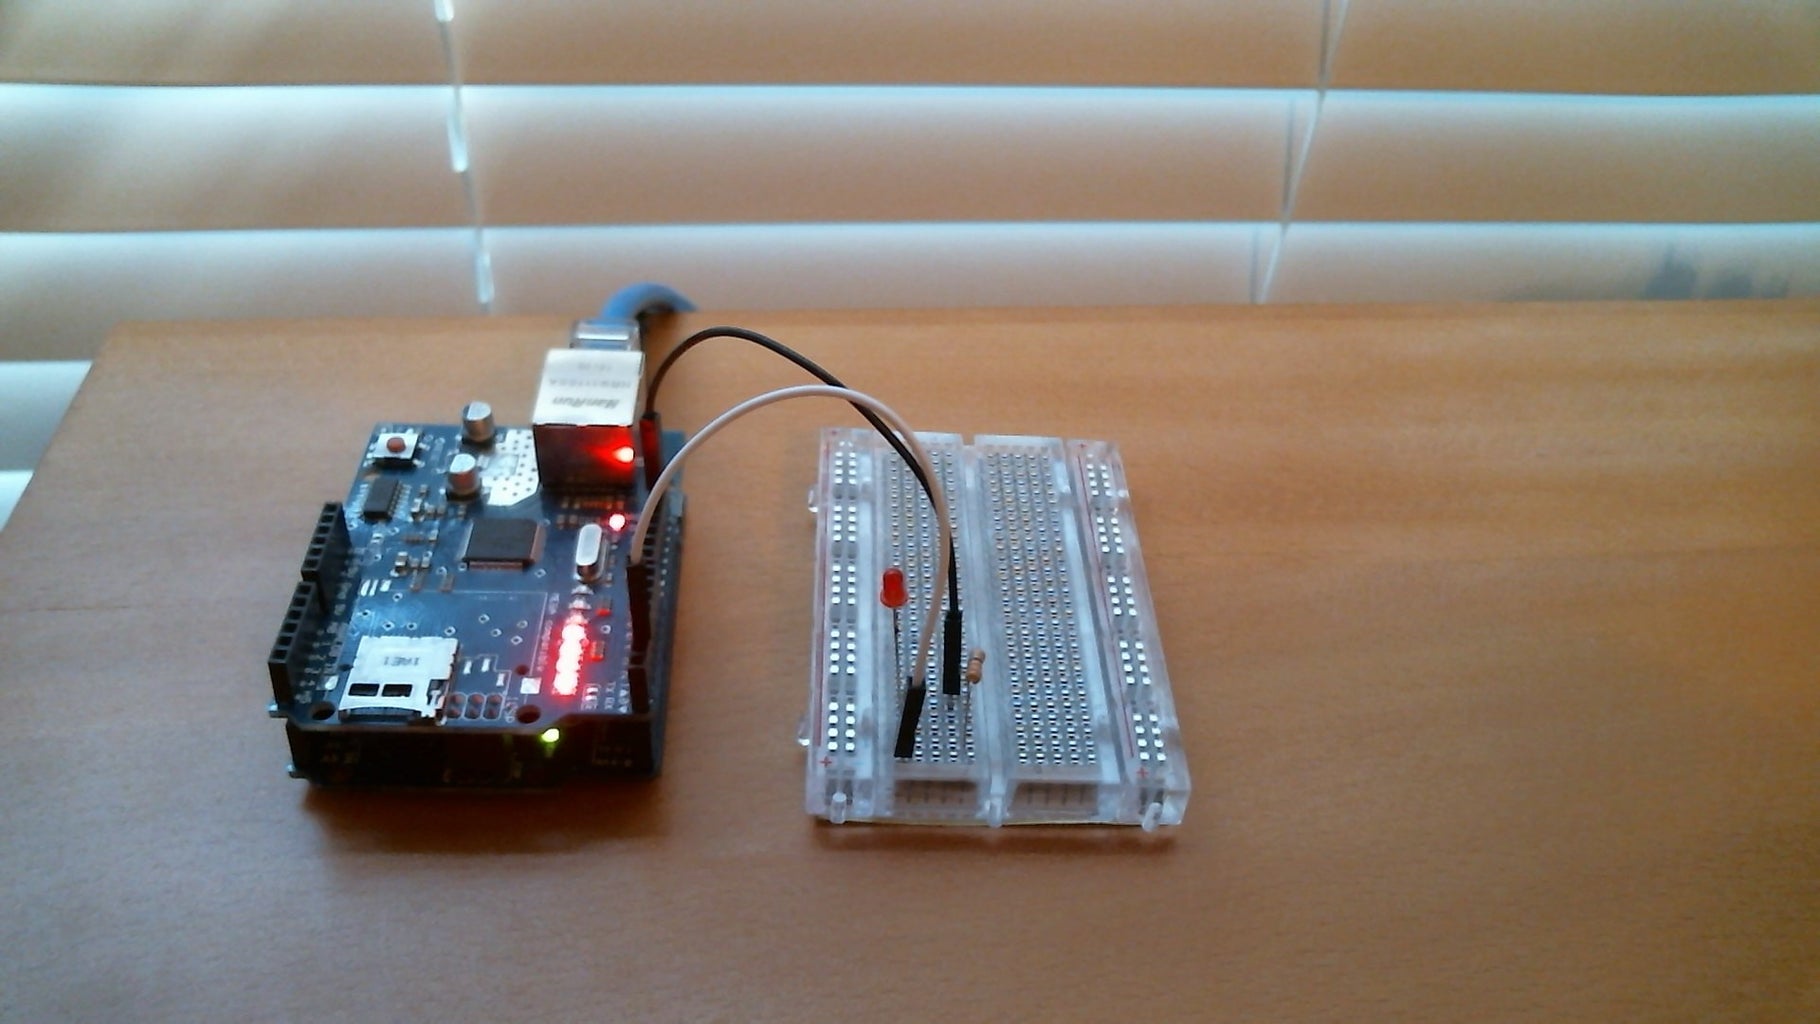
Connect the ethernet shield to the Arduino by simply lining up the pins and pushing it in. Connect the led + pin to pin 3 on the Arduino. Connect the led - pin to the 220 ohm resistor. Connect the other end of the 220 ohm to the Arduino's GND. Use the image to help.
Step 3: The Code
This is the code for the project. The gateway, ip and subnet need to be changed to match you network. The MAC needs to be specific to the Arduino but do not change the "DE" at the beginning. Make sure no other device is using that MAC. (Update: Modified code to give credit to original creator.)
Attachments

Step 4: Testing and Trobleshooting

When you connect to the webpage at 192.168.0.178, you should see the same as the image above. If the page doesn't load, push the RESET button on the Arduino and try again. If it still not working, check the gateway, the routers address, the subnet, and the MAC. If it does load, when you click lamp on, the led should come on. If not, check that the LED's longer pin is connect via hookup wire to Arduino pin 2. If anything is still not working, feel free to leave a comment.


